
How to set up and ingest a Live Event stream
Overview
This guide explains how to set up and ingest a scheduled Live Event into a LIVE Channel in the Media Cloud using RTMP or SRT.
A Live Event is used for scheduled broadcasts with a defined start and end time. This setup is useful when you want to promote an upcoming event, display a countdown timer, or automatically record the event when LIVE-to-VOD is enabled.
When to use a Live Event stream
Use a Live Event stream when you want to broadcast a scheduled live event through a LIVE Channel in the Media Cloud.
This may be helpful when:
You have a live broadcast with a defined start and end time
You want to display a countdown before the event begins
You want to show the event title and description on supported players
You want to track event-specific statistics
You want to use LIVE-to-VOD recording, if enabled
You want the event to appear properly in supported apps and publishing destinations
Before you begin, make sure you have:
Access to a LIVE Channel in the Media Cloud
A supported encoder that can send RTMP or SRT
Your LIVE Channel stream credentials
A stable upload connection from the encoder location
The event title, description, start time, end time, and timezone
For instructions on finding your Stream Key, CDN Access Point, or SRT Streaming URL, see How to find your LIVE Channel stream credentials.
For general encoder setting recommendations, see Recommended encoder settings for live streaming.
How it works
A Live Event is a scheduled broadcast inside a LIVE Channel. Unlike a 24/7 Linear Stream, a Live Event has a defined start time and end time.
If your LIVE Channel is marked as UNUSED, you must activate it before you can begin streaming.
Before your broadcast begins, you should create the Live Event in the EVENTS tab of your Live Events Channel. This allows the Media Cloud to display event details, show a countdown, track event-specific statistics, and prepare the event for supported apps and publishing destinations. For full step-by-step instructions on creating a scheduled Live Event, see How to schedule a Live Event.
You can ingest a Live Event stream using:
RTMP, using the LIVE Channel CDN Access Point and Stream Key
SRT, using the LIVE Channel SRT Streaming URL
RTMP is widely supported and works well for most standard streaming setups. SRT provides improved reliability and can support lower-latency delivery, especially for long-distance streaming or unstable network conditions.
Instructions
Step 1: Prepare your LIVE Channel for Live Event streaming
Step 1
Log in to your Media Cloud account.
Step 2
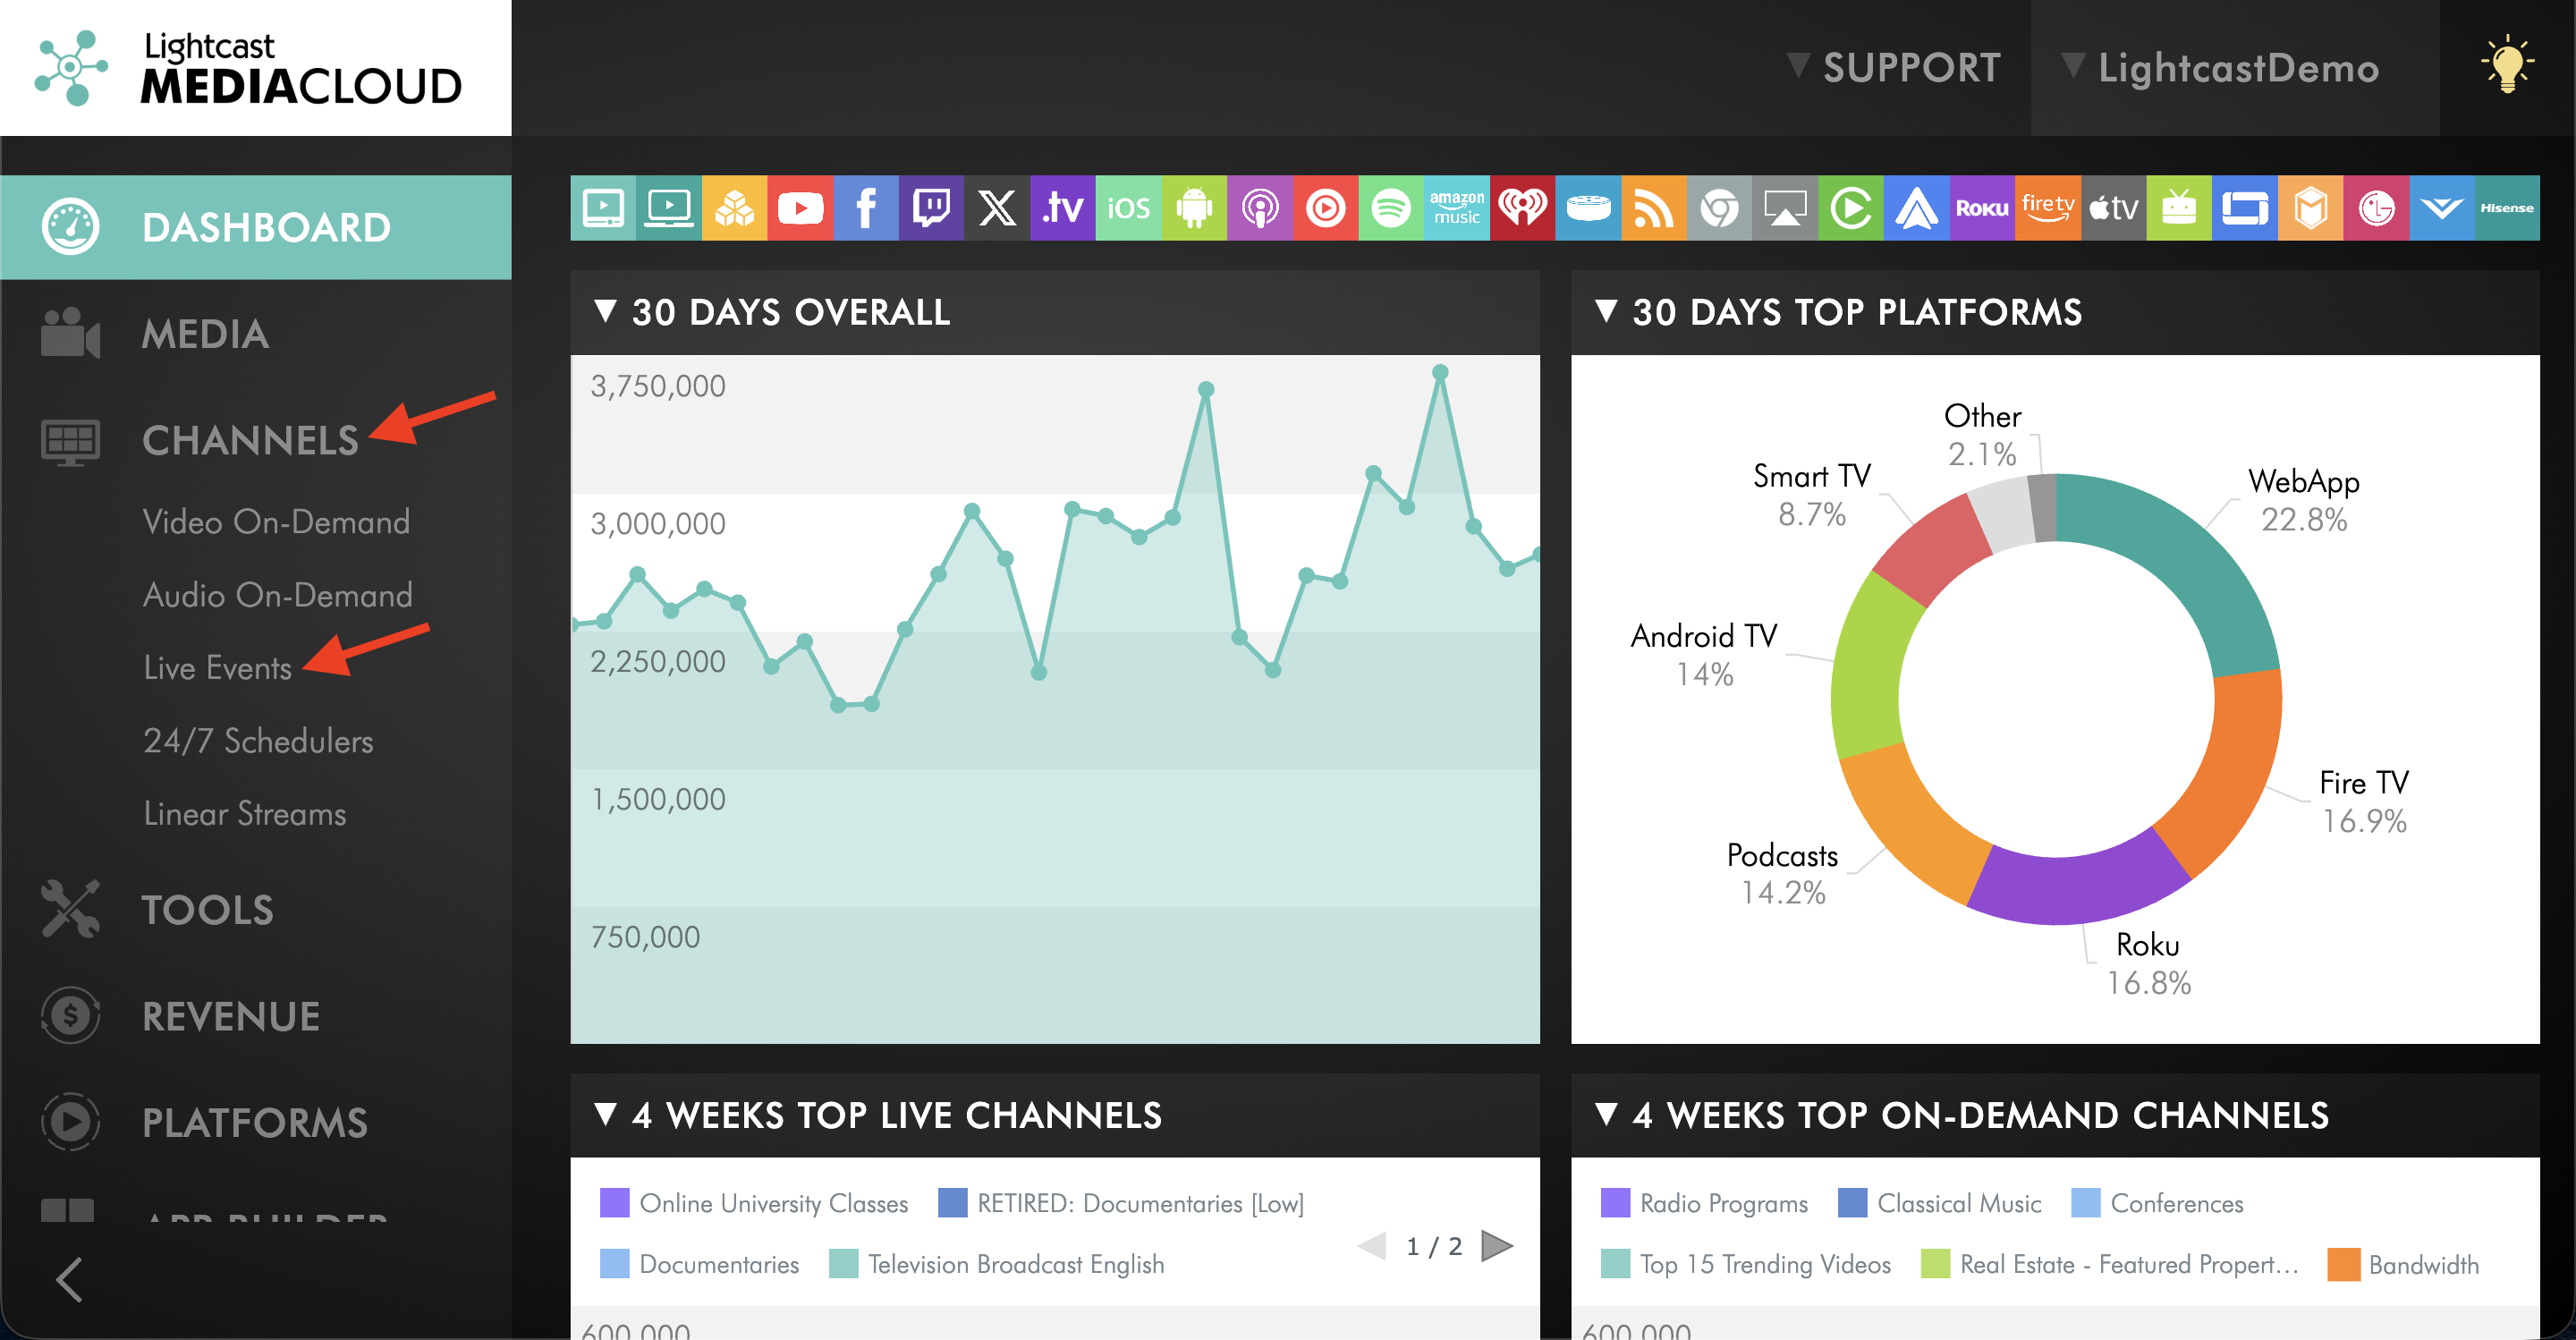
Go to CHANNELS, then select Live Events.
Step 3
Check the Channel status and Channel Type.
If your Channel shows UNUSED, you must activate it before streaming.
If your Channel is already ACTIVE, proceed to Step 2.
Activate an UNUSED LIVE Channel (if needed)
Step 1
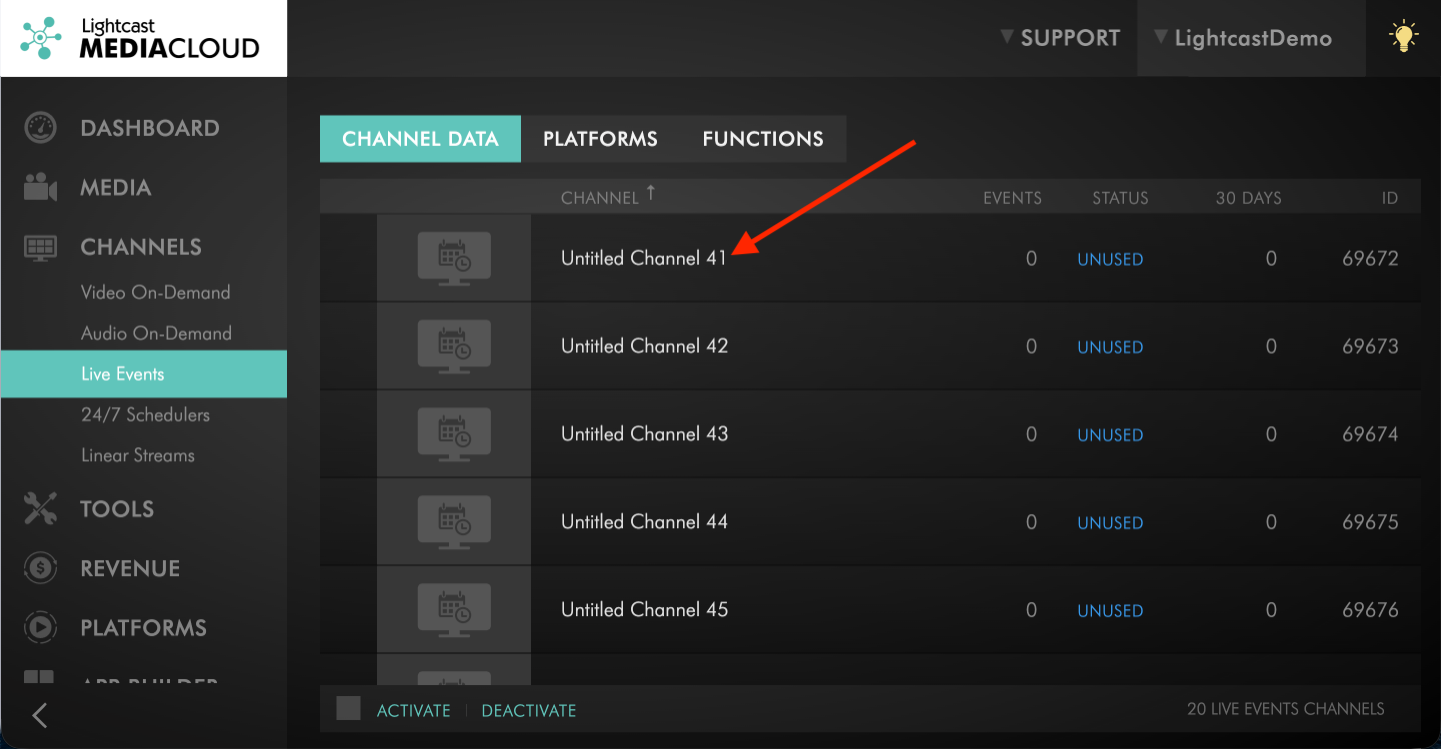
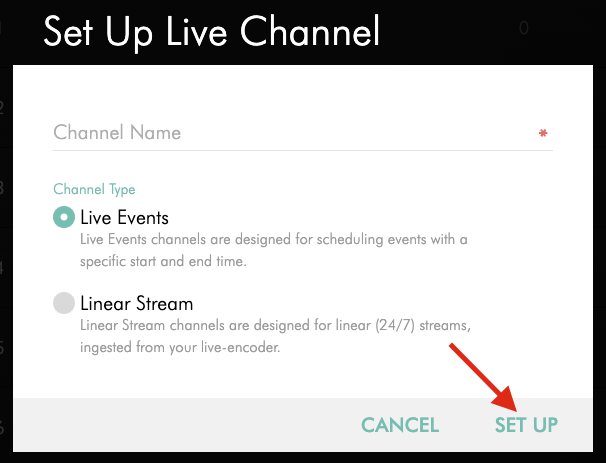
Open an UNUSED LIVE Channel.
Step 2
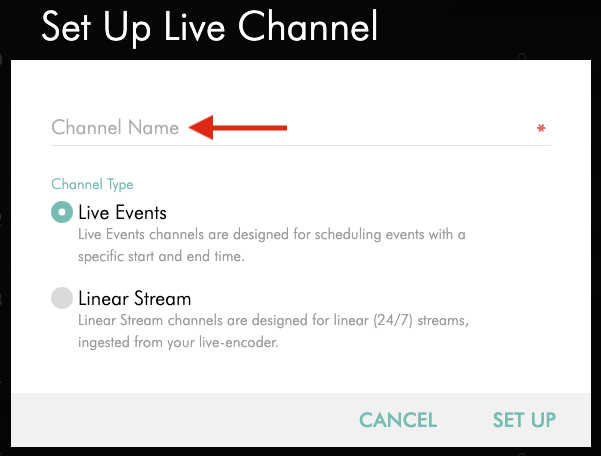
Enter a name for your LIVE Channel.
Step 3
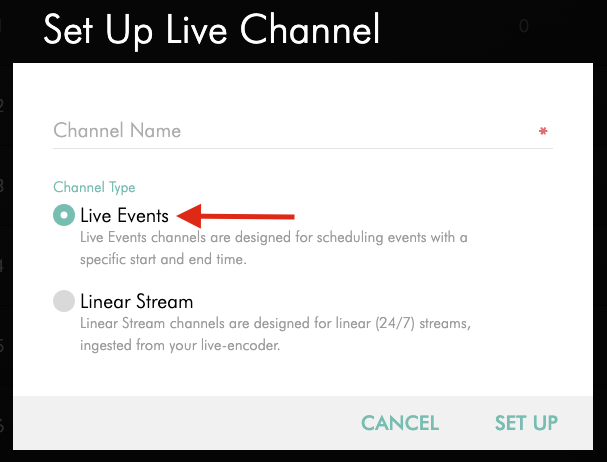
For Channel Type, leave Live Events selected.
Step 4
Click SET UP.
Your Channel is now ready for Live Event setup.
Step 2: Choose your ingestion method
Choose whether you want to ingest the stream using RTMP or SRT.
Use RTMP if your encoder supports standard RTMP streaming.
For RTMP, you will need the LIVE Channel’s Stream Key and CDN Access Point.
Use SRT if your encoder supports SRT and you want improved reliability for a long-distance or unstable network connection.
For SRT, you will need the LIVE Channel’s SRT Streaming URL.
To learn where to find these credentials, see How to find your LIVE Channel stream credentials.
After adding the correct credentials to your encoder, save your encoder settings.
Your encoder is now configured to send the stream to your LIVE Channel.
Next, create the scheduled Live Event before your broadcast begins.
Step 3: Create a Live Event
Before your broadcast begins, create a Live Event in the EVENTS tab of your Live Event Channel. A scheduled Live Event includes the event title, description, start time, end time, timezone, and any optional event settings you want to use.
For full step-by-step instructions, see How to schedule a Live Event.
Step 4: Start streaming from your encoder
Begin sending your RTMP or SRT stream before the scheduled event start time.
Starting early gives you time to confirm the stream is connecting correctly and that audio and video are working as expected.
Step 5: Add your Live Events Channel to your apps
Step 1
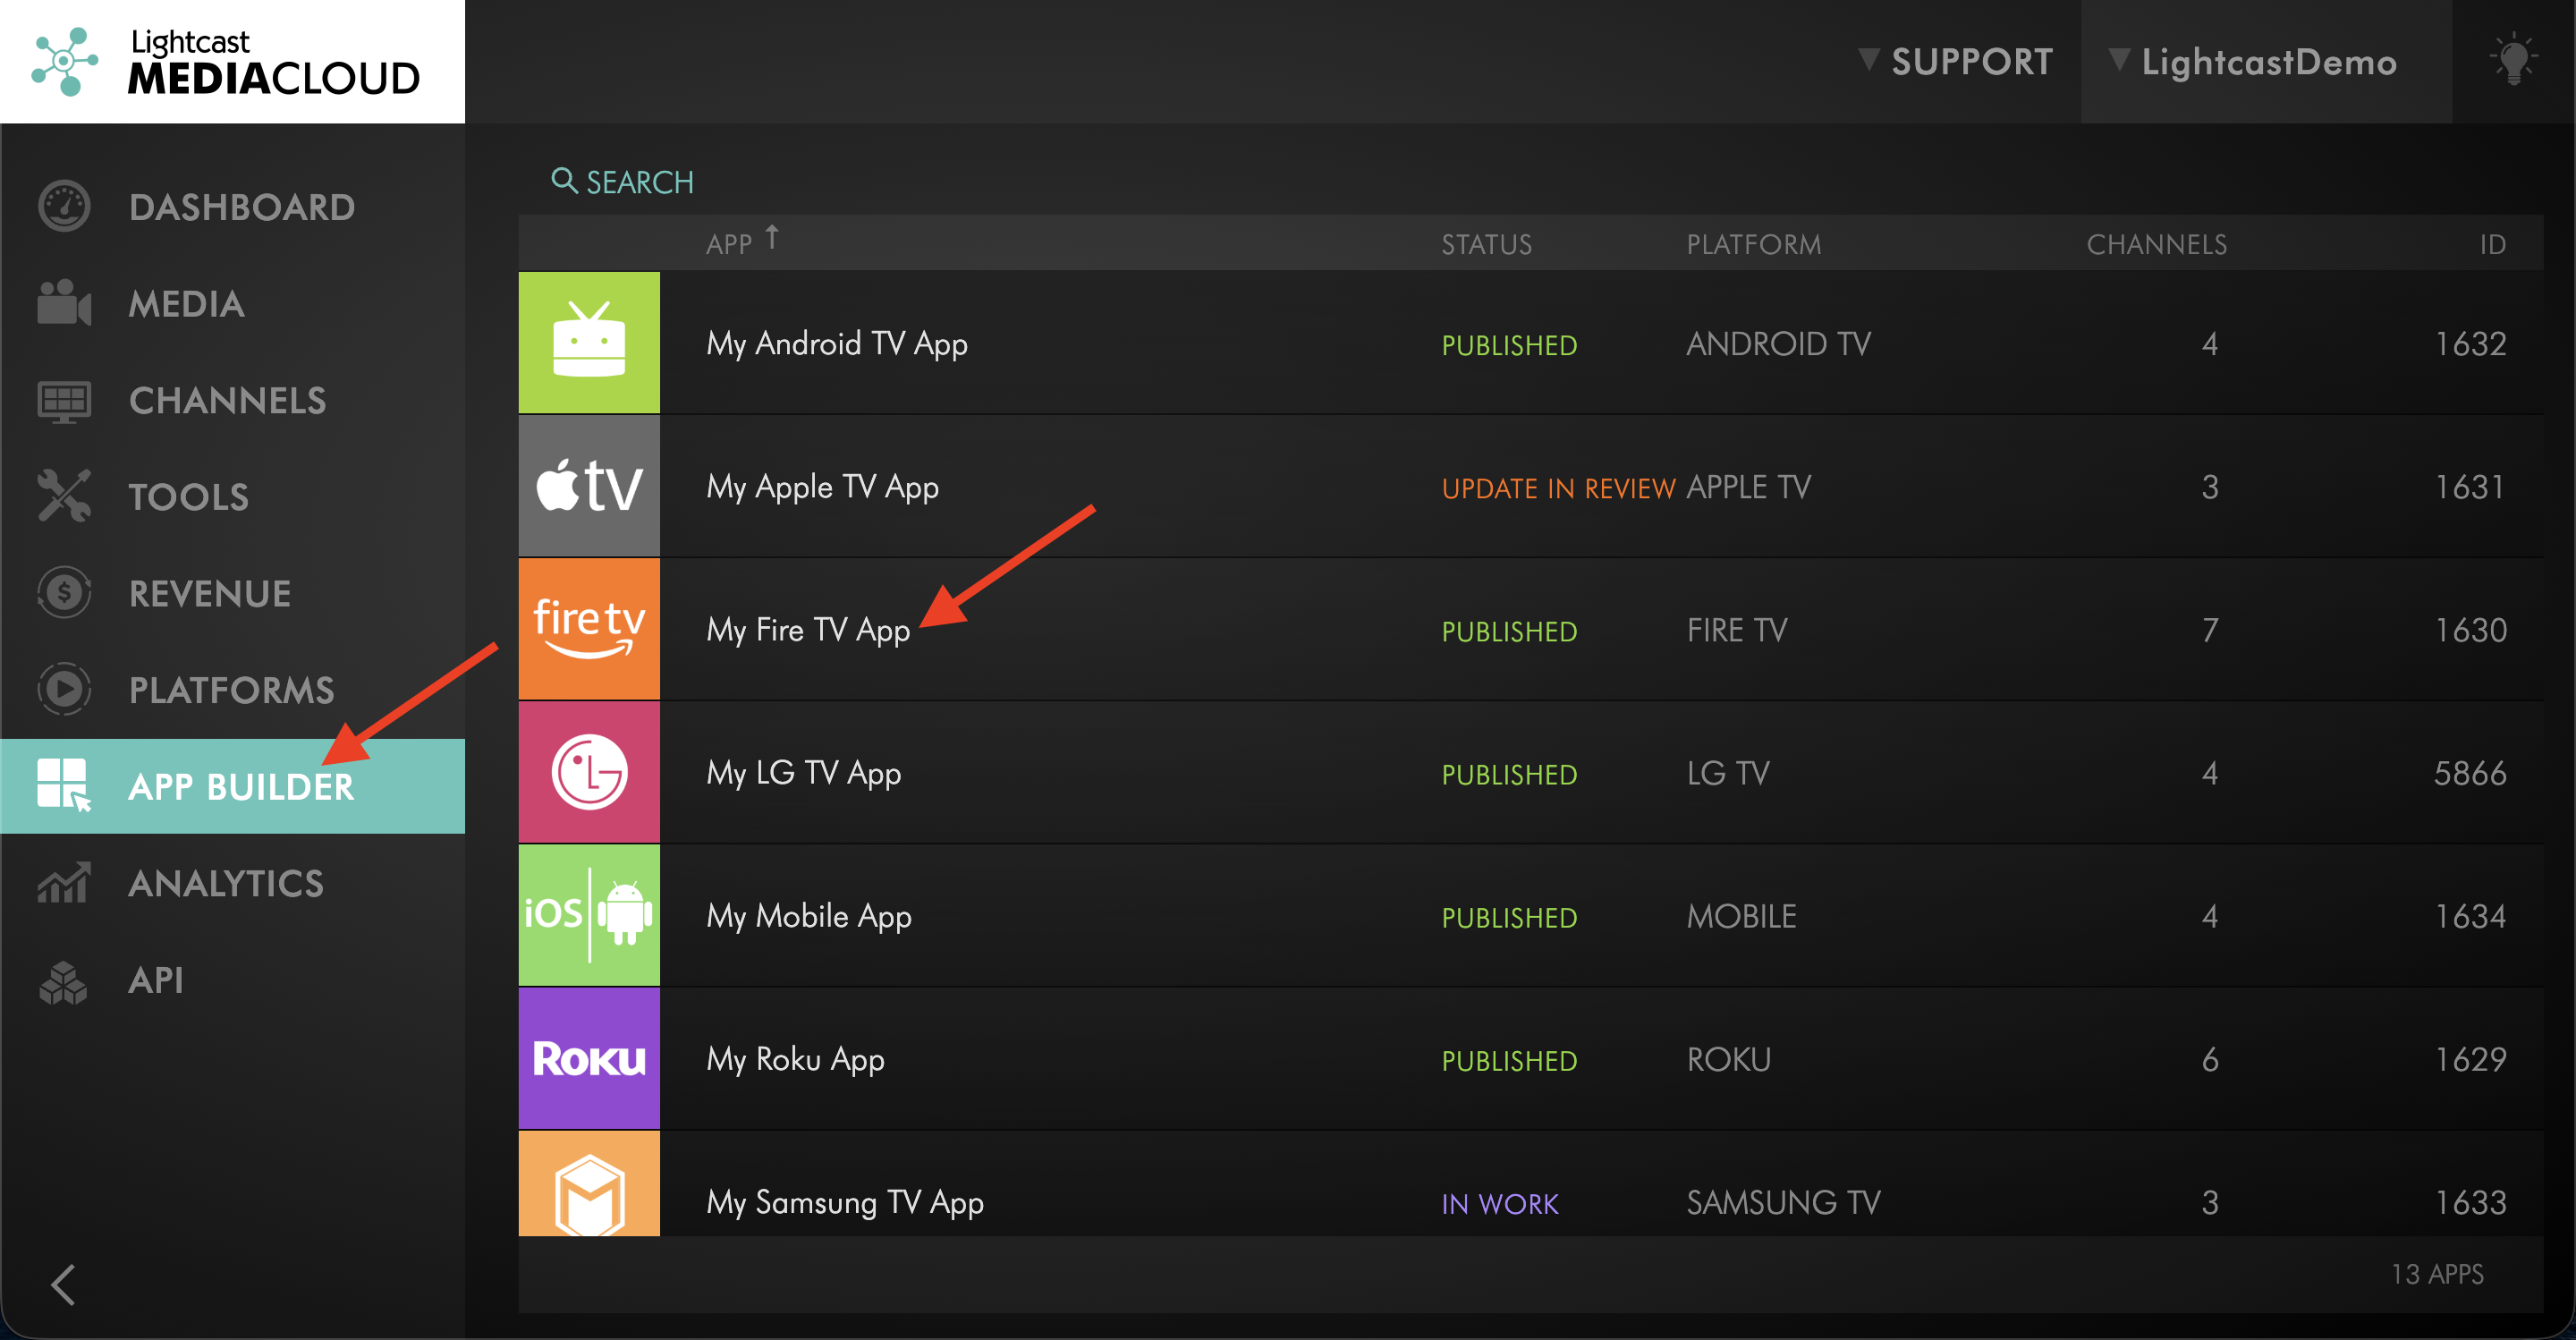
Open the App Builder and select an app.
Step 2
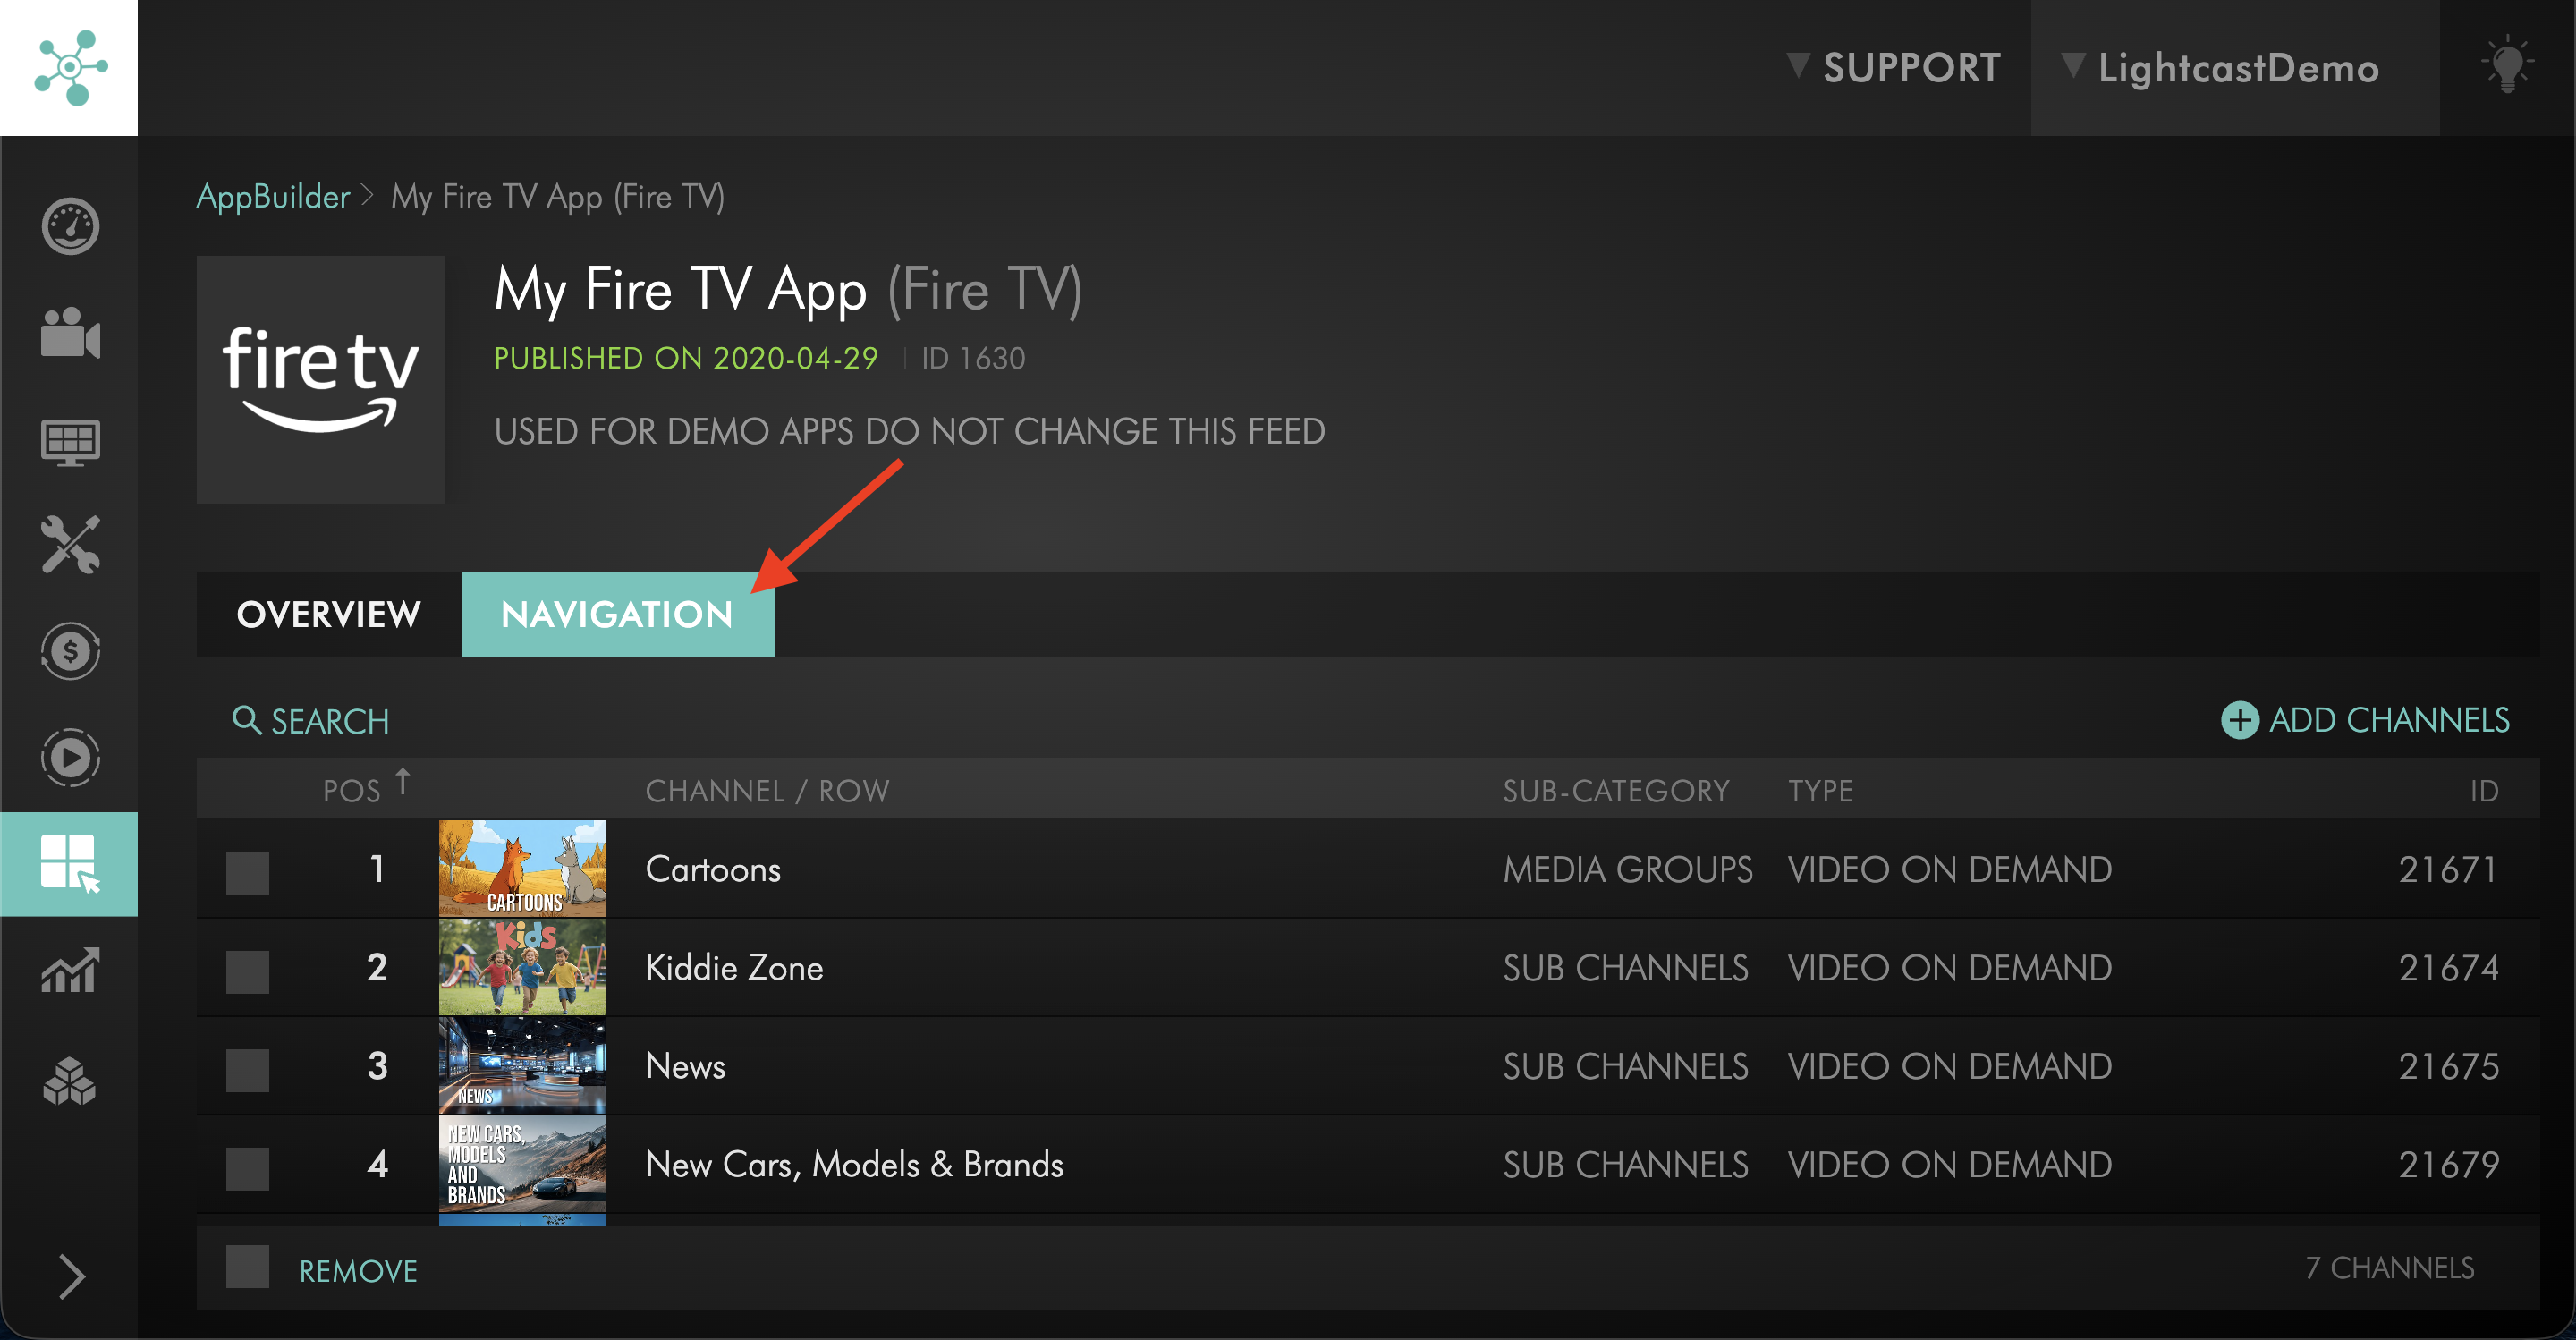
Go to the NAVIGATION tab.
Step 3
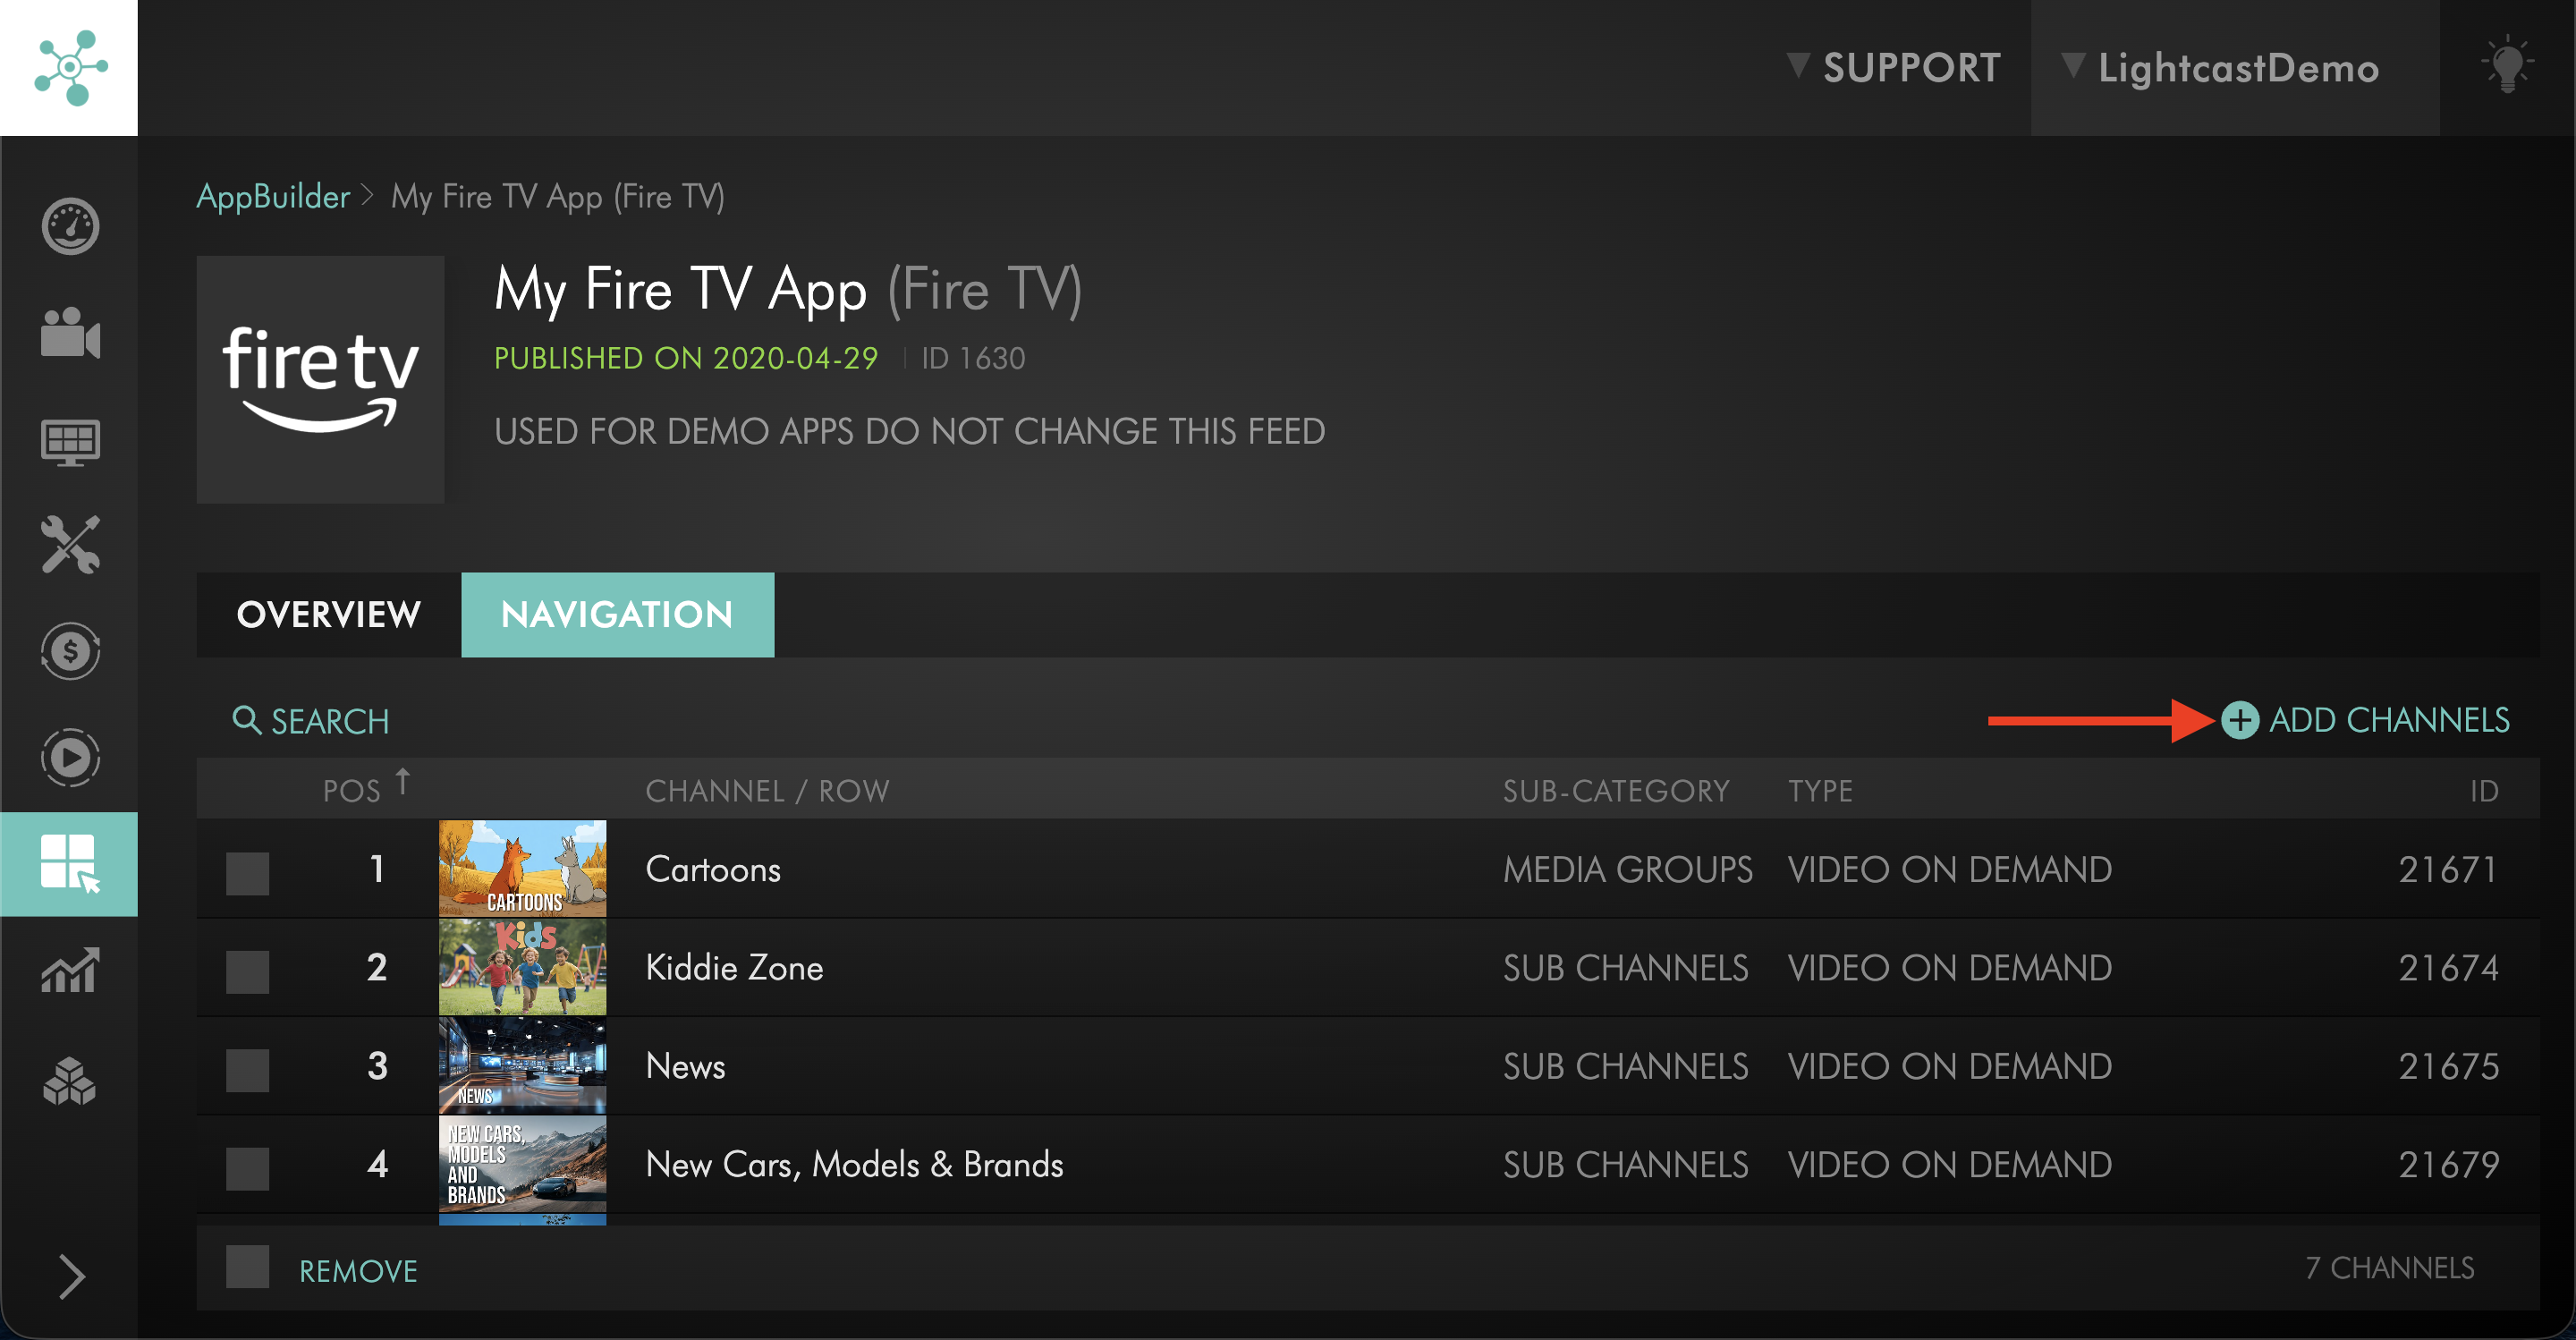
Click + ADD CHANNELS to add your LIVE Channel to your app layout.
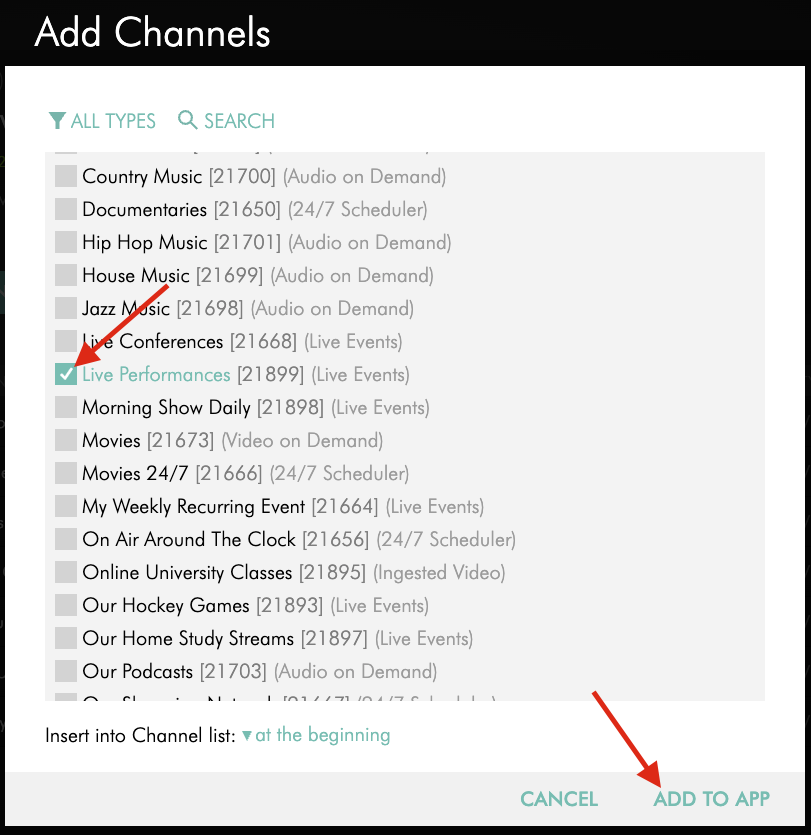
Step 4
Select your Channel(s) and click ADD TO APP to publish your app updates.
FAQs
Do I need to create a Live Event before streaming?
Yes. A Live Event must be created in the EVENTS tab before your scheduled broadcast begins.
What happens if I stream without creating a Live Event?
The stream may not appear as expected in apps or on the web player. Creating the Live Event first ensures the Channel is prepared for the scheduled broadcast.
What is the difference between a Live Event and a 24/7 Linear Stream?
A Live Event is scheduled with defined start and end times. A Linear Stream runs continuously (24/7) and does not require scheduling.
If you plan to broadcast continuously, use a Linear Stream instead.
Which ingestion method should I use — RTMP or SRT?
RTMP is simple and widely supported.
SRT is recommended when you need improved reliability or lower latency, especially on unstable networks.
Where can I find my Stream Key, CDN Access Point, or SRT Streaming URL?
Your LIVE Channel stream credentials are located in the LIVE Channel’s STREAM tab.
For step-by-step instructions, see How to find your LIVE Channel stream credentials.
Why is no video showing after I start streaming?
Common causes include an incorrect Stream Key, incorrect Server URL or SRT address, no Live Event being created, or the encoder not actively sending a signal.
Verify your encoder settings and confirm the event is scheduled correctly. If the behavior continues, review the Troubleshooting Guide.
Will the Stream Key stay the same?
Yes. A LIVE Channel’s Stream Key usually stays the same unless you request a new one or Lightcast needs to update it for support, security, or system-related reasons.
Can different LIVE Channels stream different content at the same time?
Yes. Each LIVE Channel can be used independently. For example, you can use different LIVE Channels for different events, different websites, different embed codes, or different bitrate qualities, depending on your setup and package.
Encoder Configuration Support: https://encoderconfig.lightcast.com/