
How to add or manage Live Event Images
Overview
This article explains how to add, replace, or remove a Live Event Image for a Live Event in the Media Cloud.
Live Event Images allow you to display a custom image for an upcoming Live Event, helping you maintain consistent branding across supported viewing experiences.
For details about where and how these images appear, Understanding Live Event Images.
When to add or manage a Live Event Image
Use this feature when you want to:
Add a custom image to an upcoming Live Event
Display an event-specific image during the countdown in supported players and apps
Replace the default thumbnail of a Simulated Live Event
Update or remove an existing Live Event Image
Maintain consistent branding across supported Live Event and VOD experiences
Before you begin
Before adding or updating a Live Event Image, keep the following in mind:
Supported image formats: JPG and PNG.
Image dimensions: The image must have a 16:9 aspect ratio and be at least 1024 pixels wide. A width of 1280 pixels is recommended.
File size: There is no maximum file size, but we recommend keeping images under 5 MB.
Image design: Live Event Images can contain text, logos, and other graphics. However, when used as a countdown background, text or other important information near the bottom of the image may be covered by the countdown display.
Countdown display: The Use Image for Player Countdown option is selected by default when you add a Live Event Image. When enabled, the image can appear as the countdown background in supported players and apps. If you do not want to use the image during the countdown, deselect this option.
Simulated Live Events: The Media Cloud may automatically use the selected video's thumbnail as the default Live Event Image. You can replace it with a custom image.
Existing Live Events: You can add, replace, or remove images from existing Live Events while their settings are still editable. Editing becomes unavailable less than 5 minutes before the scheduled start time, and Live Event settings cannot be changed once the event has started.
Supported experiences: Live Event Image display depends on the player, app framework, API integration, and publishing setup. Some Web Apps and mobile apps may require an update to the latest framework to support Live Event Images.
If you disable Use Image for Player Countdown, the countdown screen uses the Player Background Image assigned to the Live Events Channel. If no Player Background Image has been uploaded, the default Lightcast countdown placeholder graphic will be displayed.
For more information, see Understanding Live Event Images.
Instructions
Add a Live Event Image while creating a Live Event
Step 1
Log in to your Media Cloud account.
Step 2
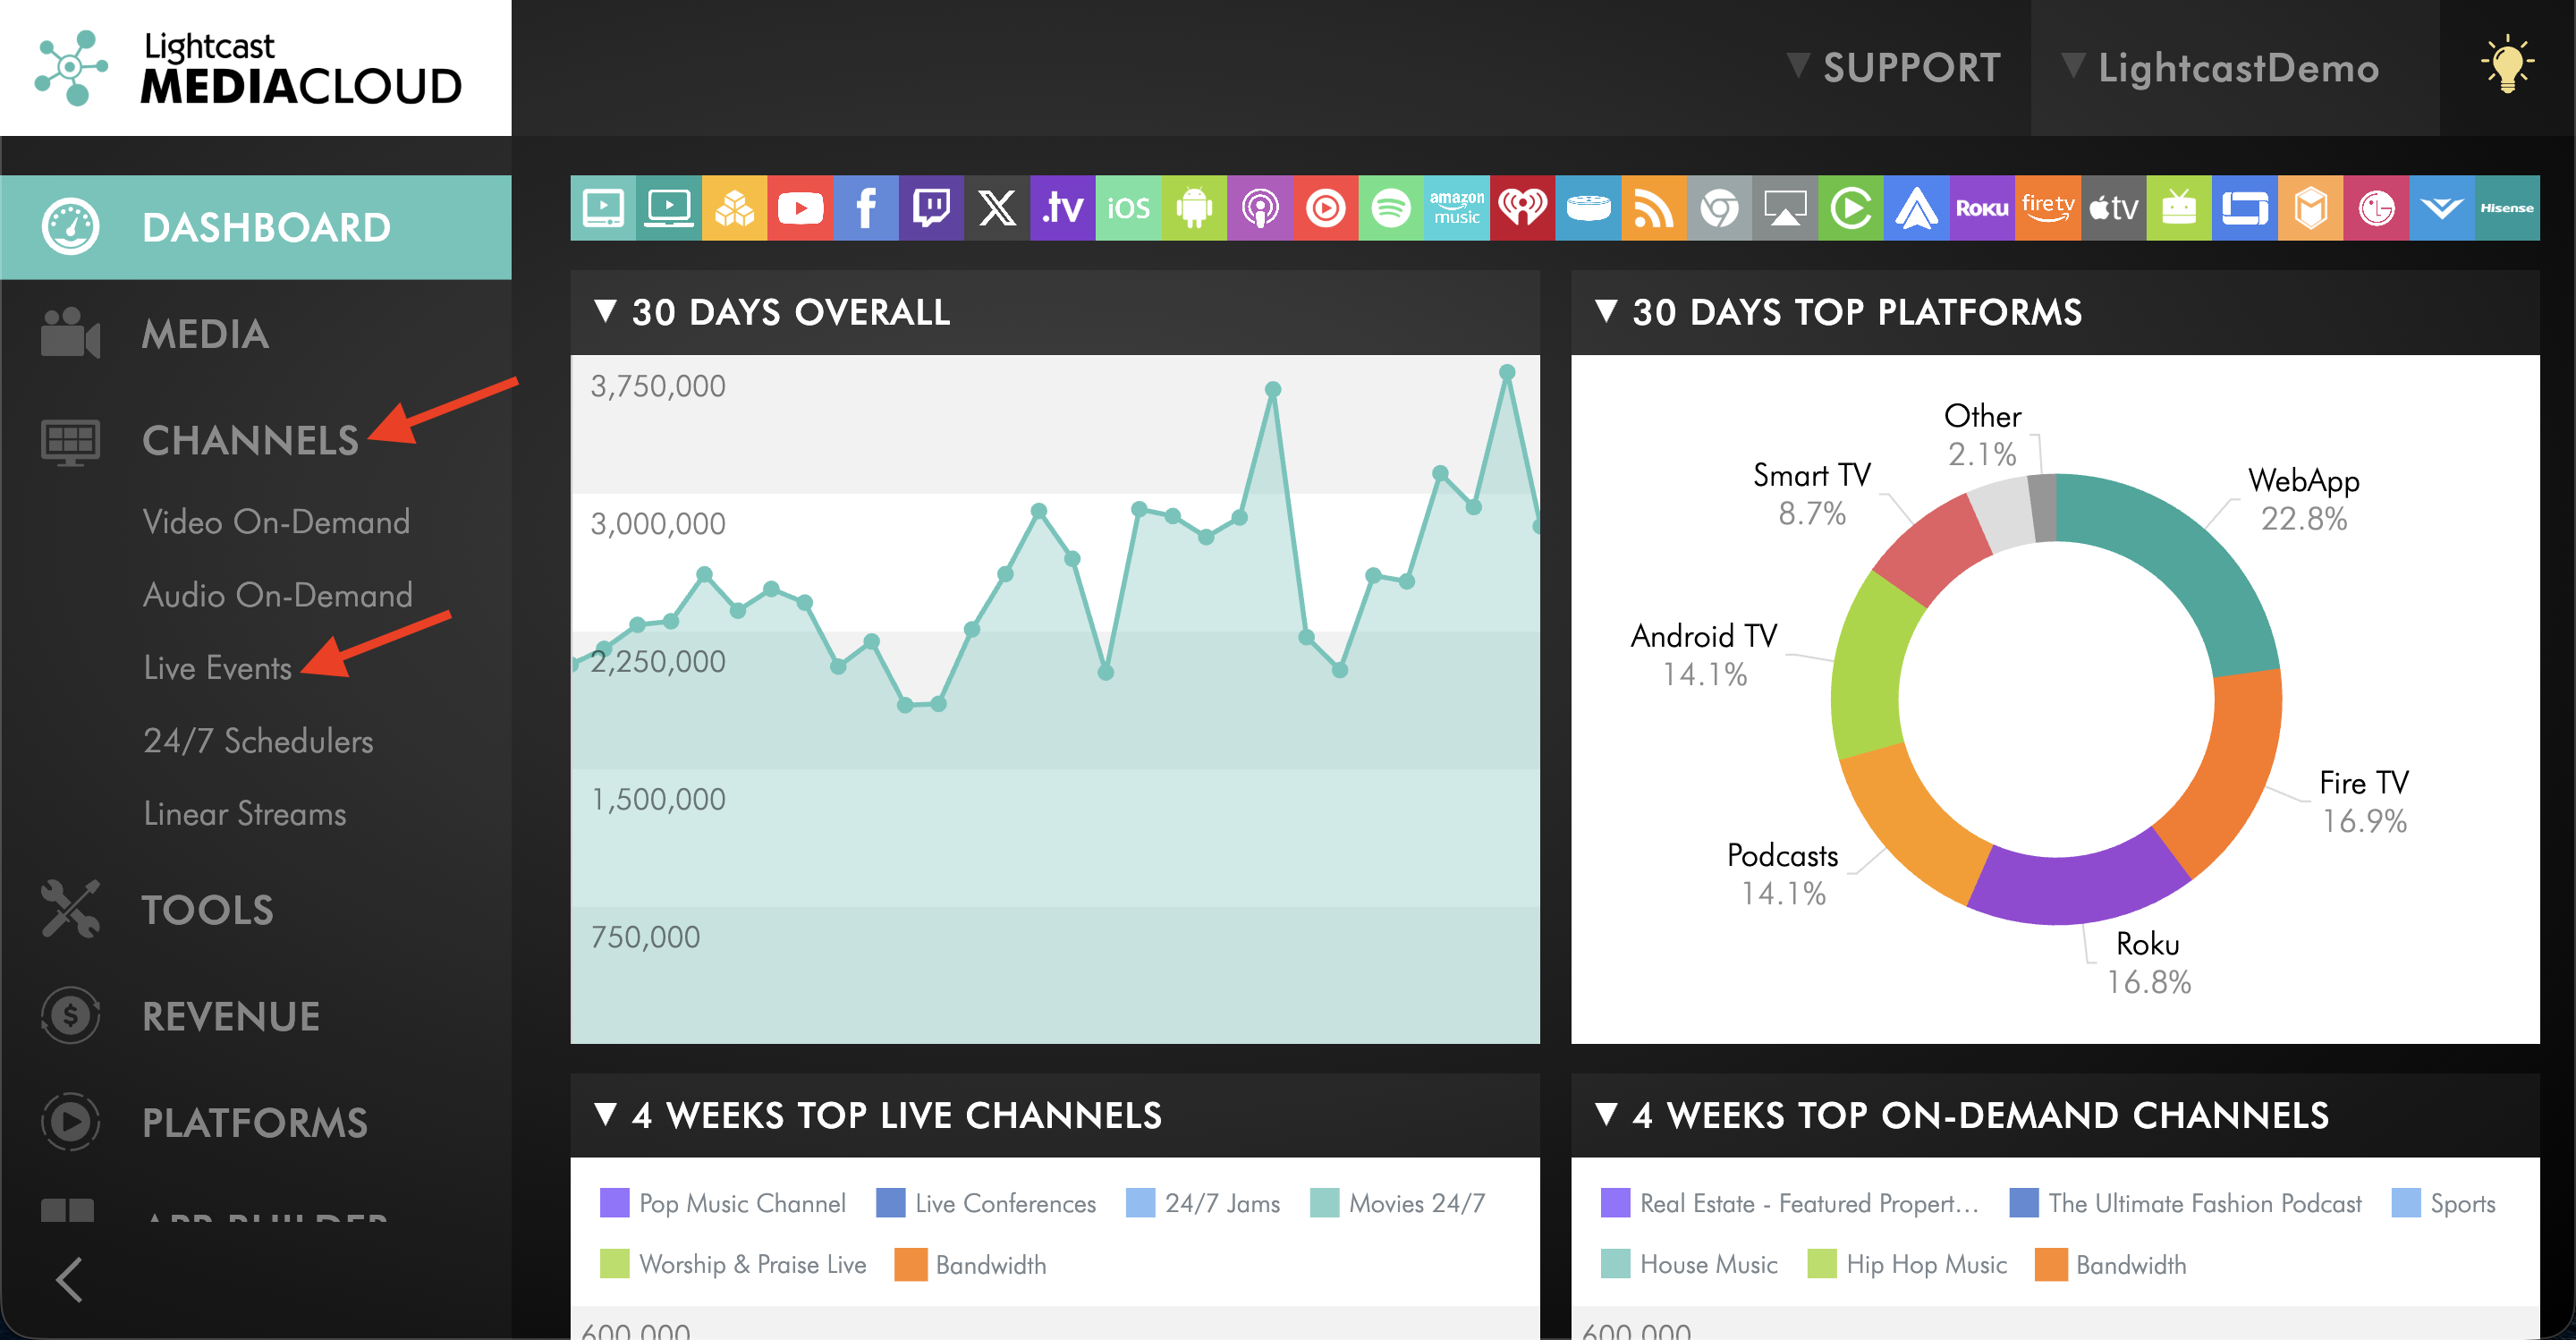
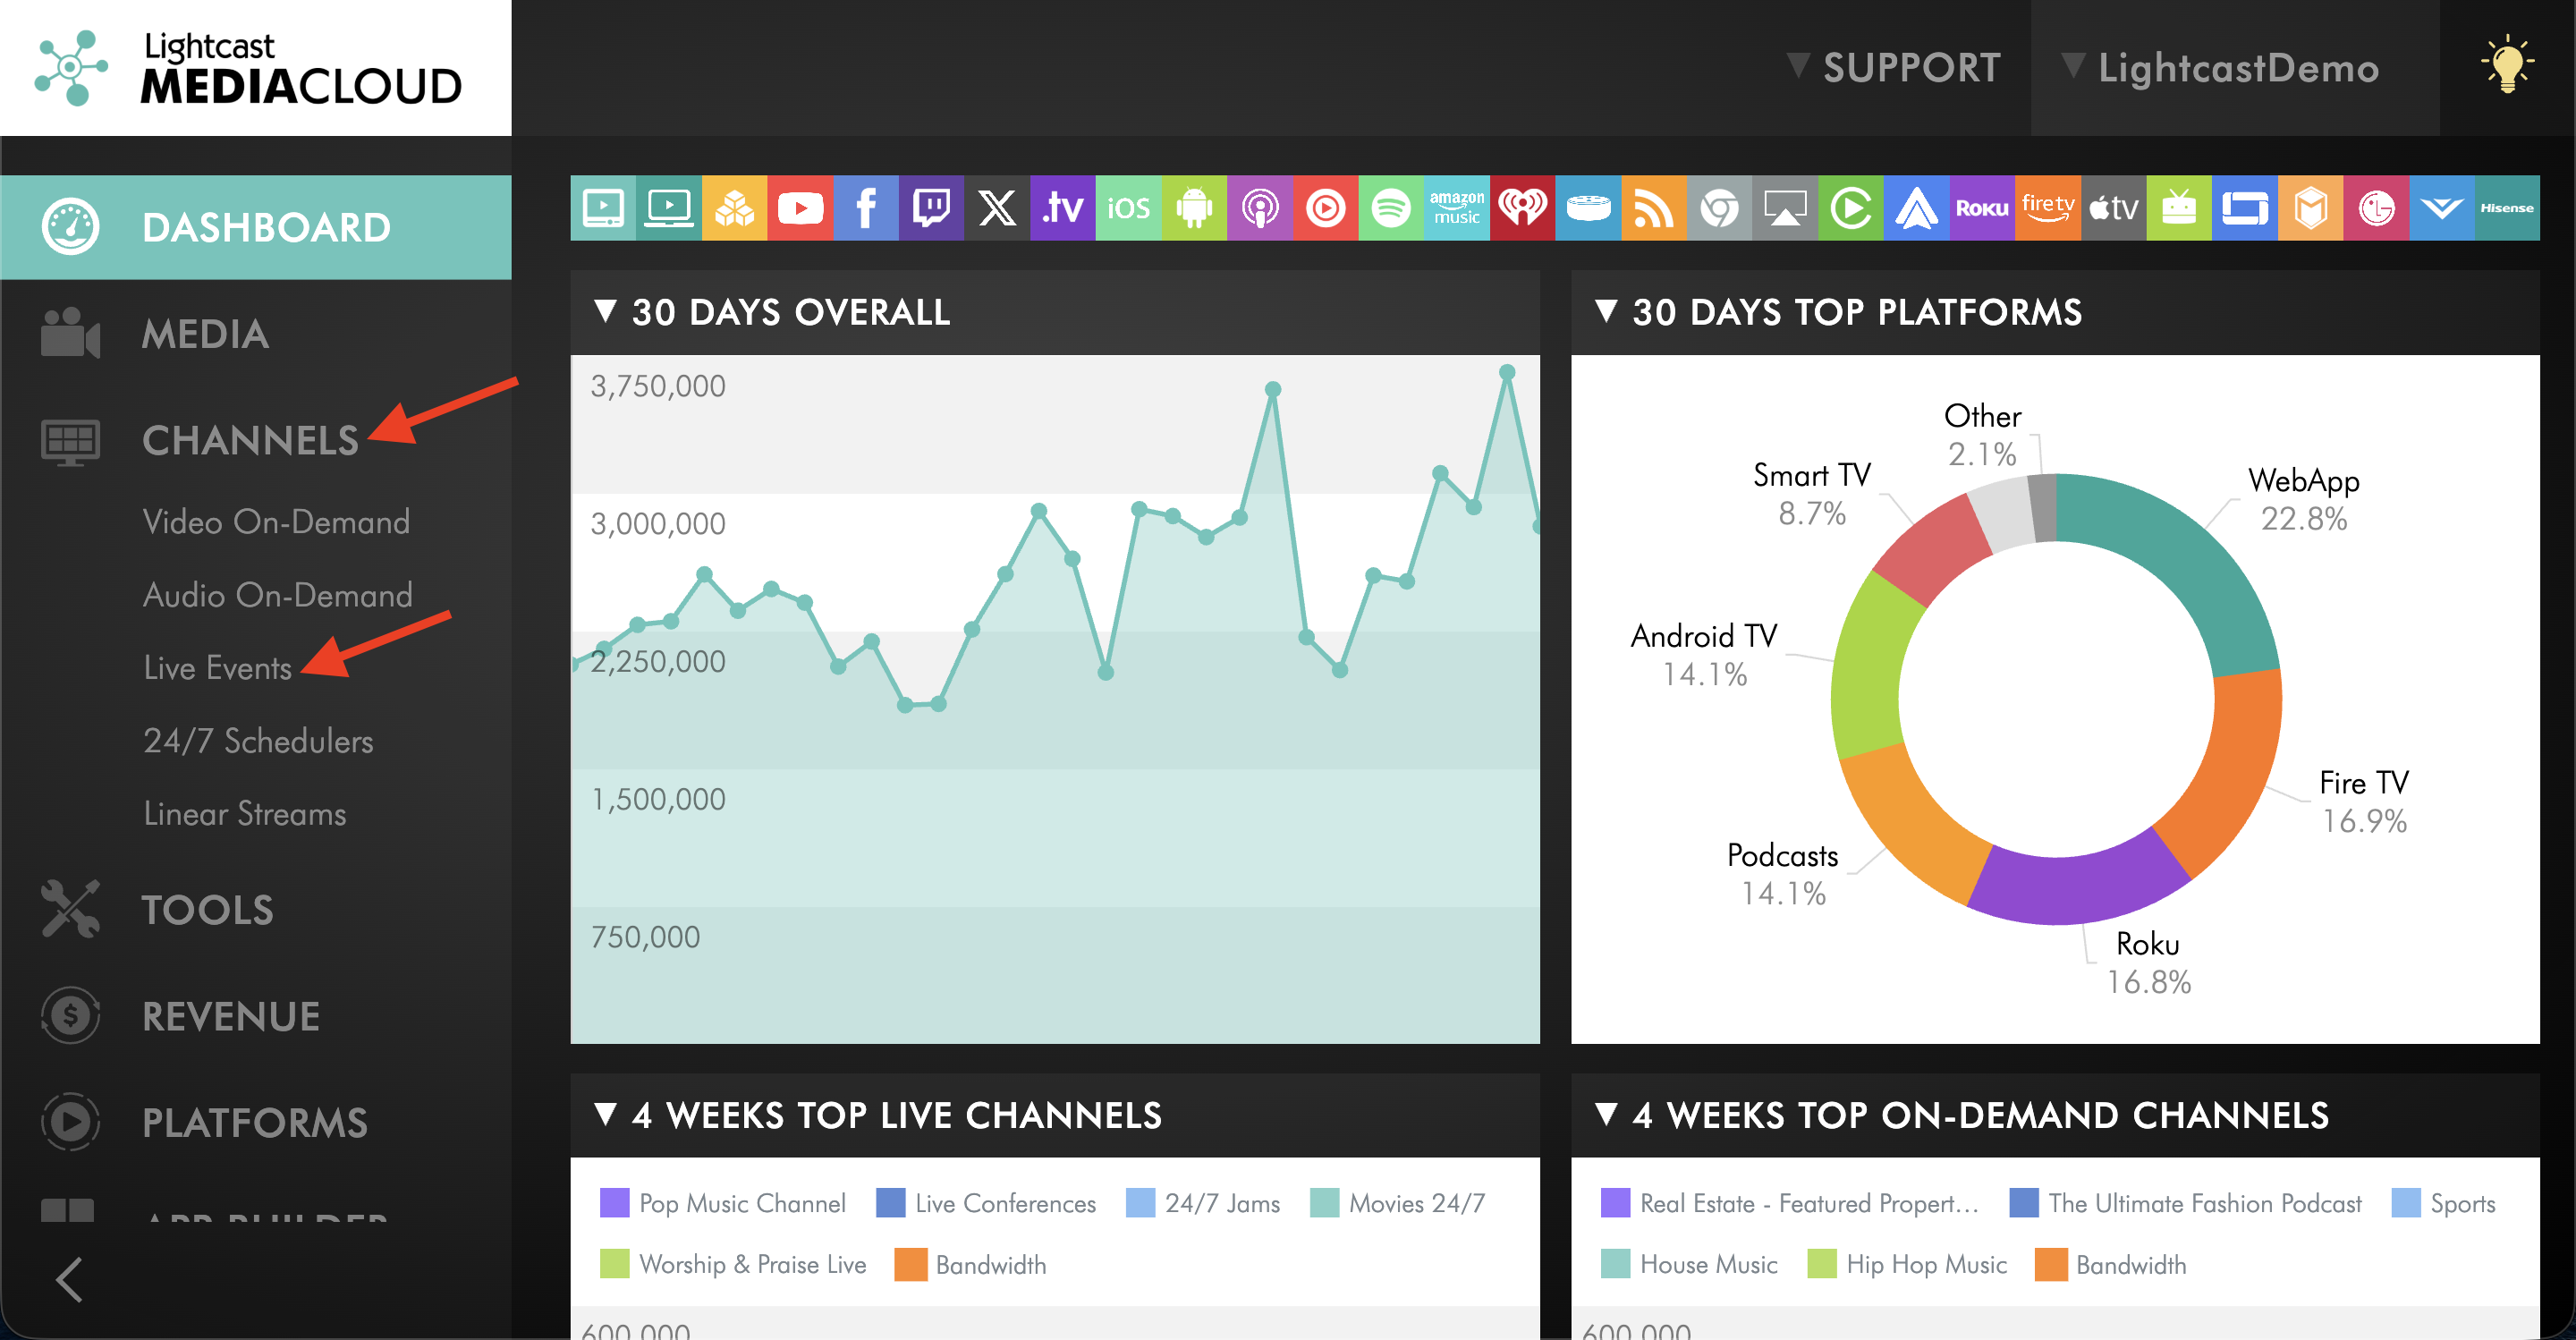
Go to CHANNELS, then select Live Events.
Step 3
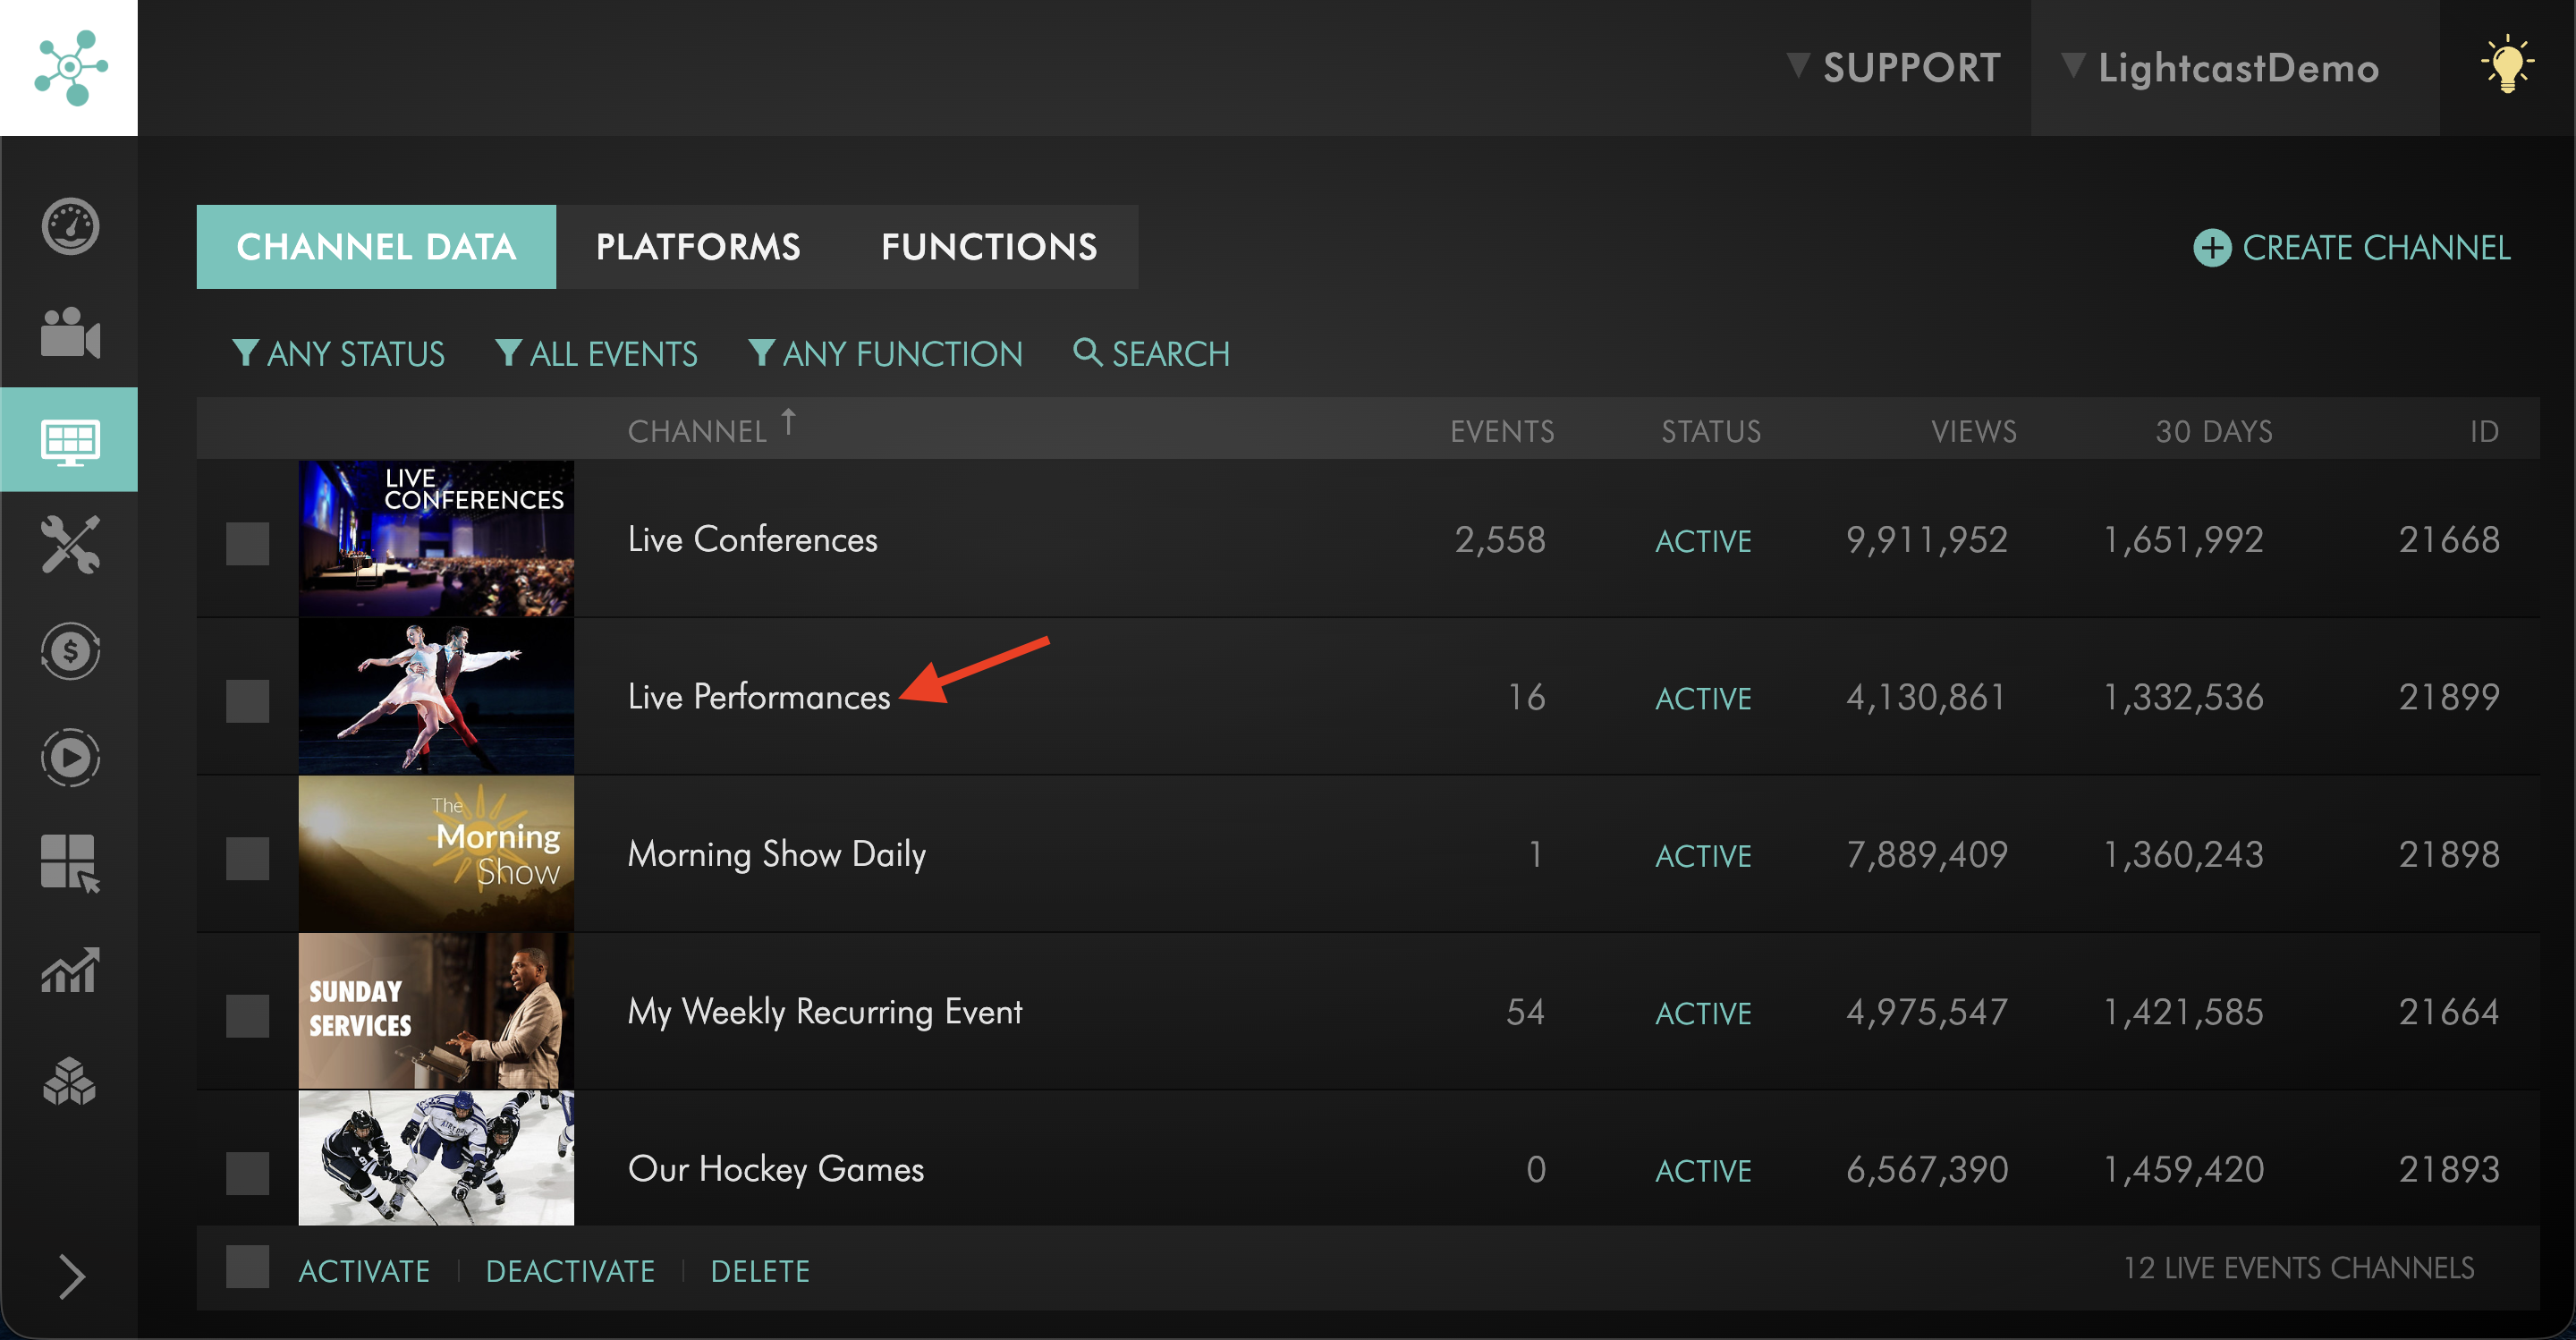
Select the Live Events Channel where you want to create the Live Event.
Step 4
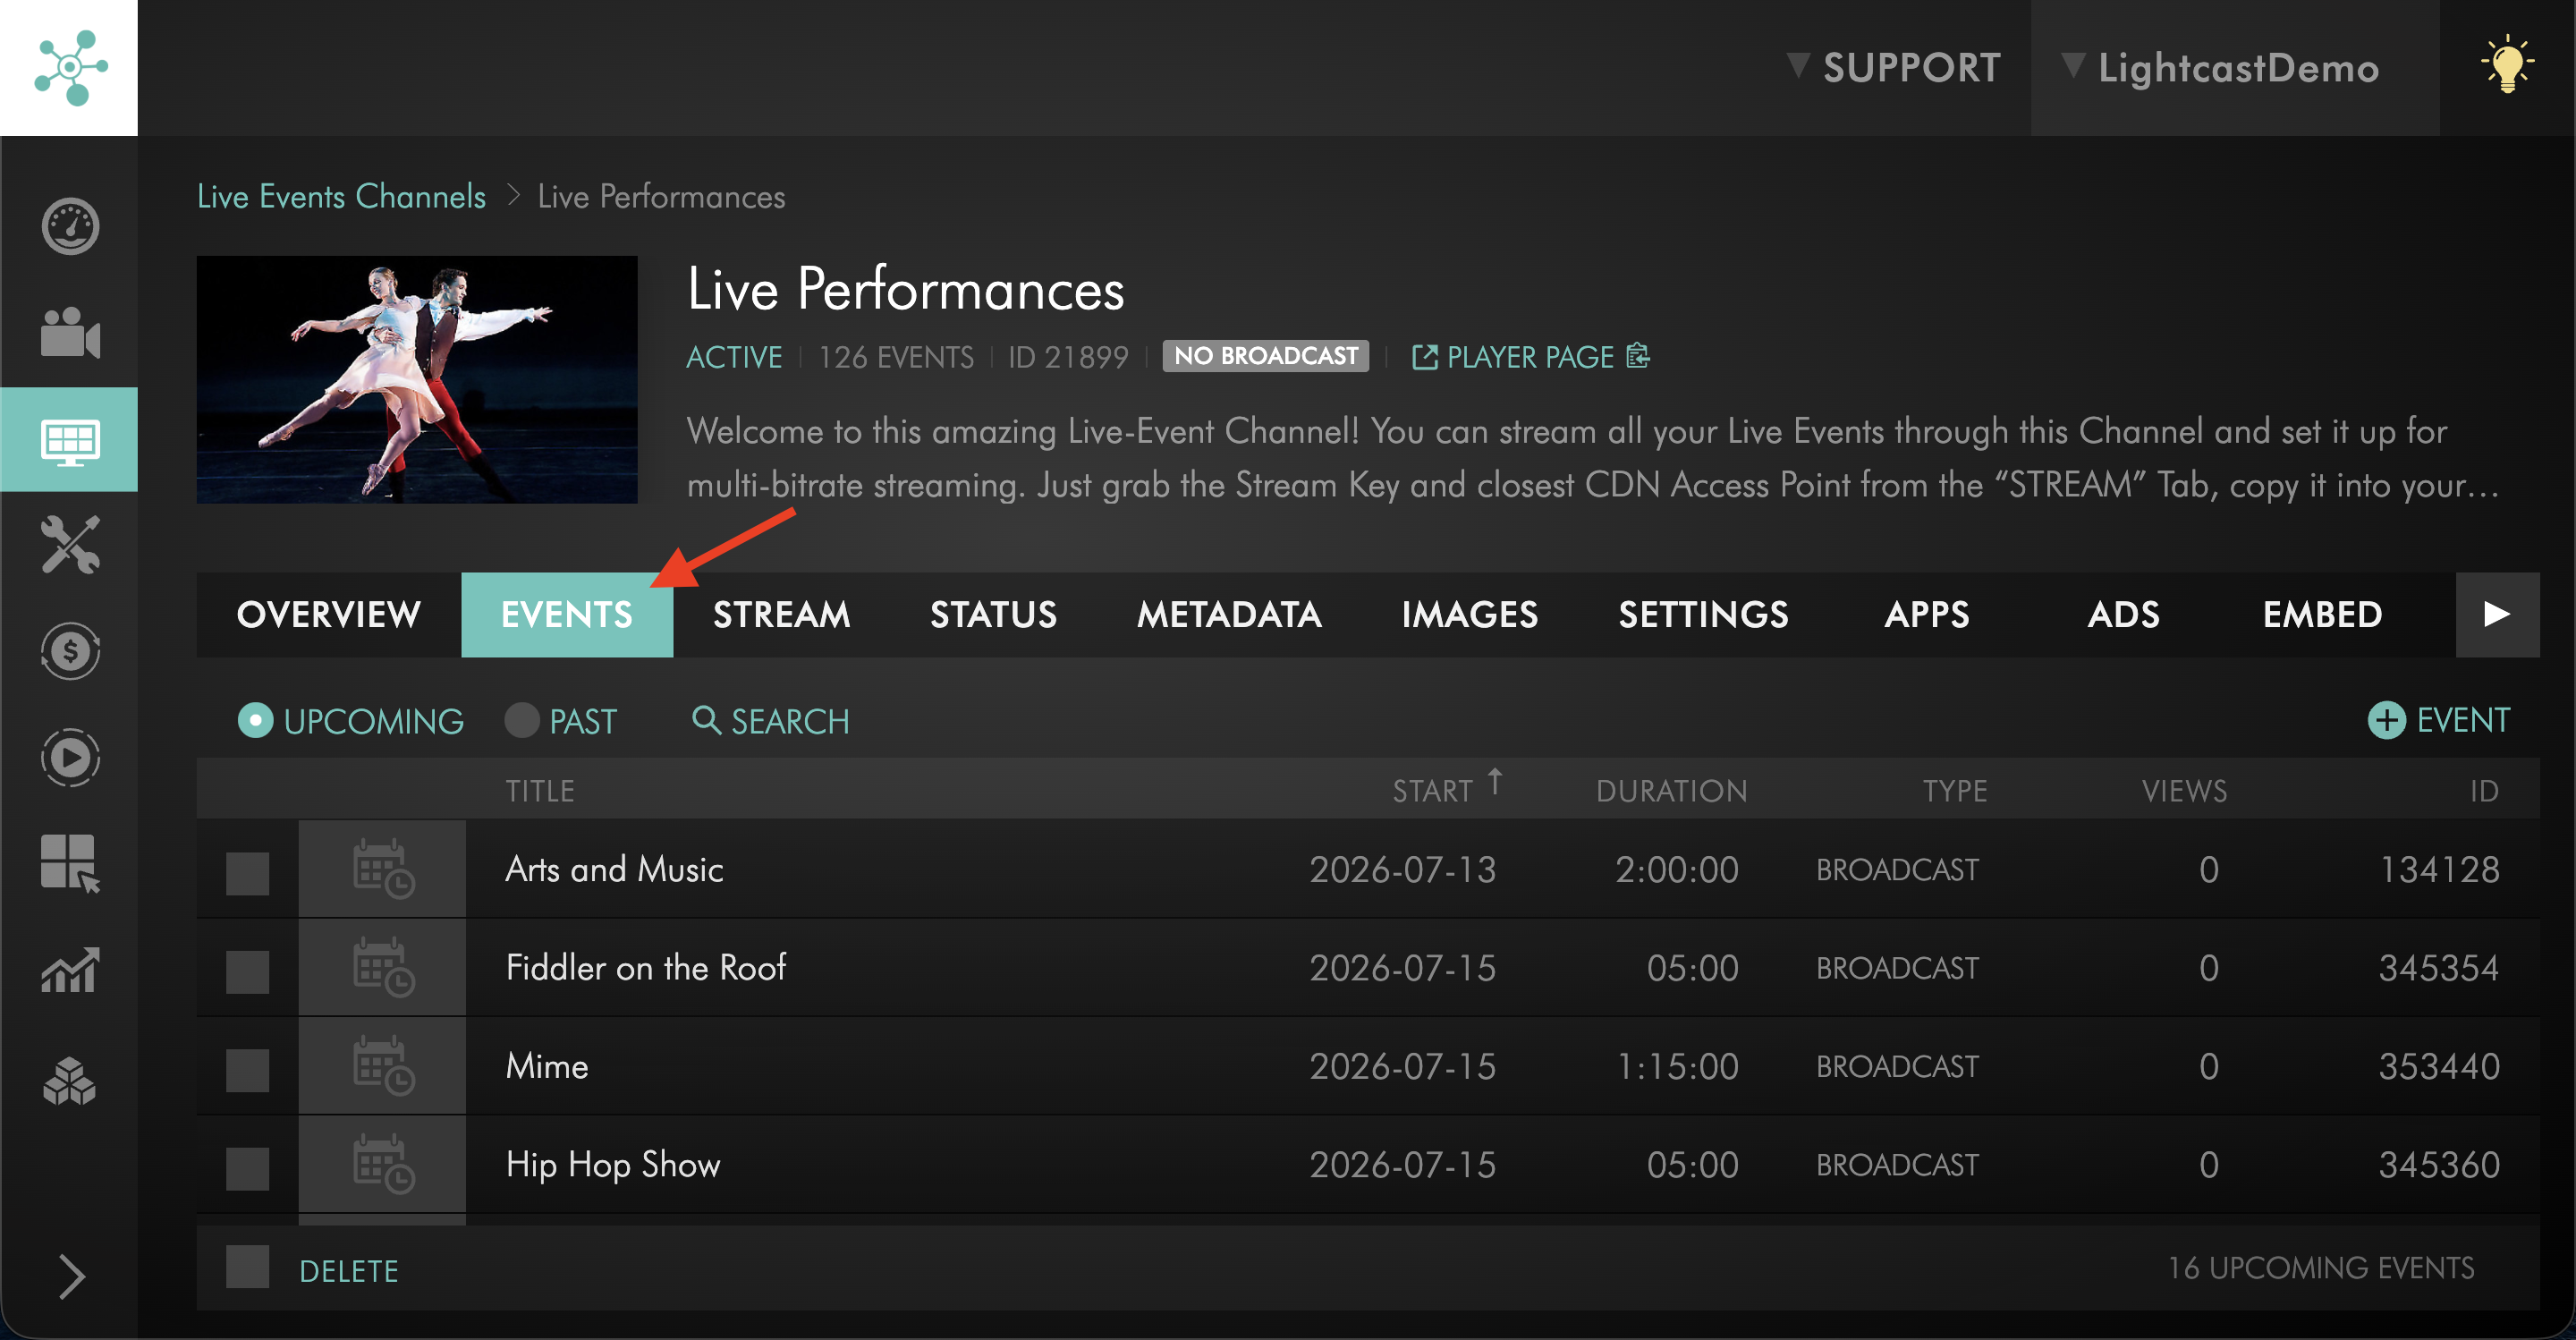
Click the EVENTS tab.
Step 5
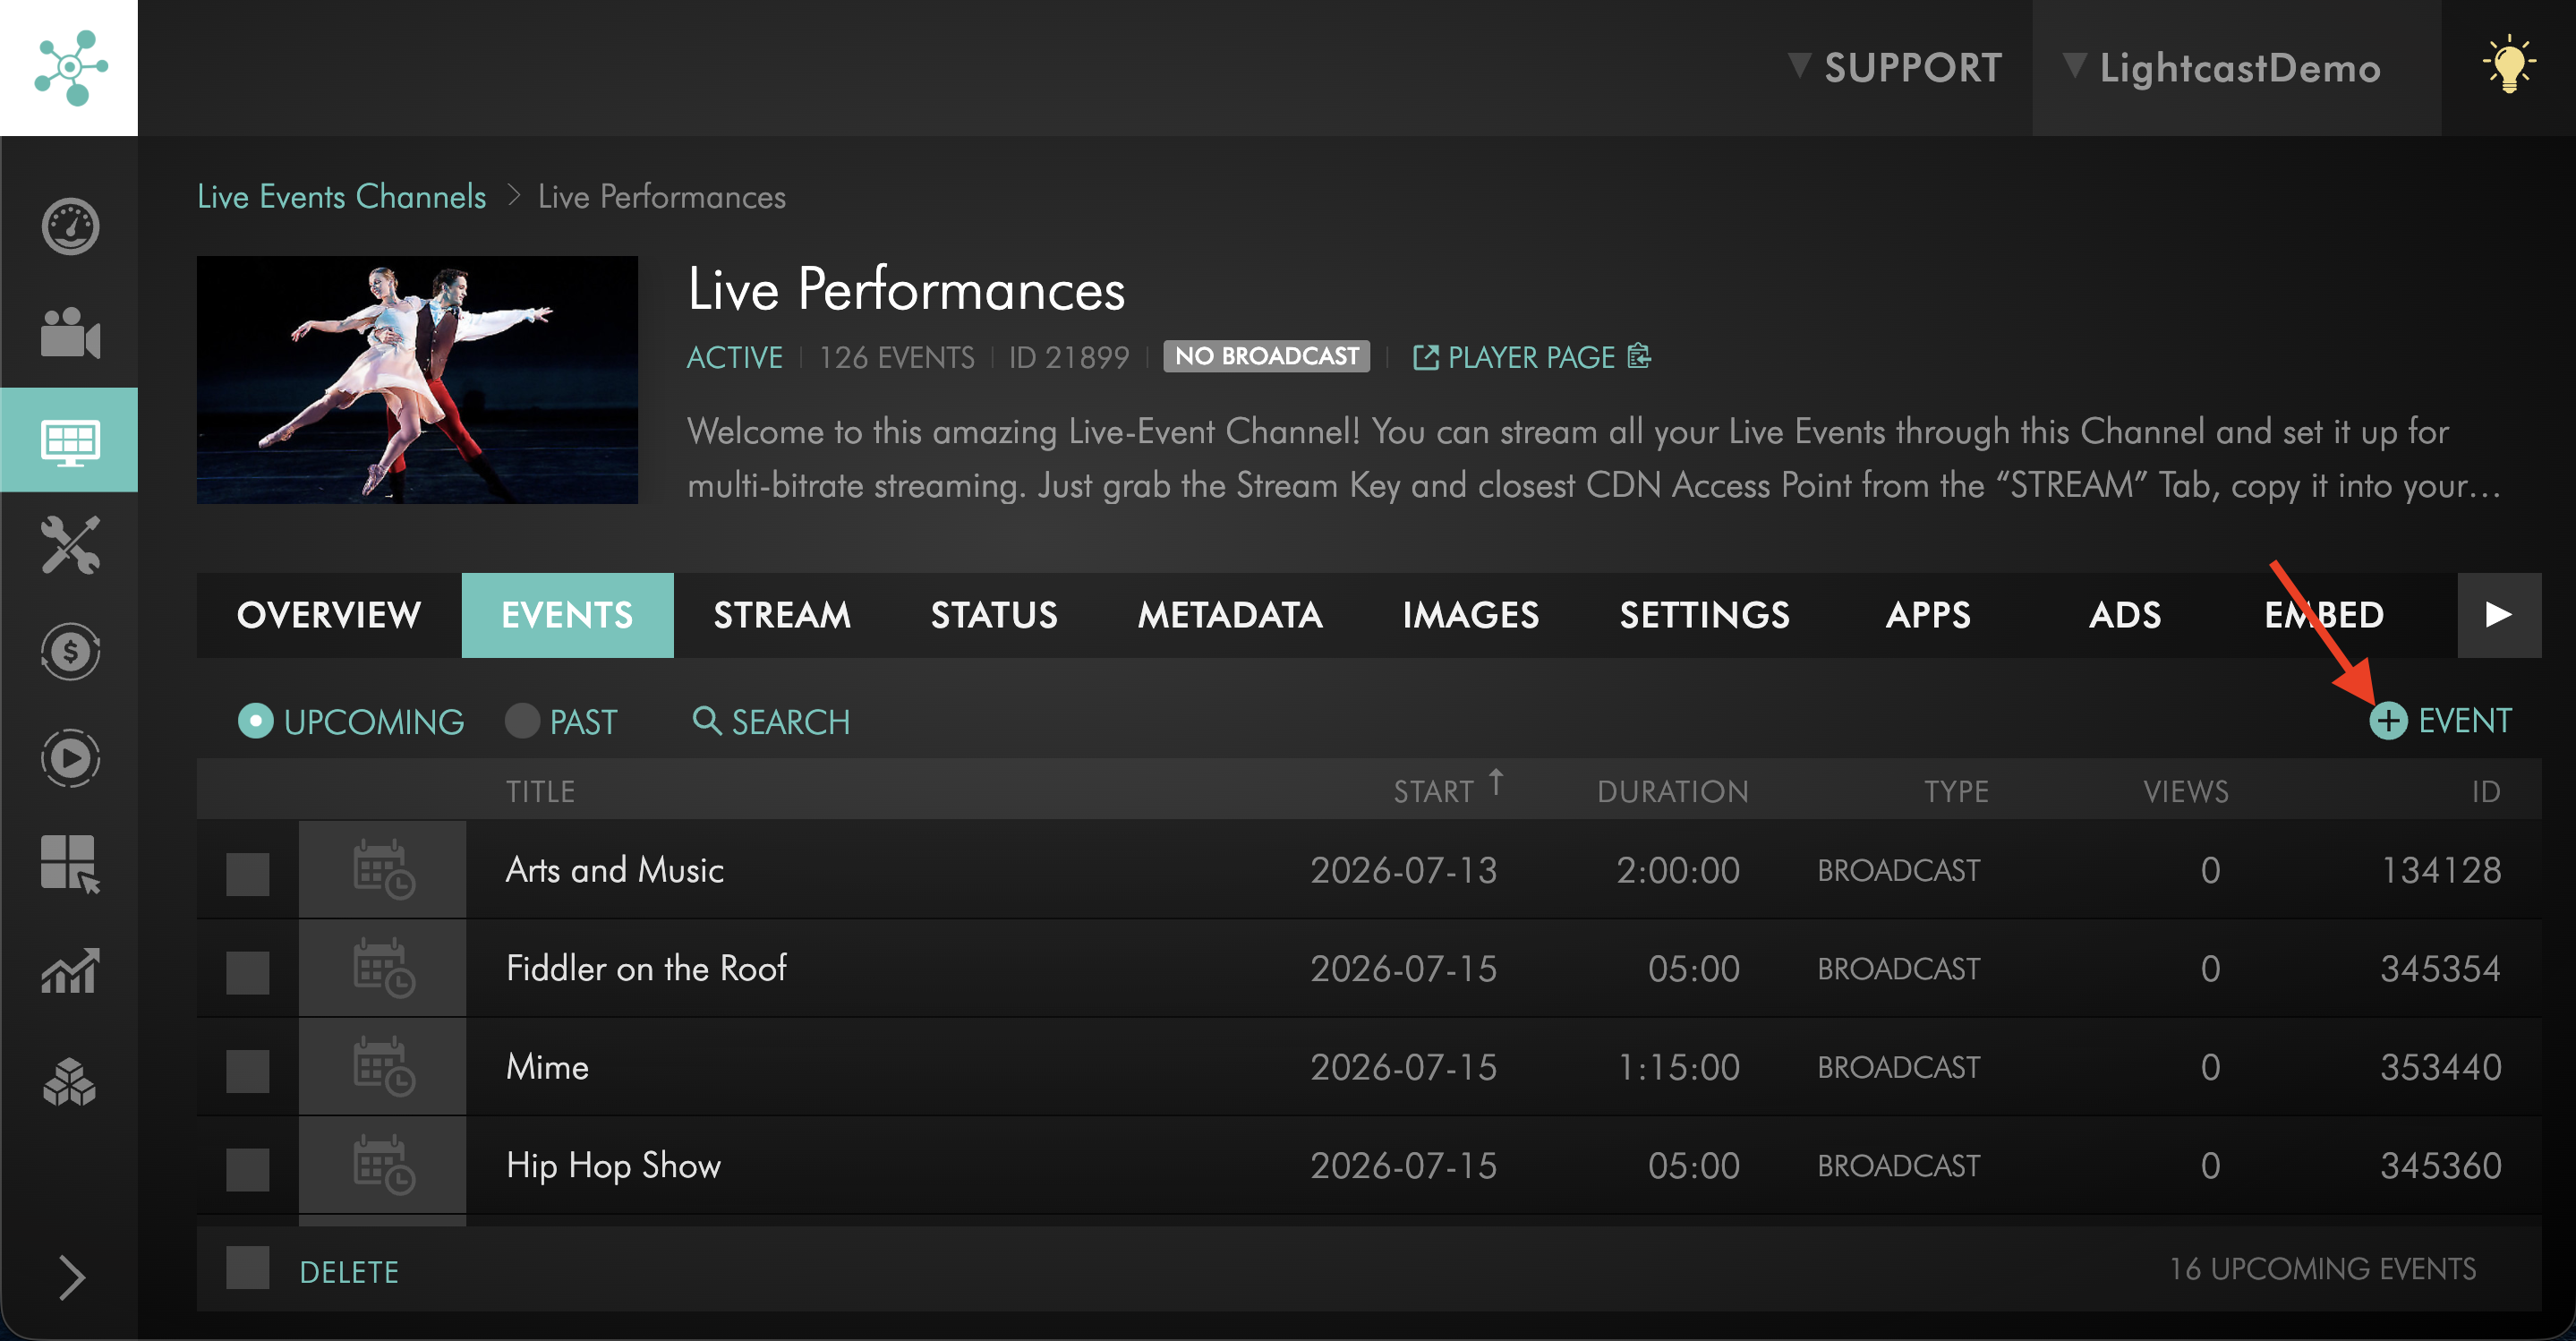
Click + EVENT.
The Live Event setup window will open.
Step 6
Begin entering the Live Event details.
For full scheduling instructions, see How to schedule a Live Event. For Simulated Live scheduling instructions, see How to schedule a Simulated Live Event.
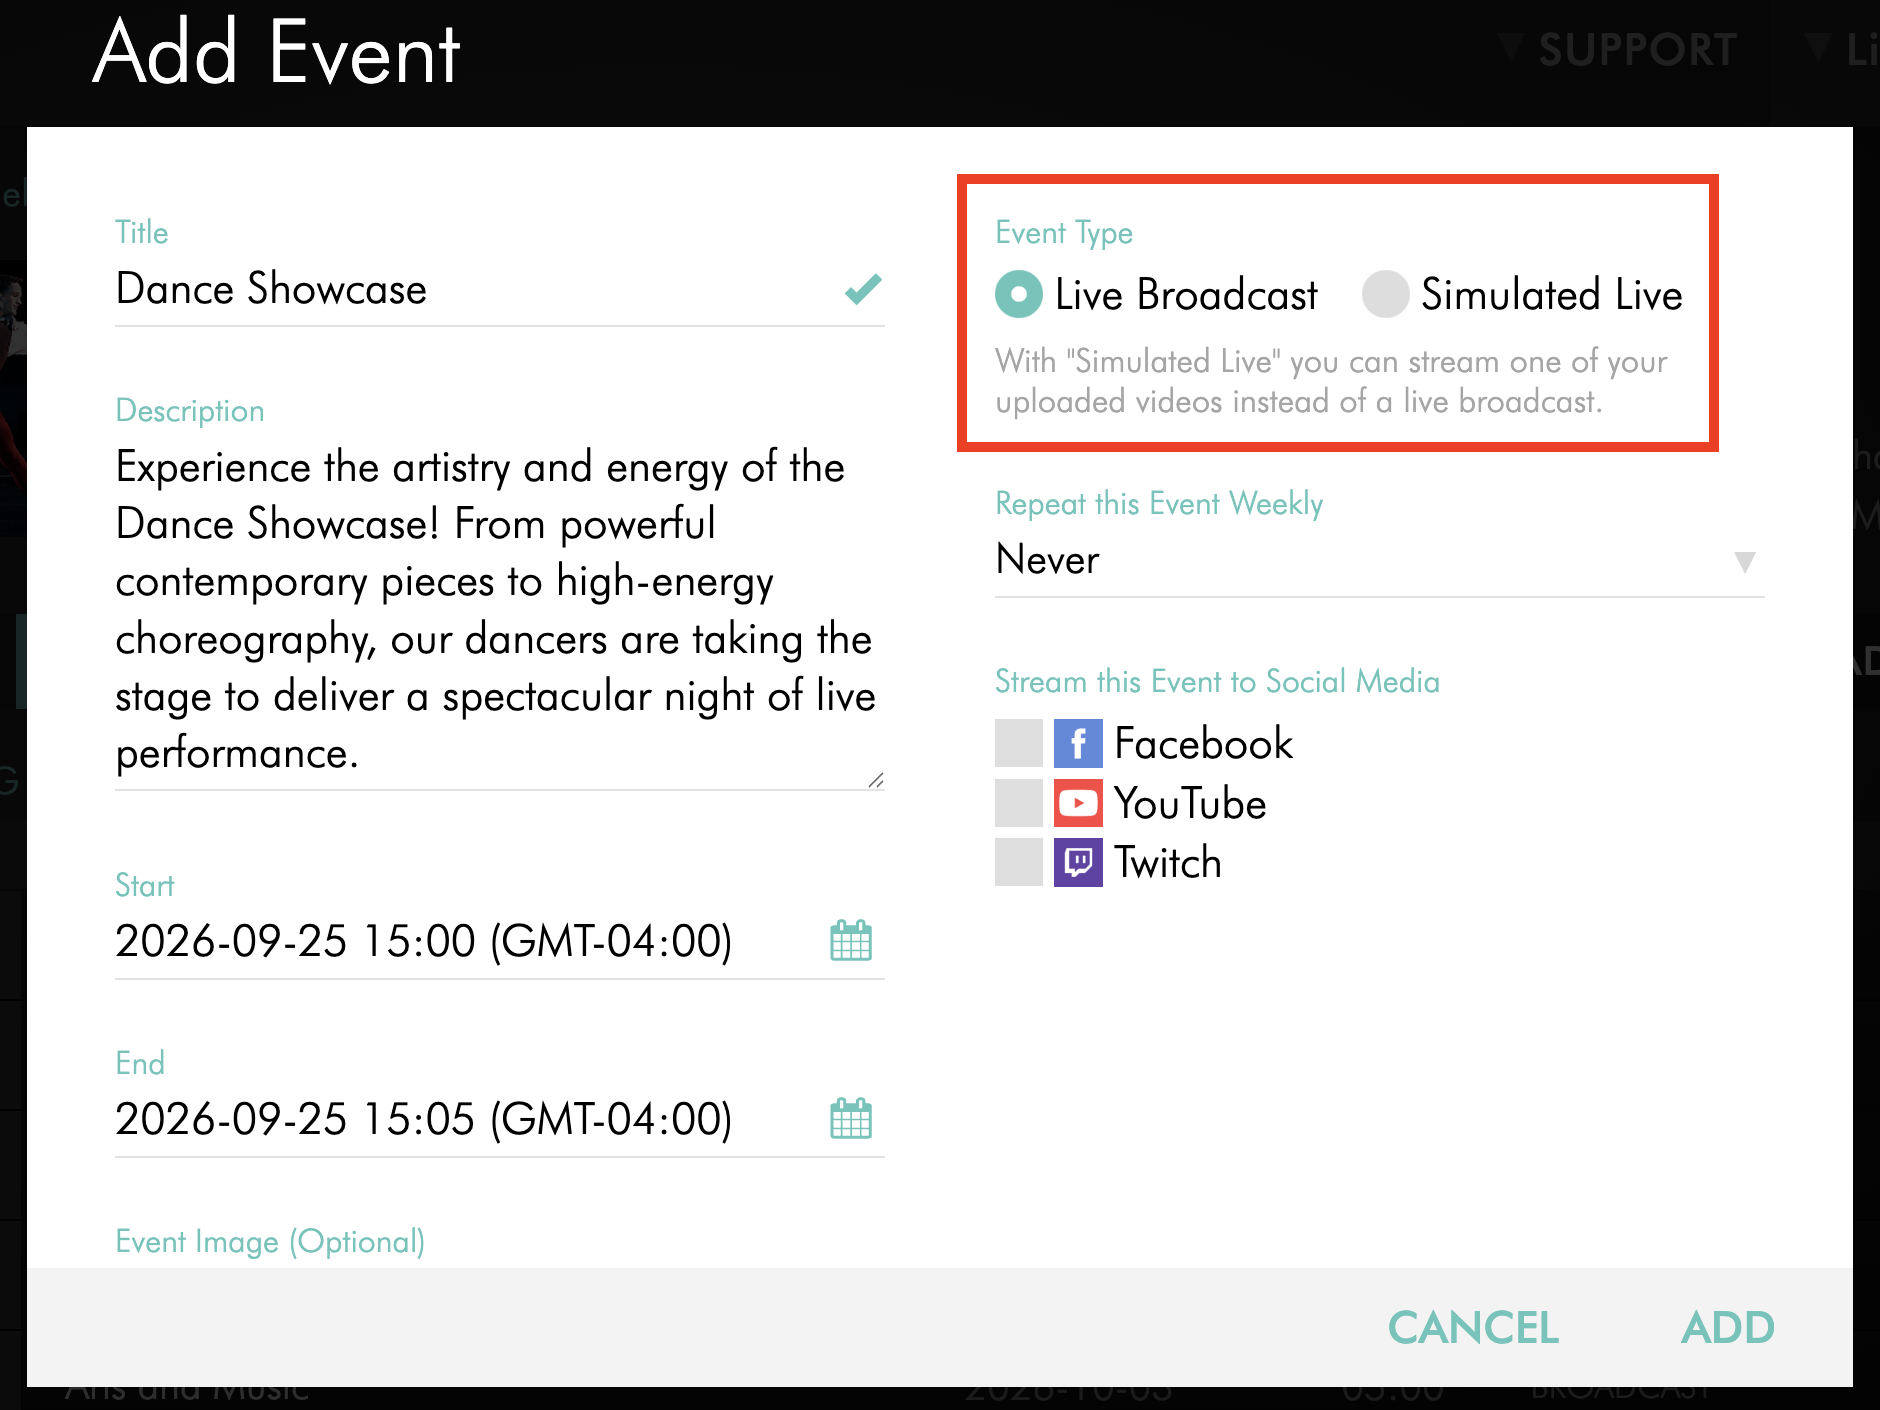
Step 7
Locate the Event Image upload option.
If you are scheduling a Simulated Live Event, select the video that will be used for the event as part of the scheduling workflow. The Media Cloud may use the selected video’s thumbnail as the default Event Image.
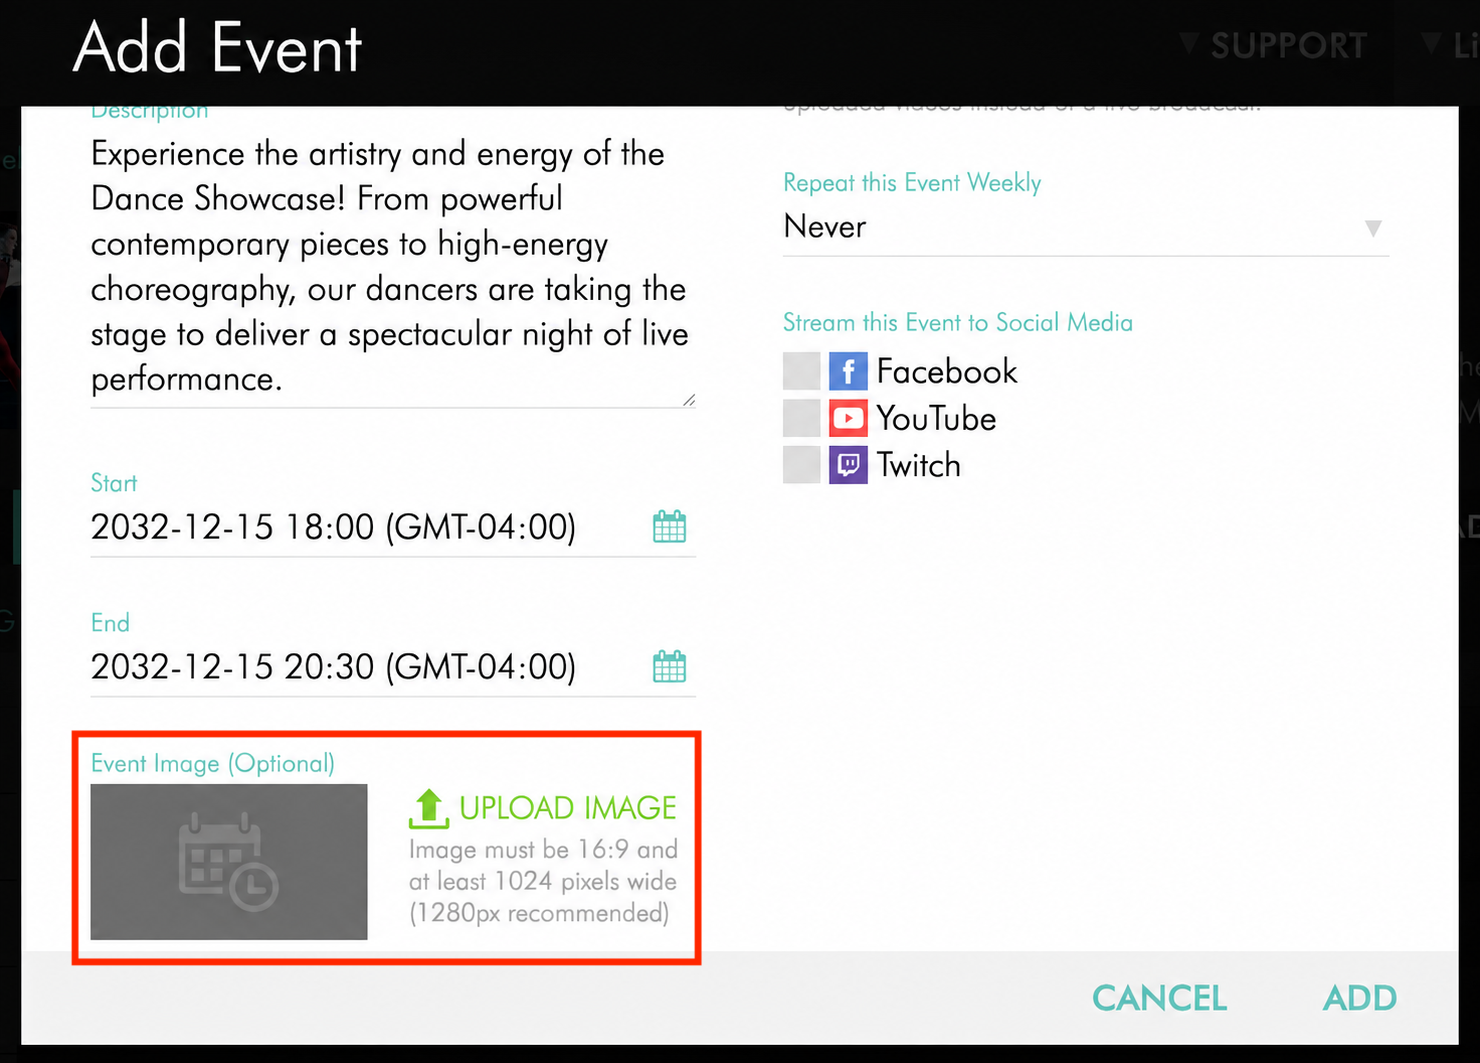
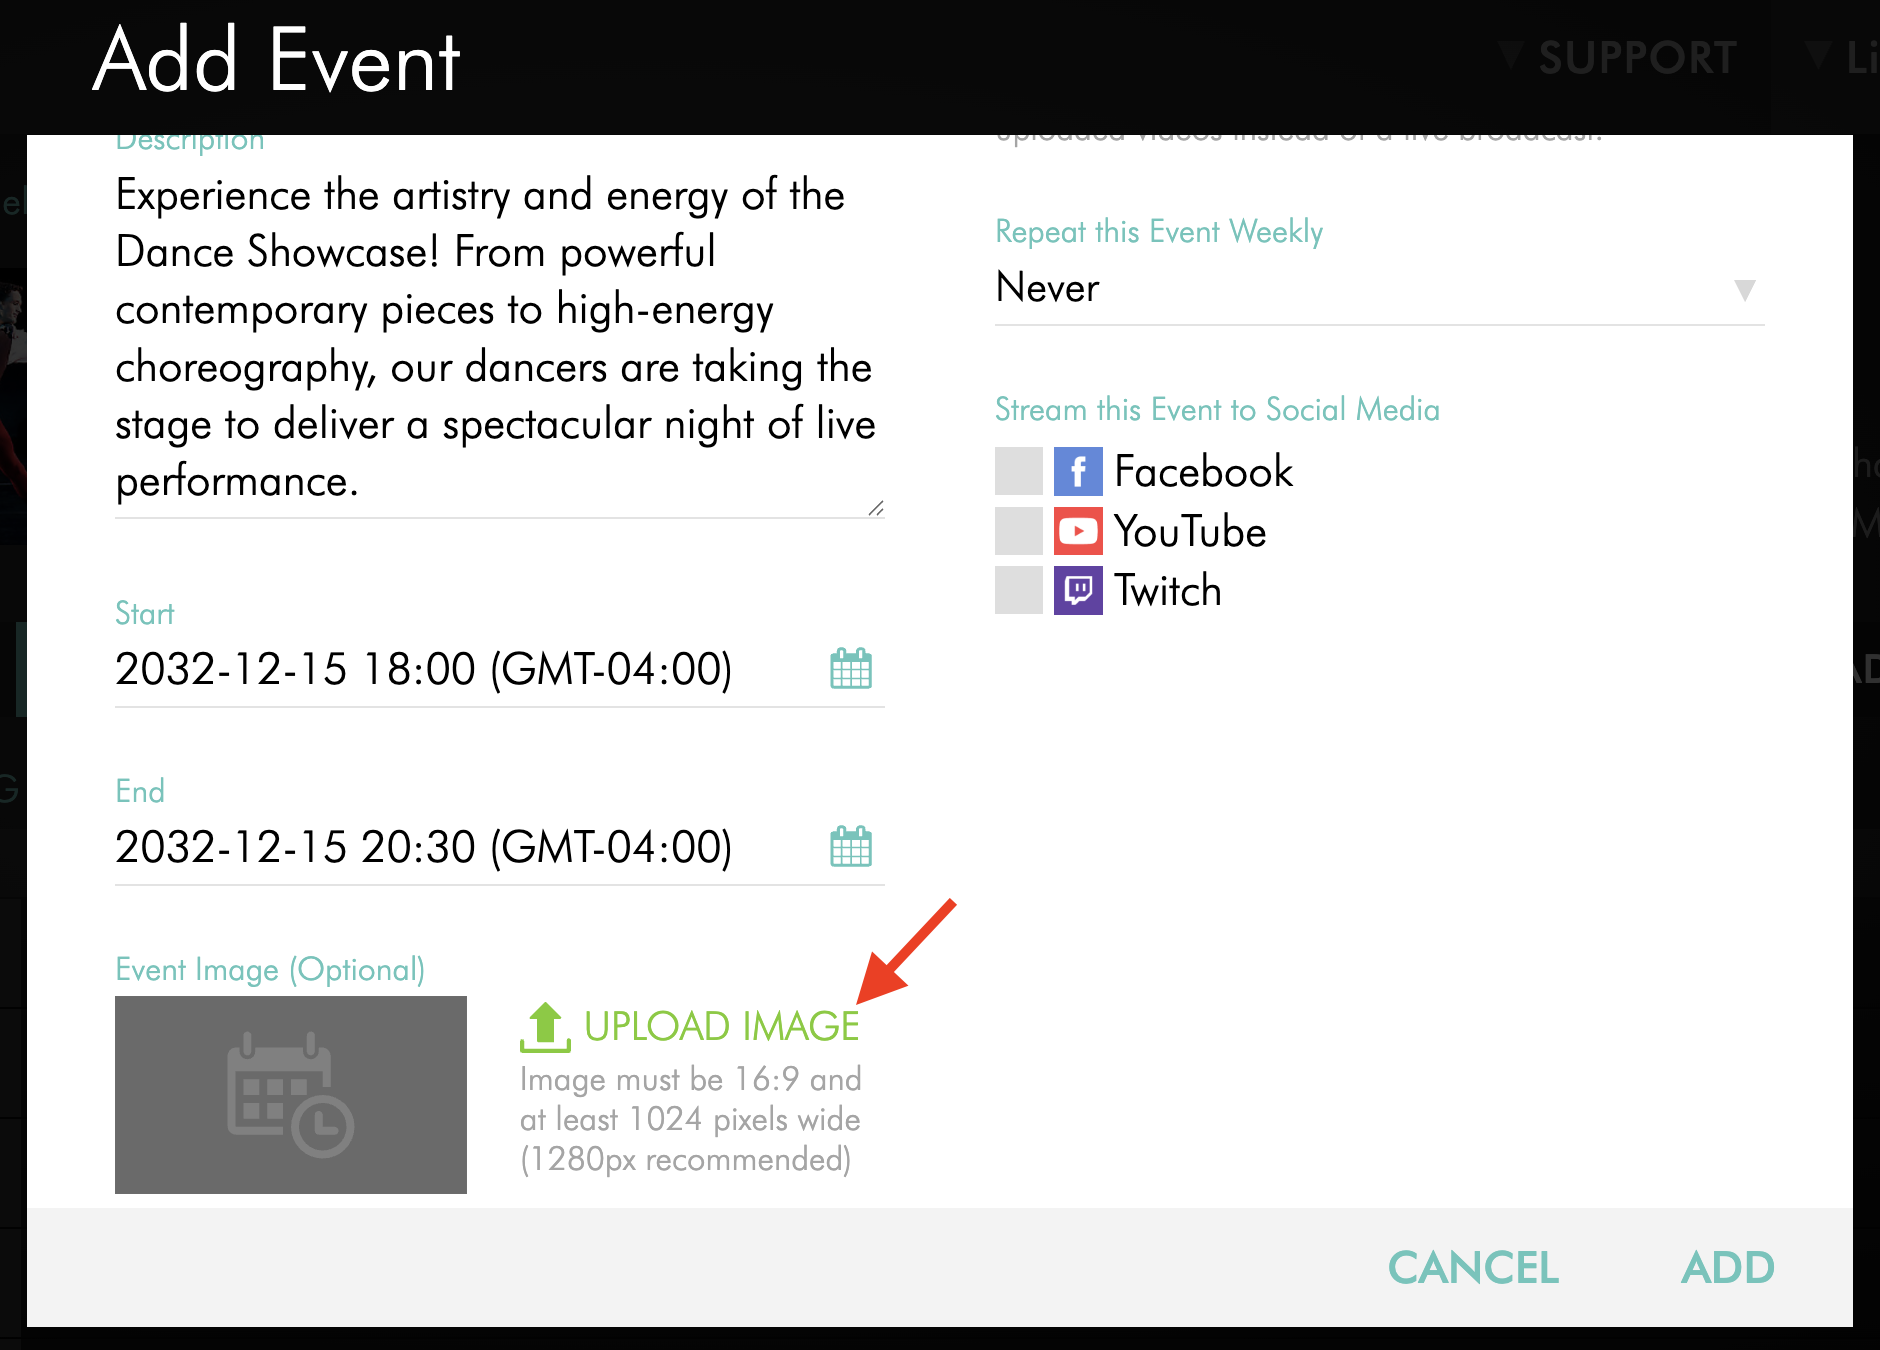
Step 8
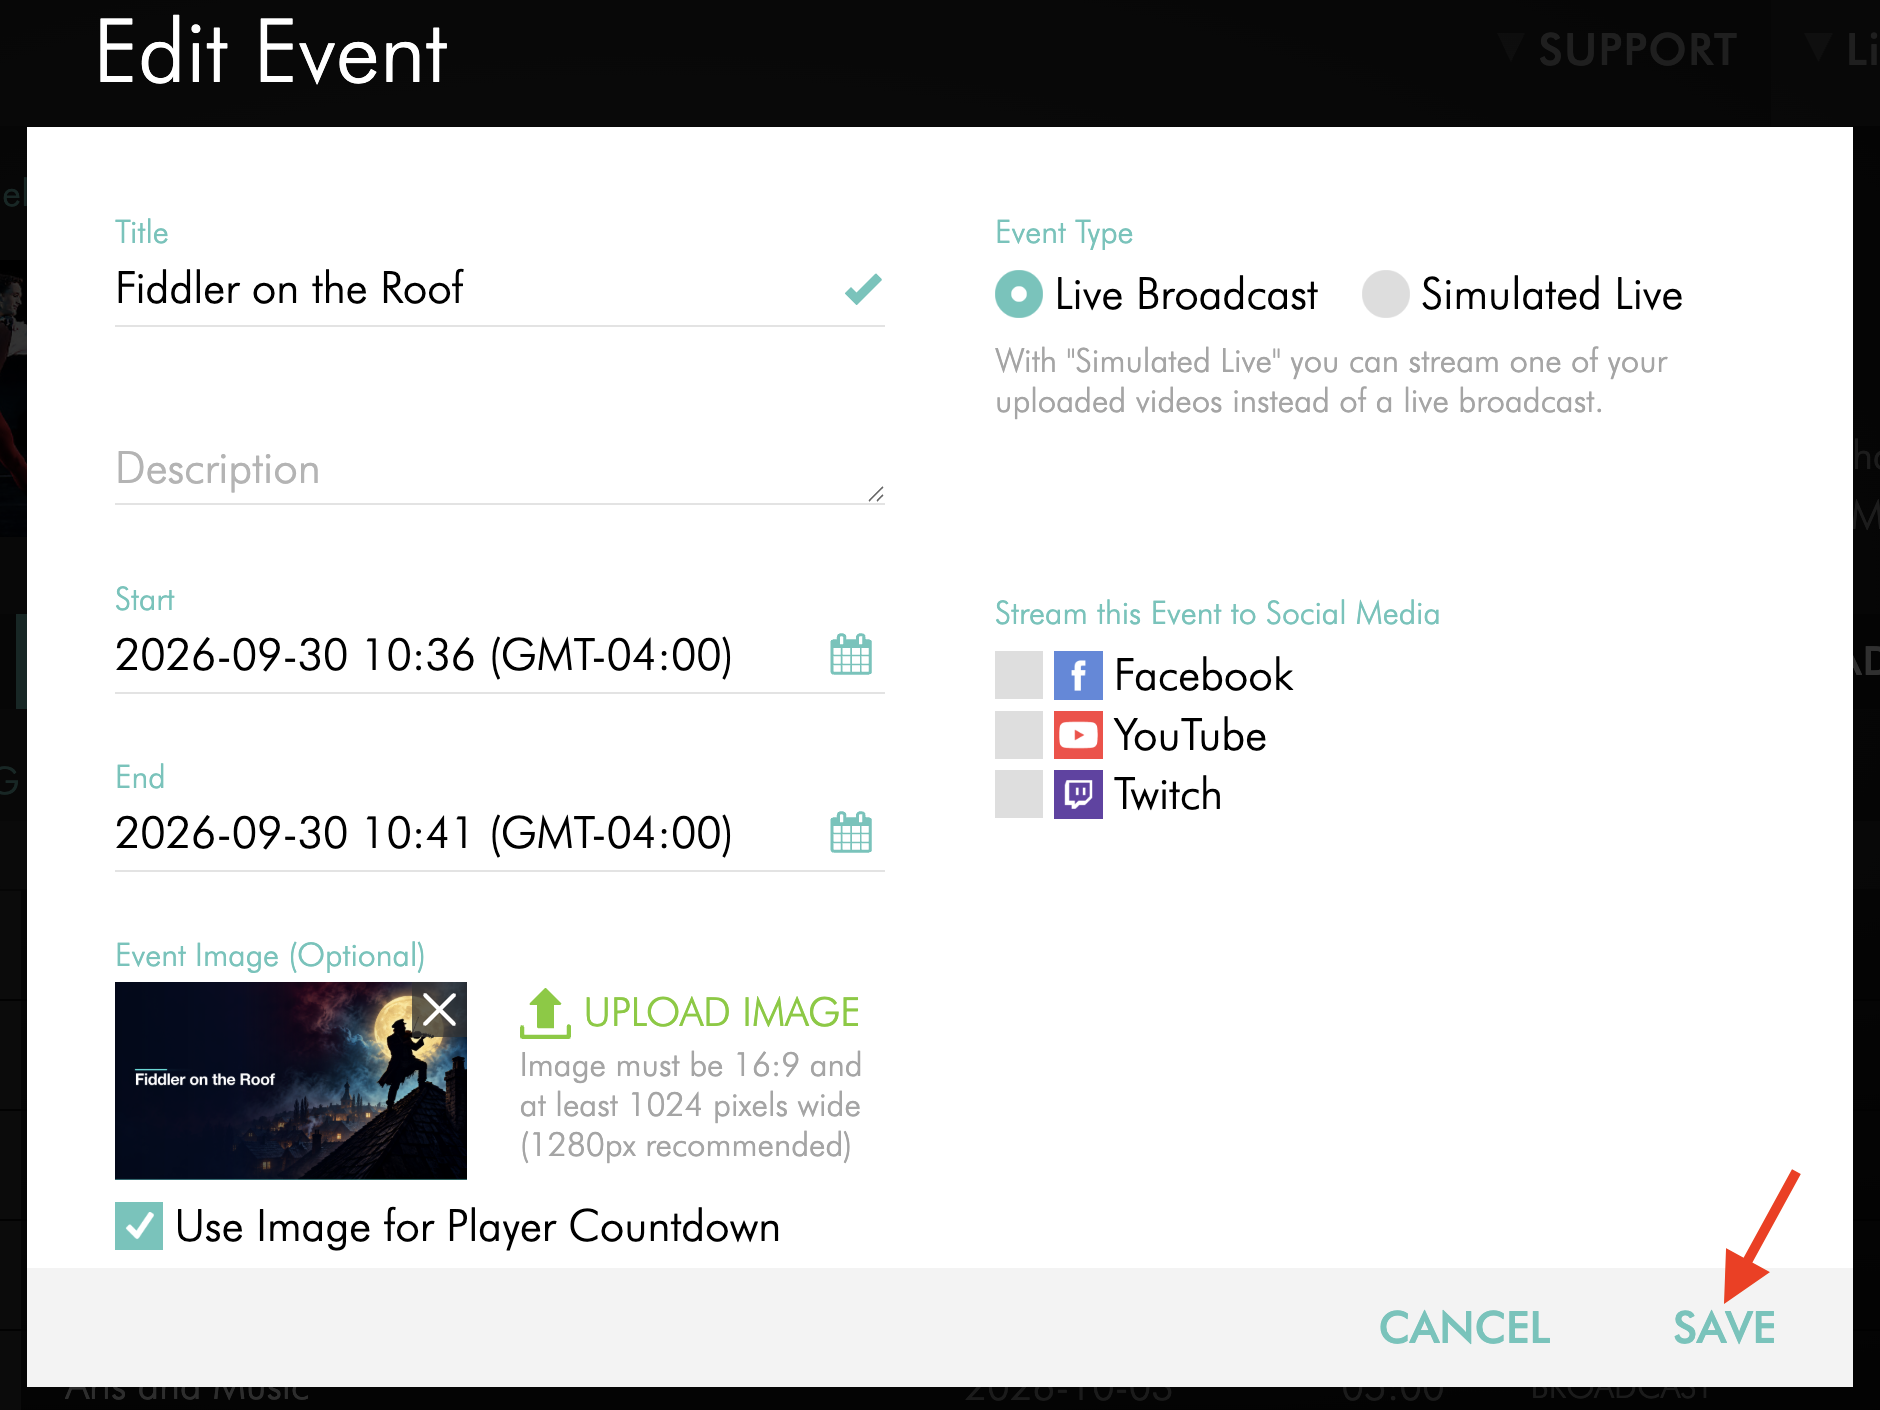
Click UPLOAD IMAGE if you want to upload a new custom image or replace the default image.
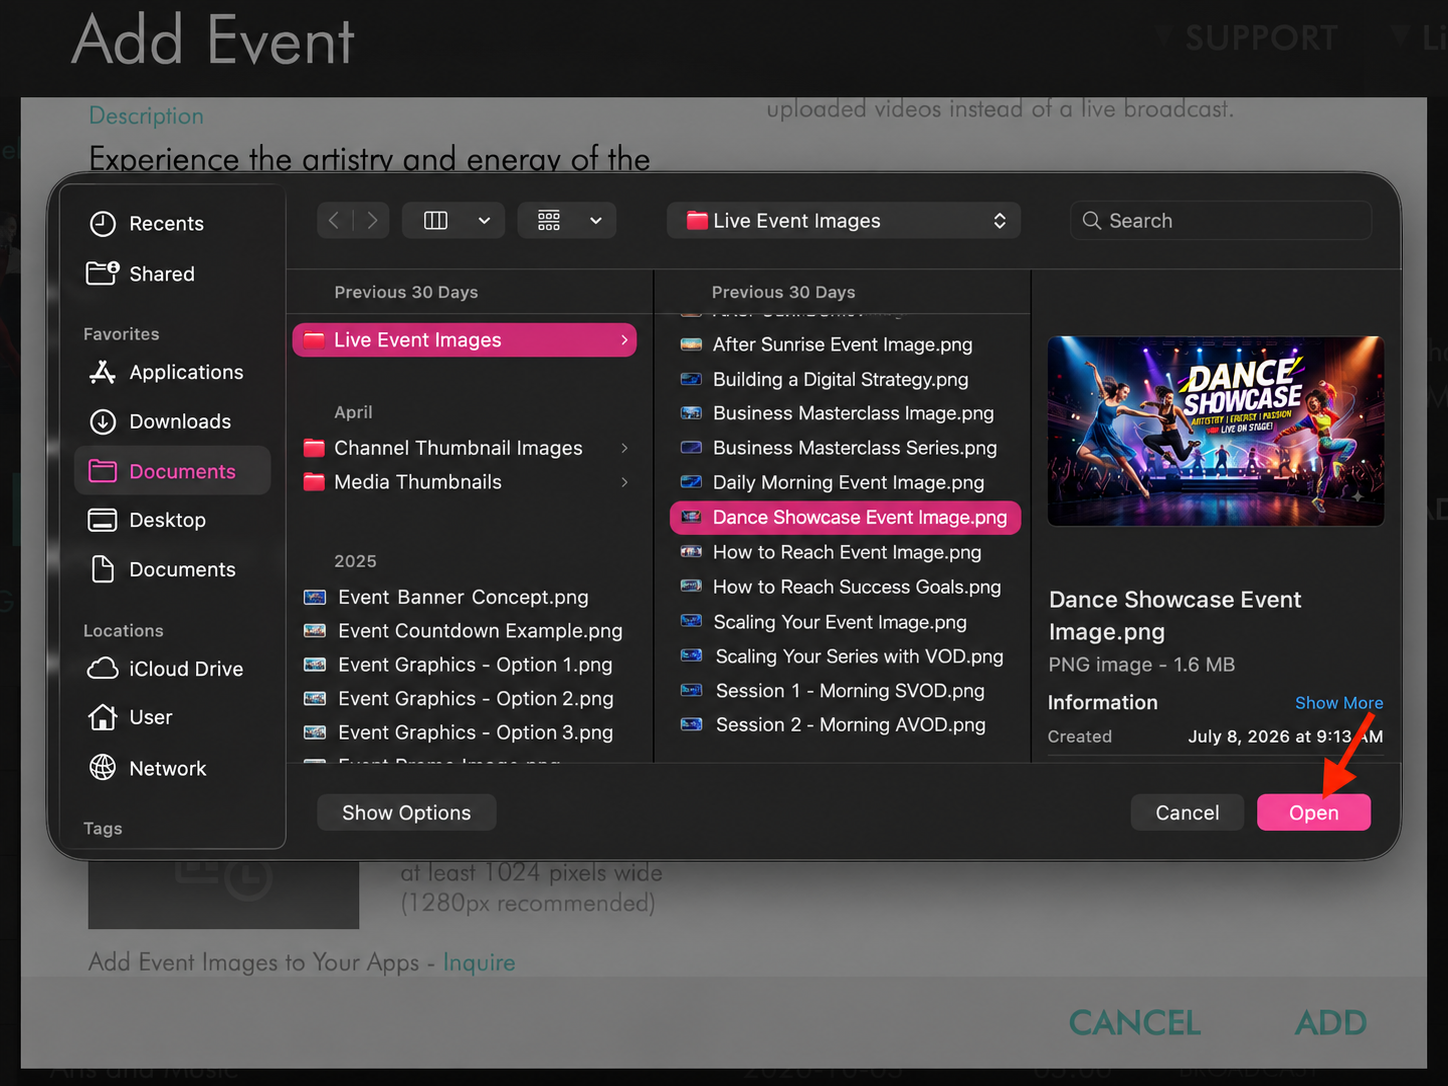
Step 9
Select the image file from your computer, then click Open.
The image must be 16:9 and at least 1024 pixels wide. A width of 1280 pixels is recommended.
Step 10
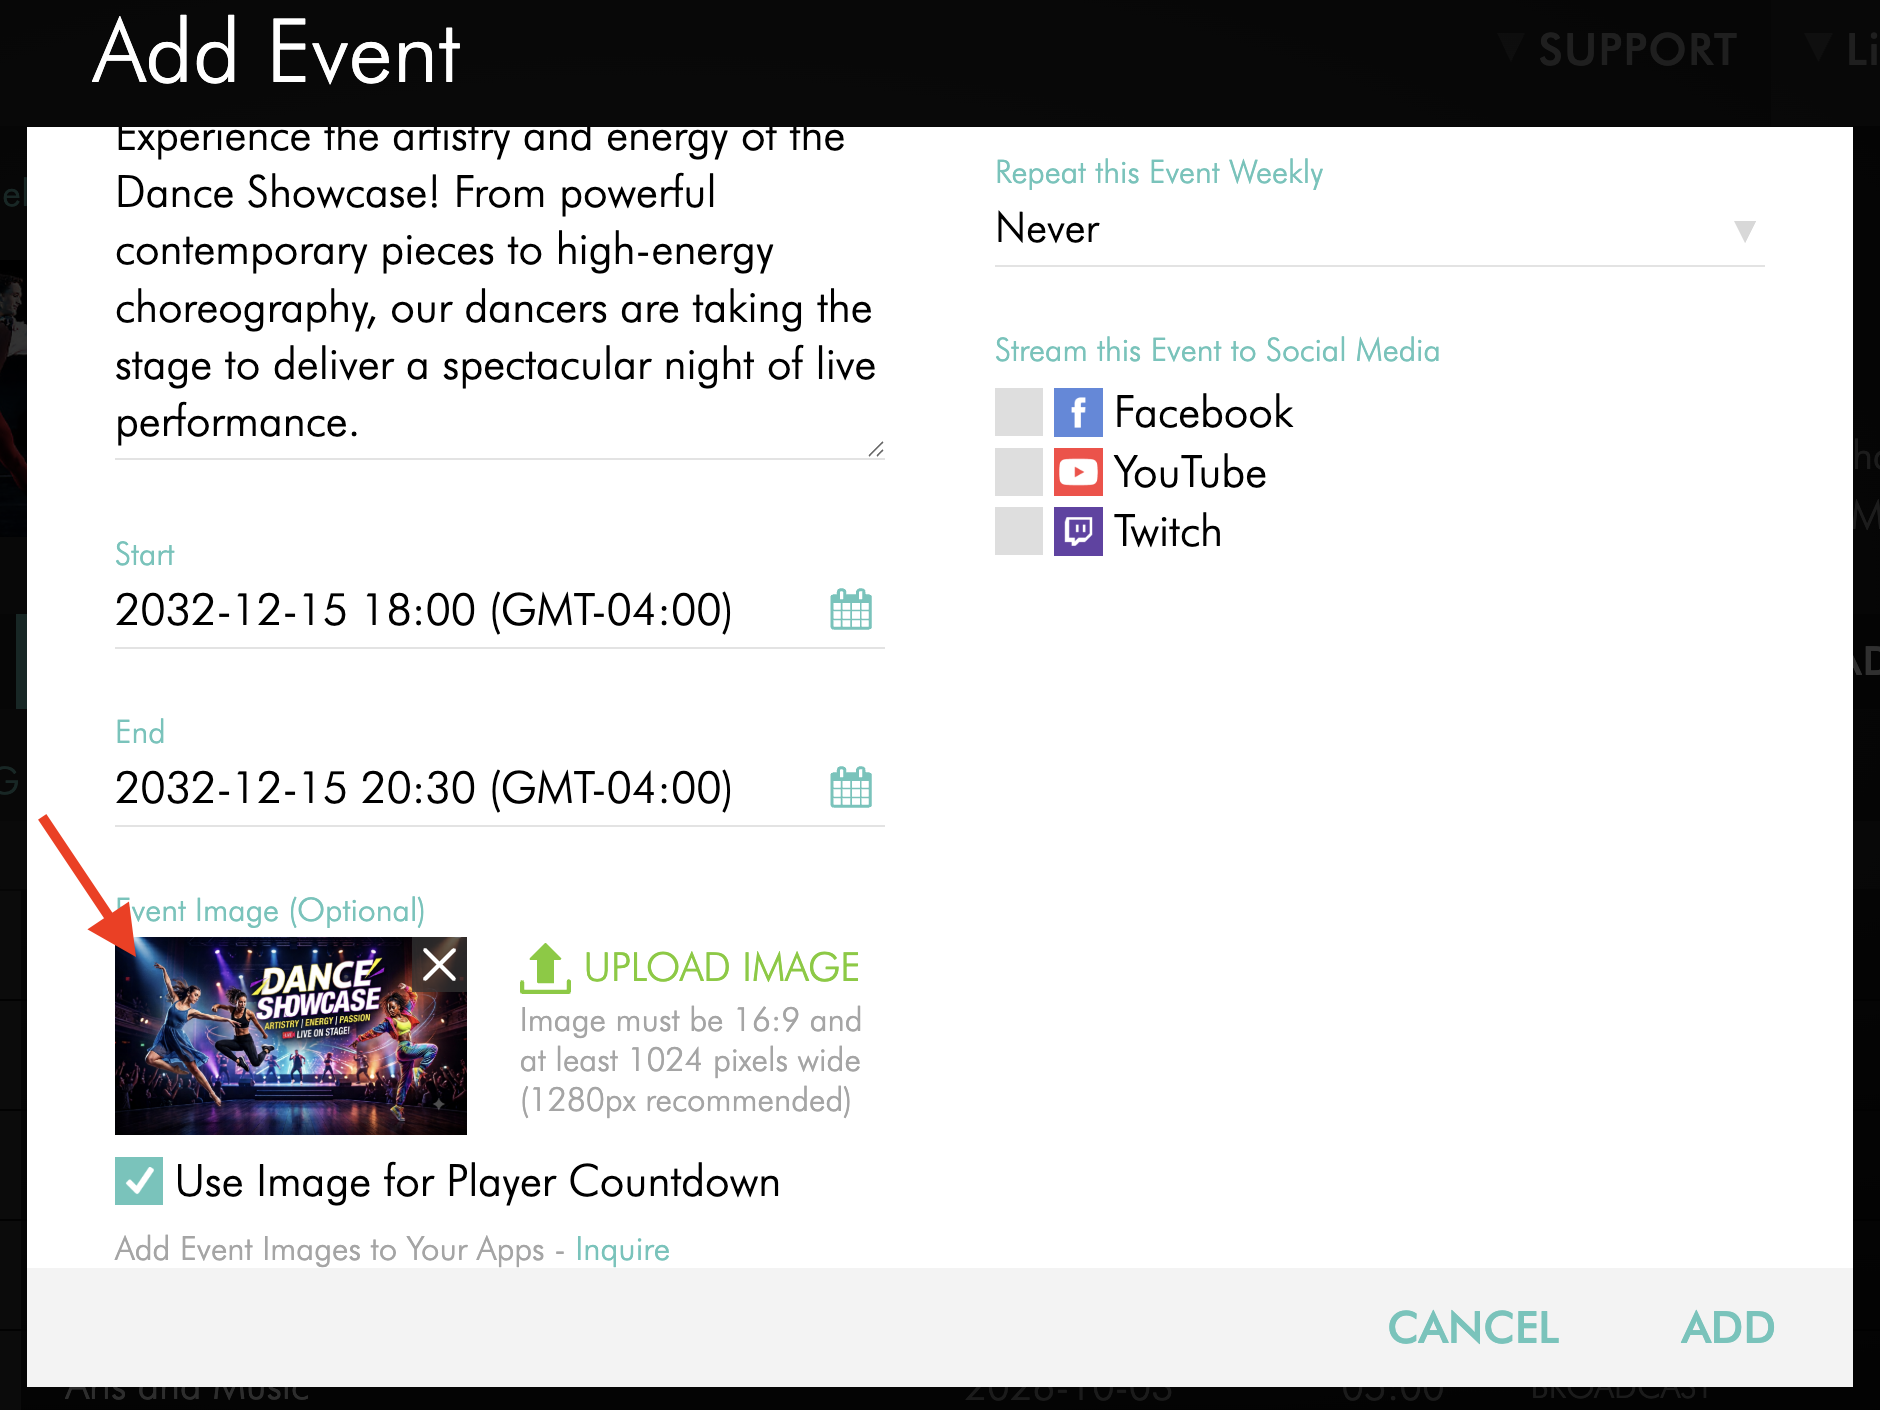
Confirm that the image preview appears in the Event Image area.
Step 11
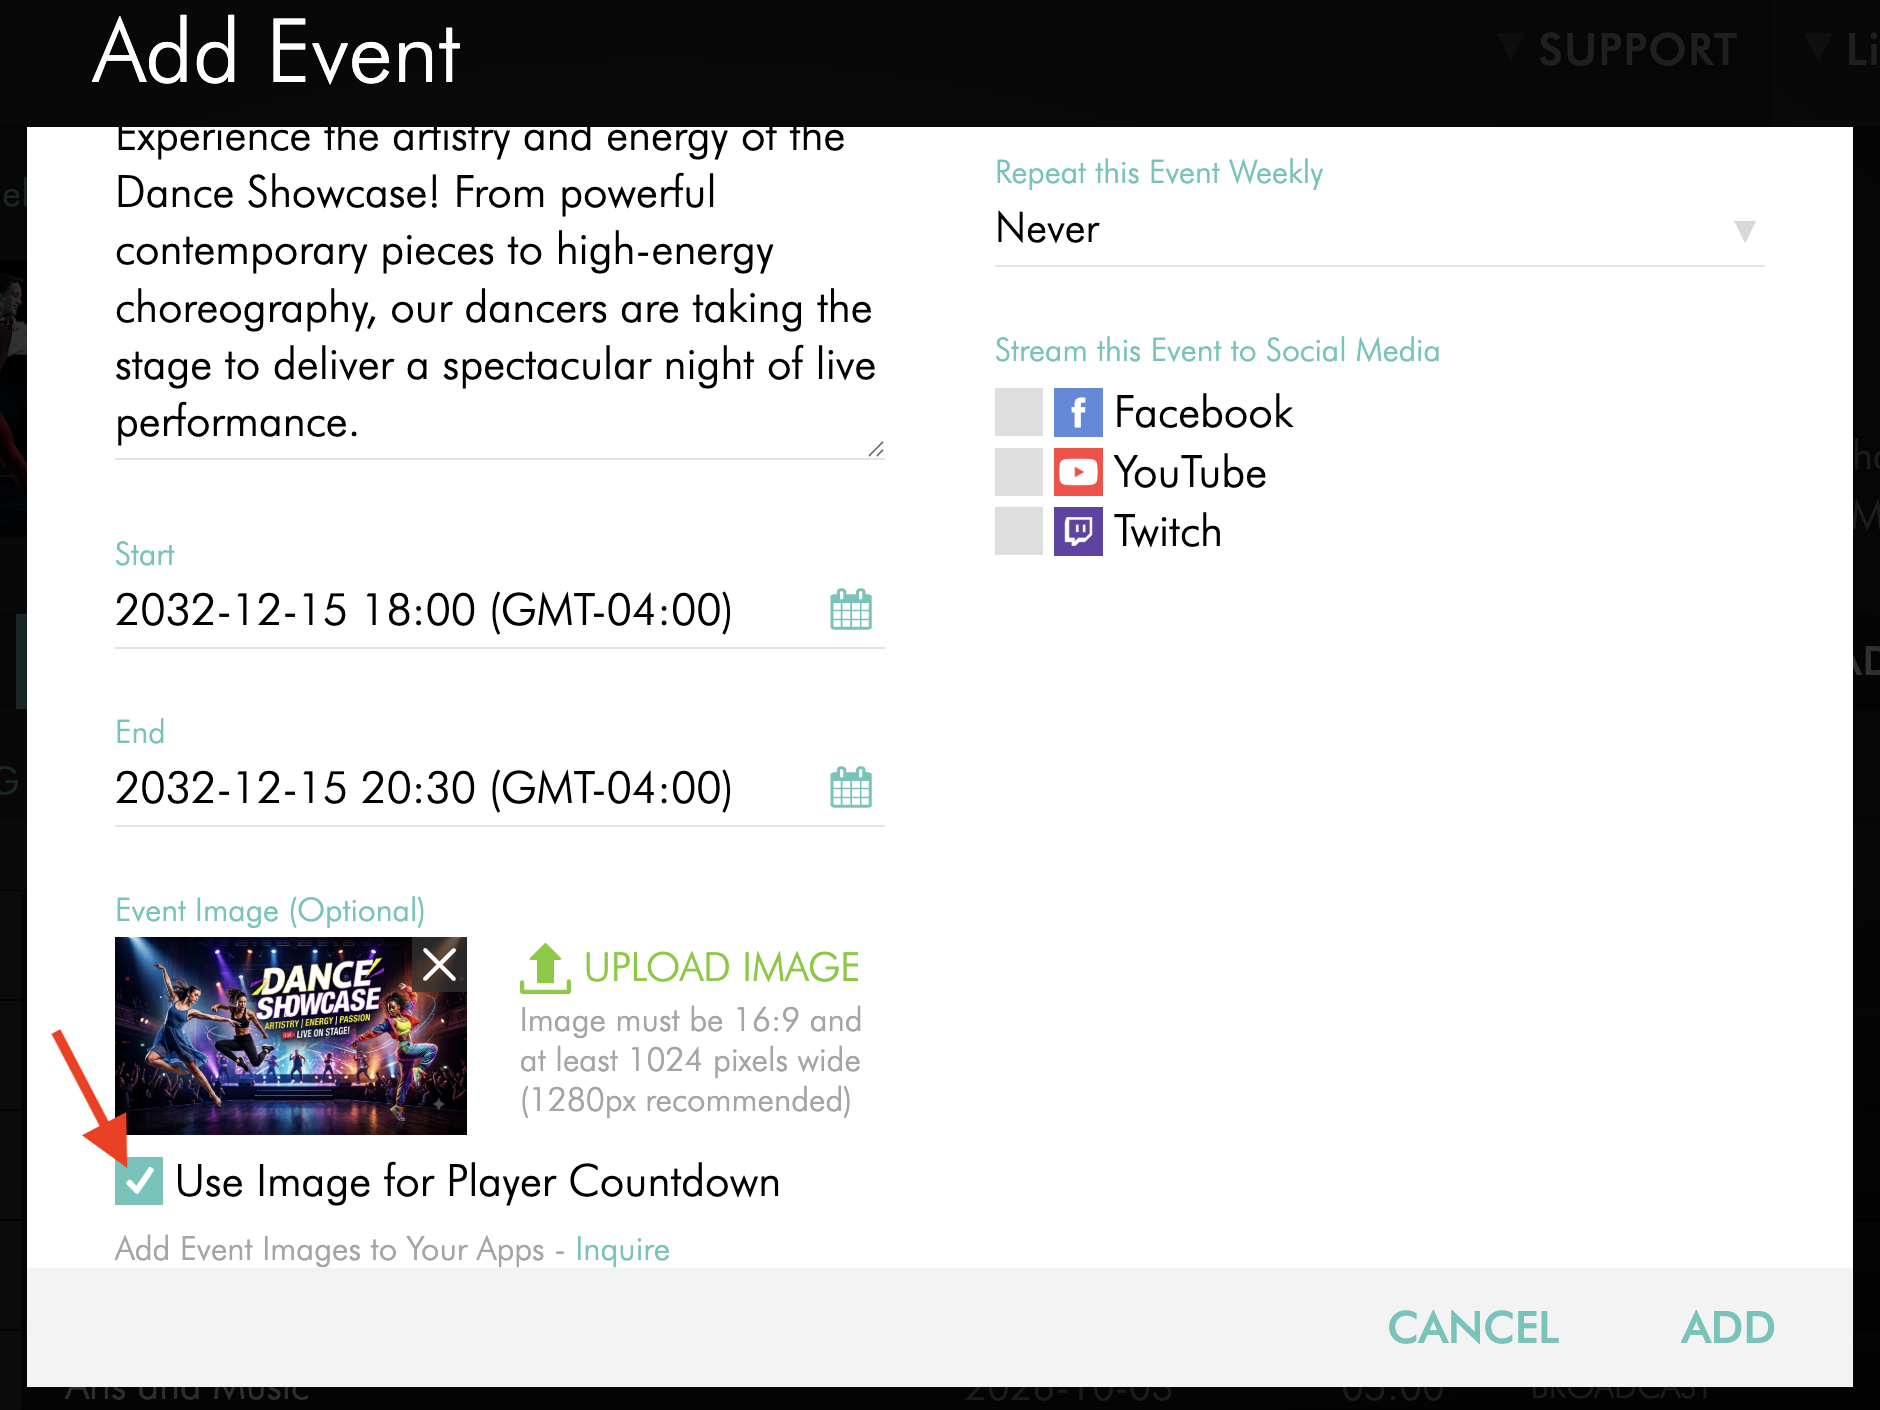
Optional: Leave Use Image for Player Countdown selected if you want the image to appear during the event countdown.
Step 12
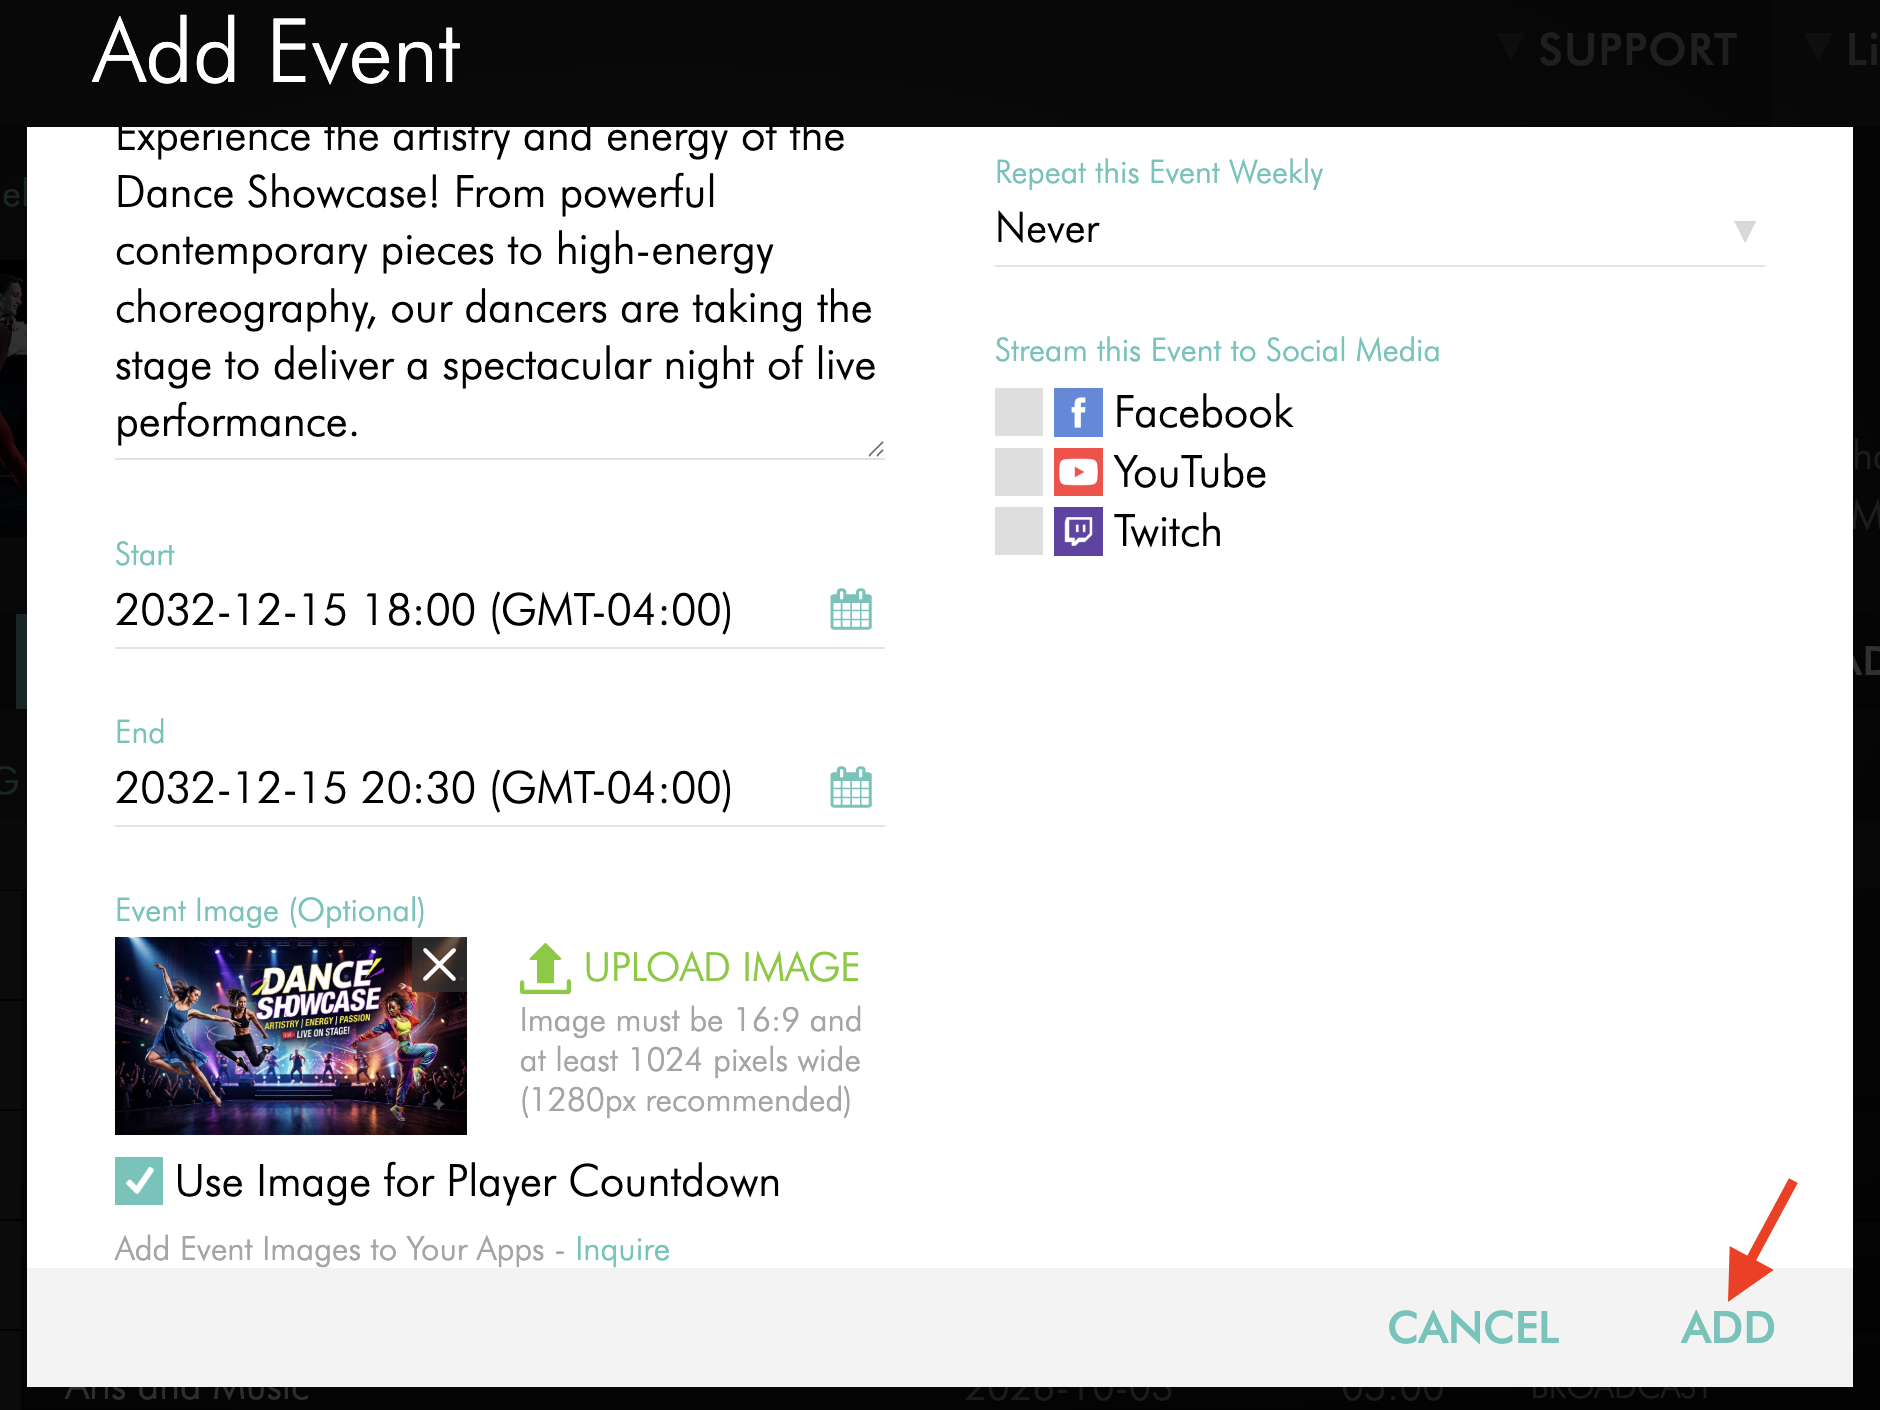
Finish entering the remaining Live Event details, then click ADD to create the Live Event.
Add or replace a Live Event Image for an existing Live Event
Step 1
Log in to your Media Cloud account.
Step 2
Go to CHANNELS, then select Live Events.
Step 3
Select the Live Events Channel that contains the event you want to update.
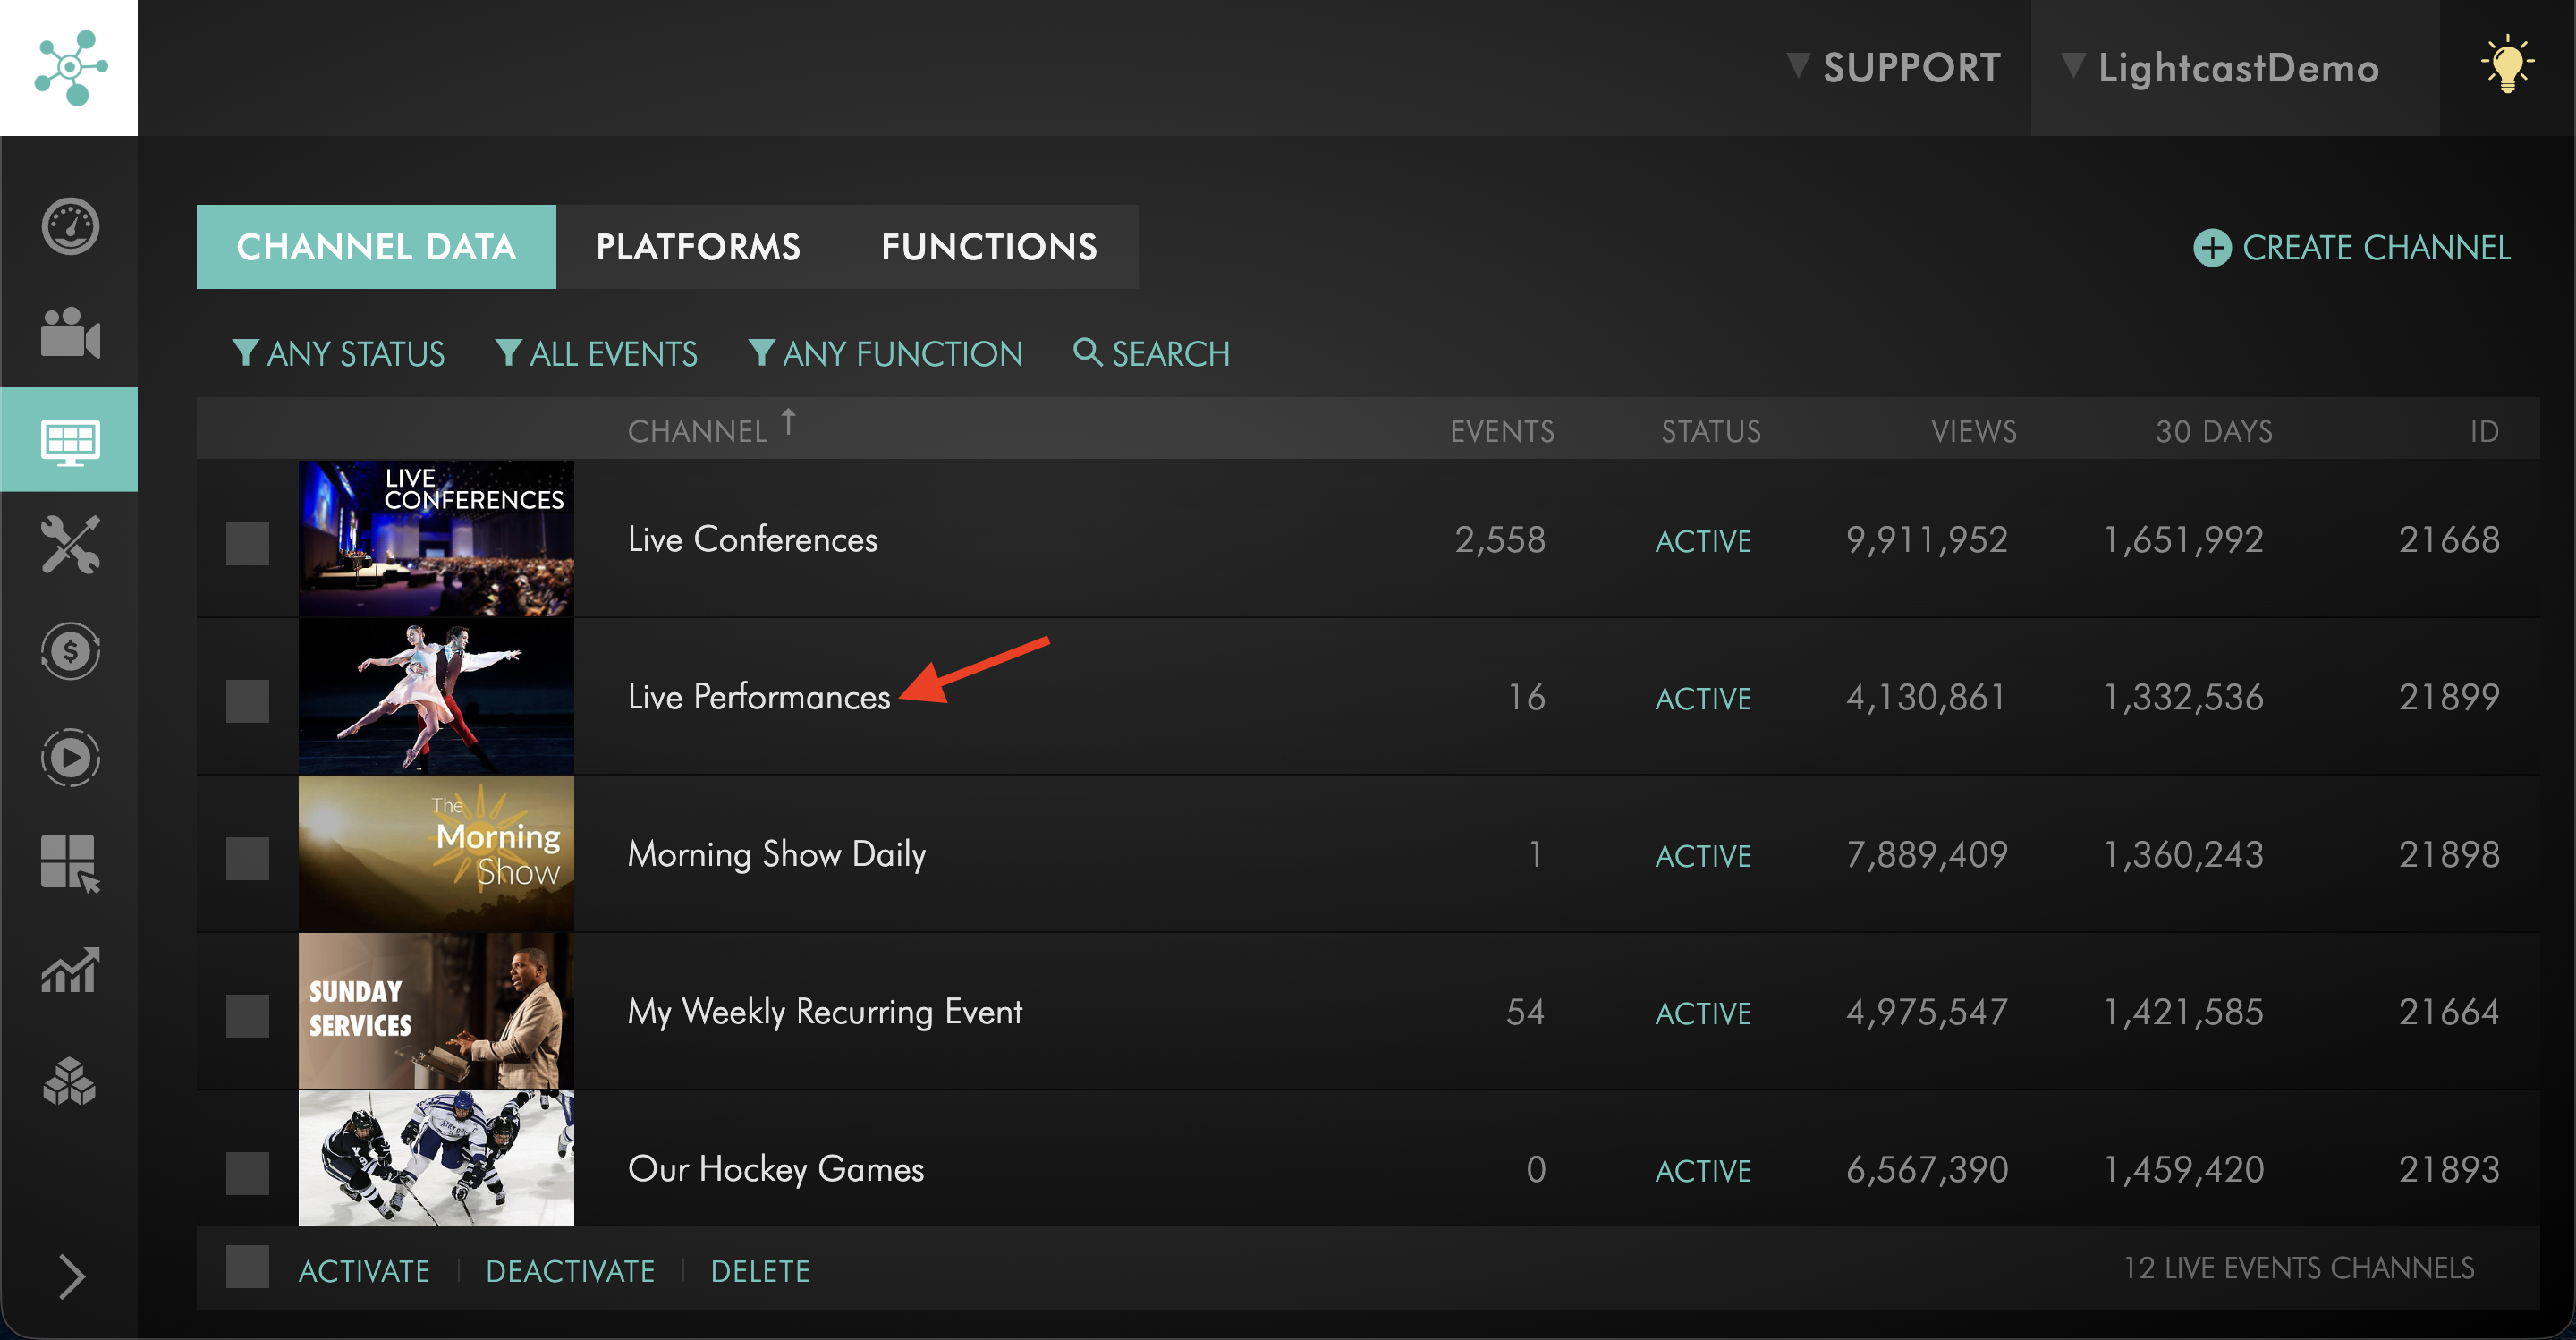
Step 4
Click the EVENTS tab.
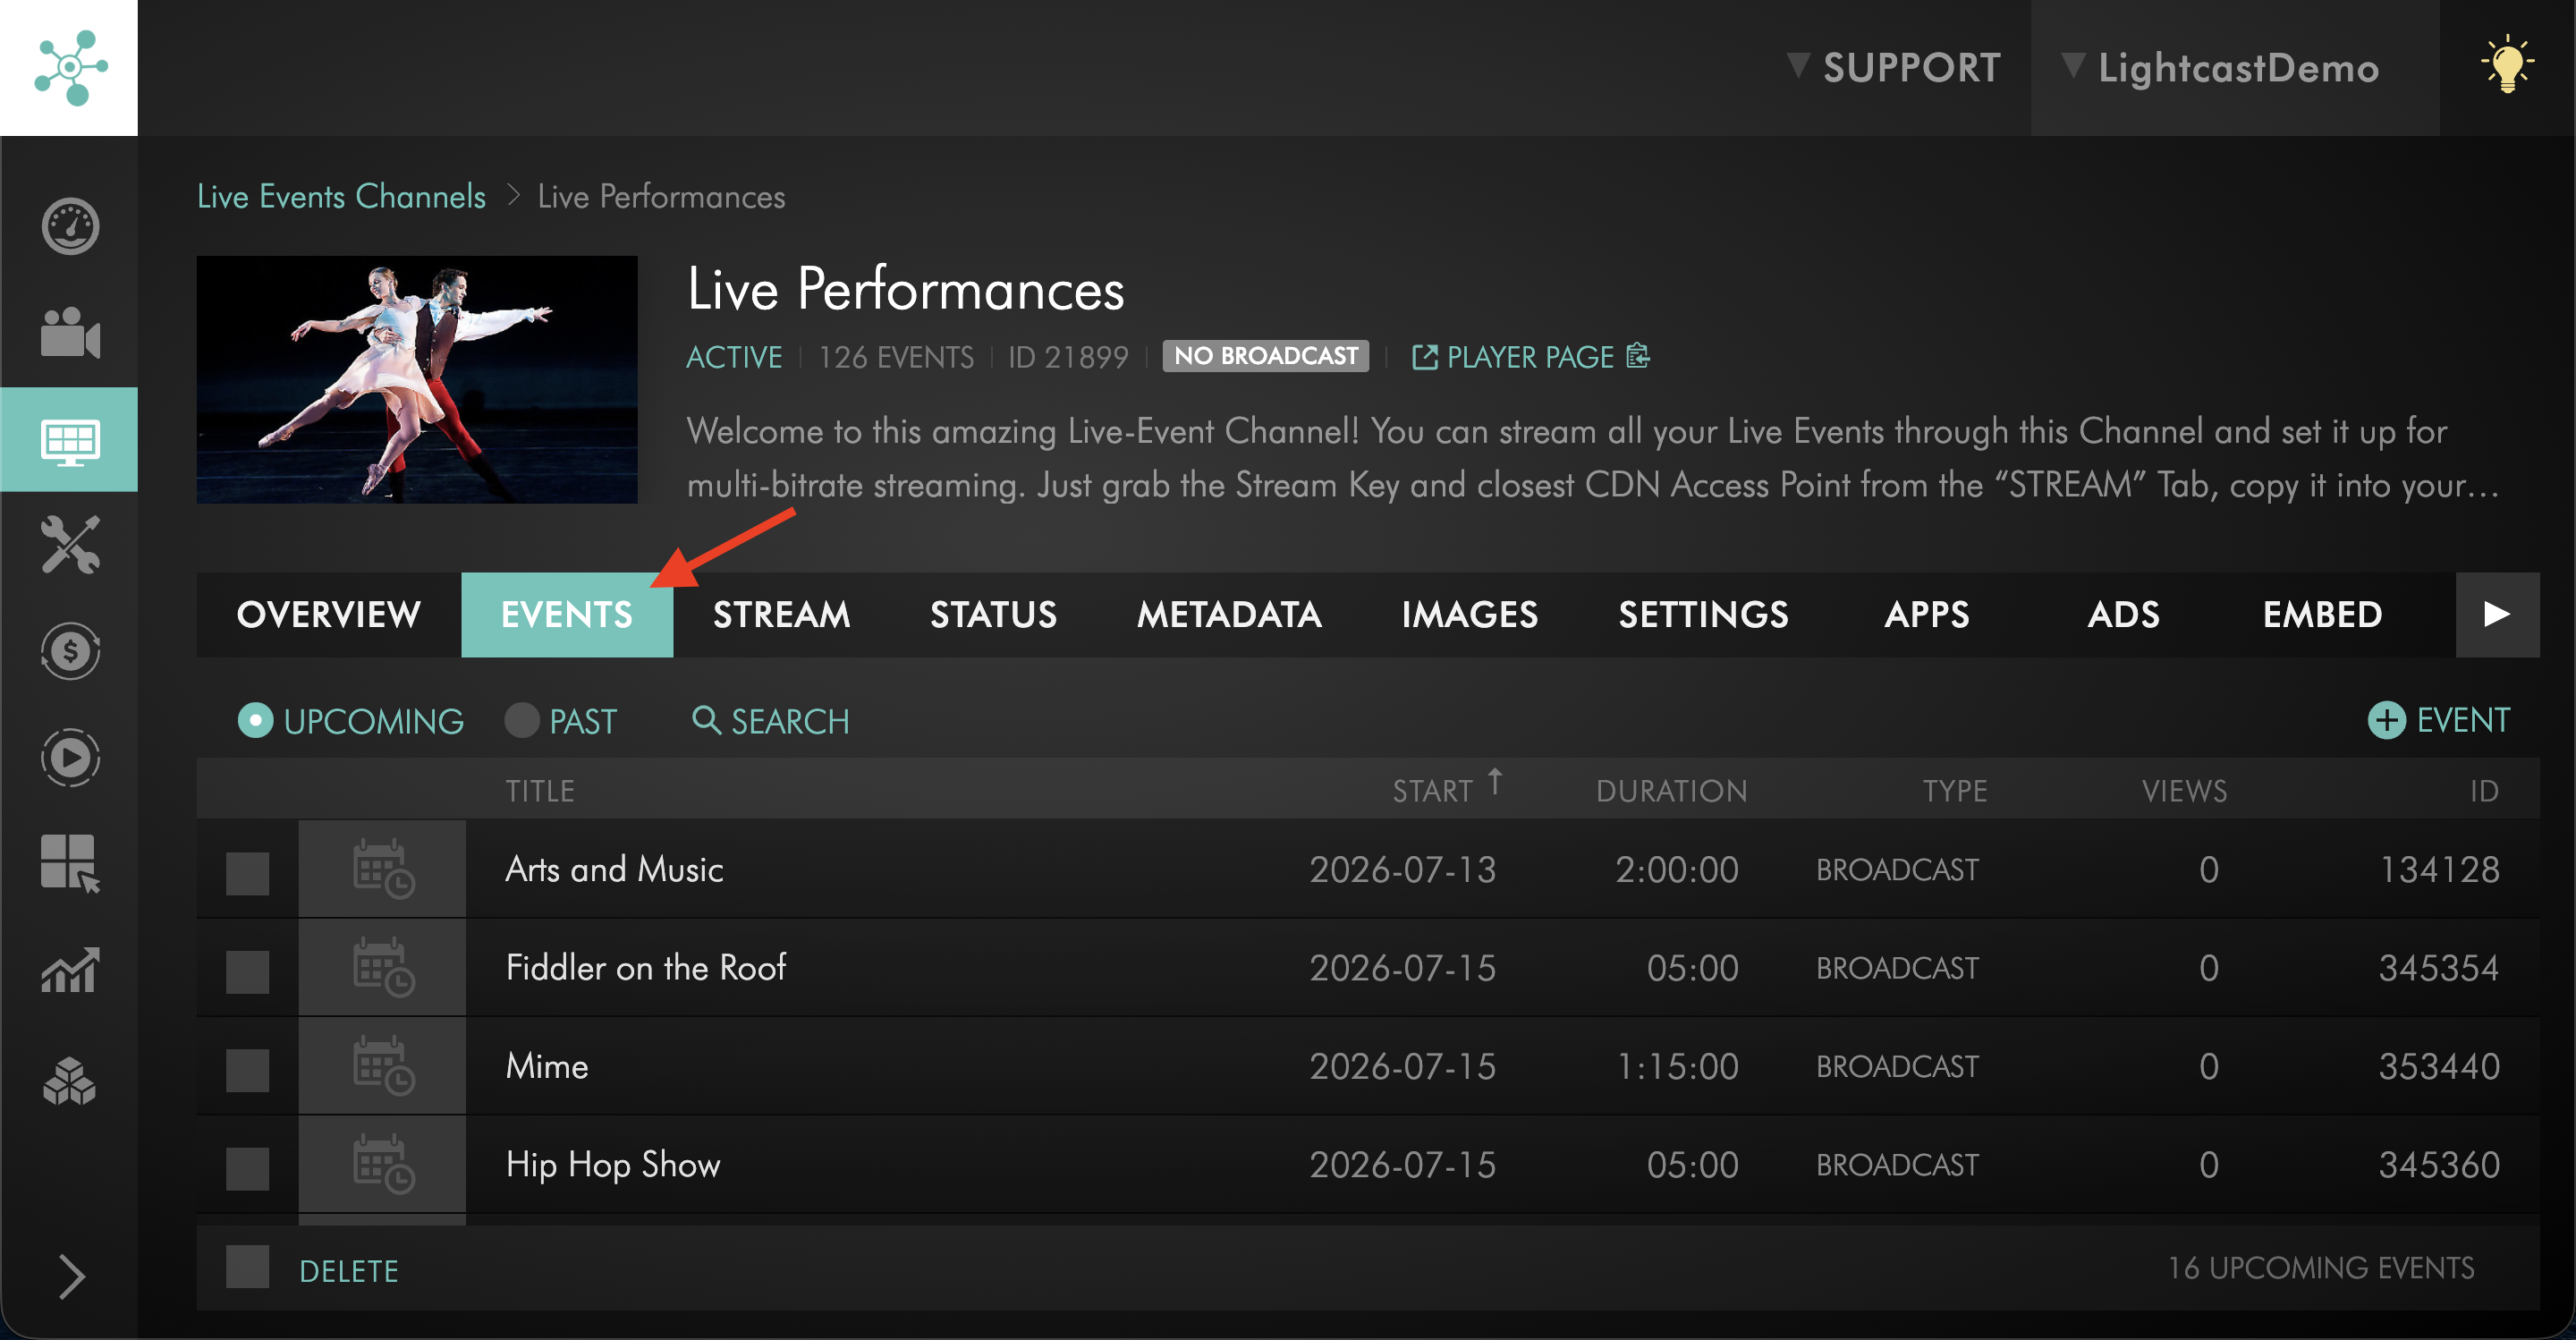
Step 5
Open the Live Event you want to update.
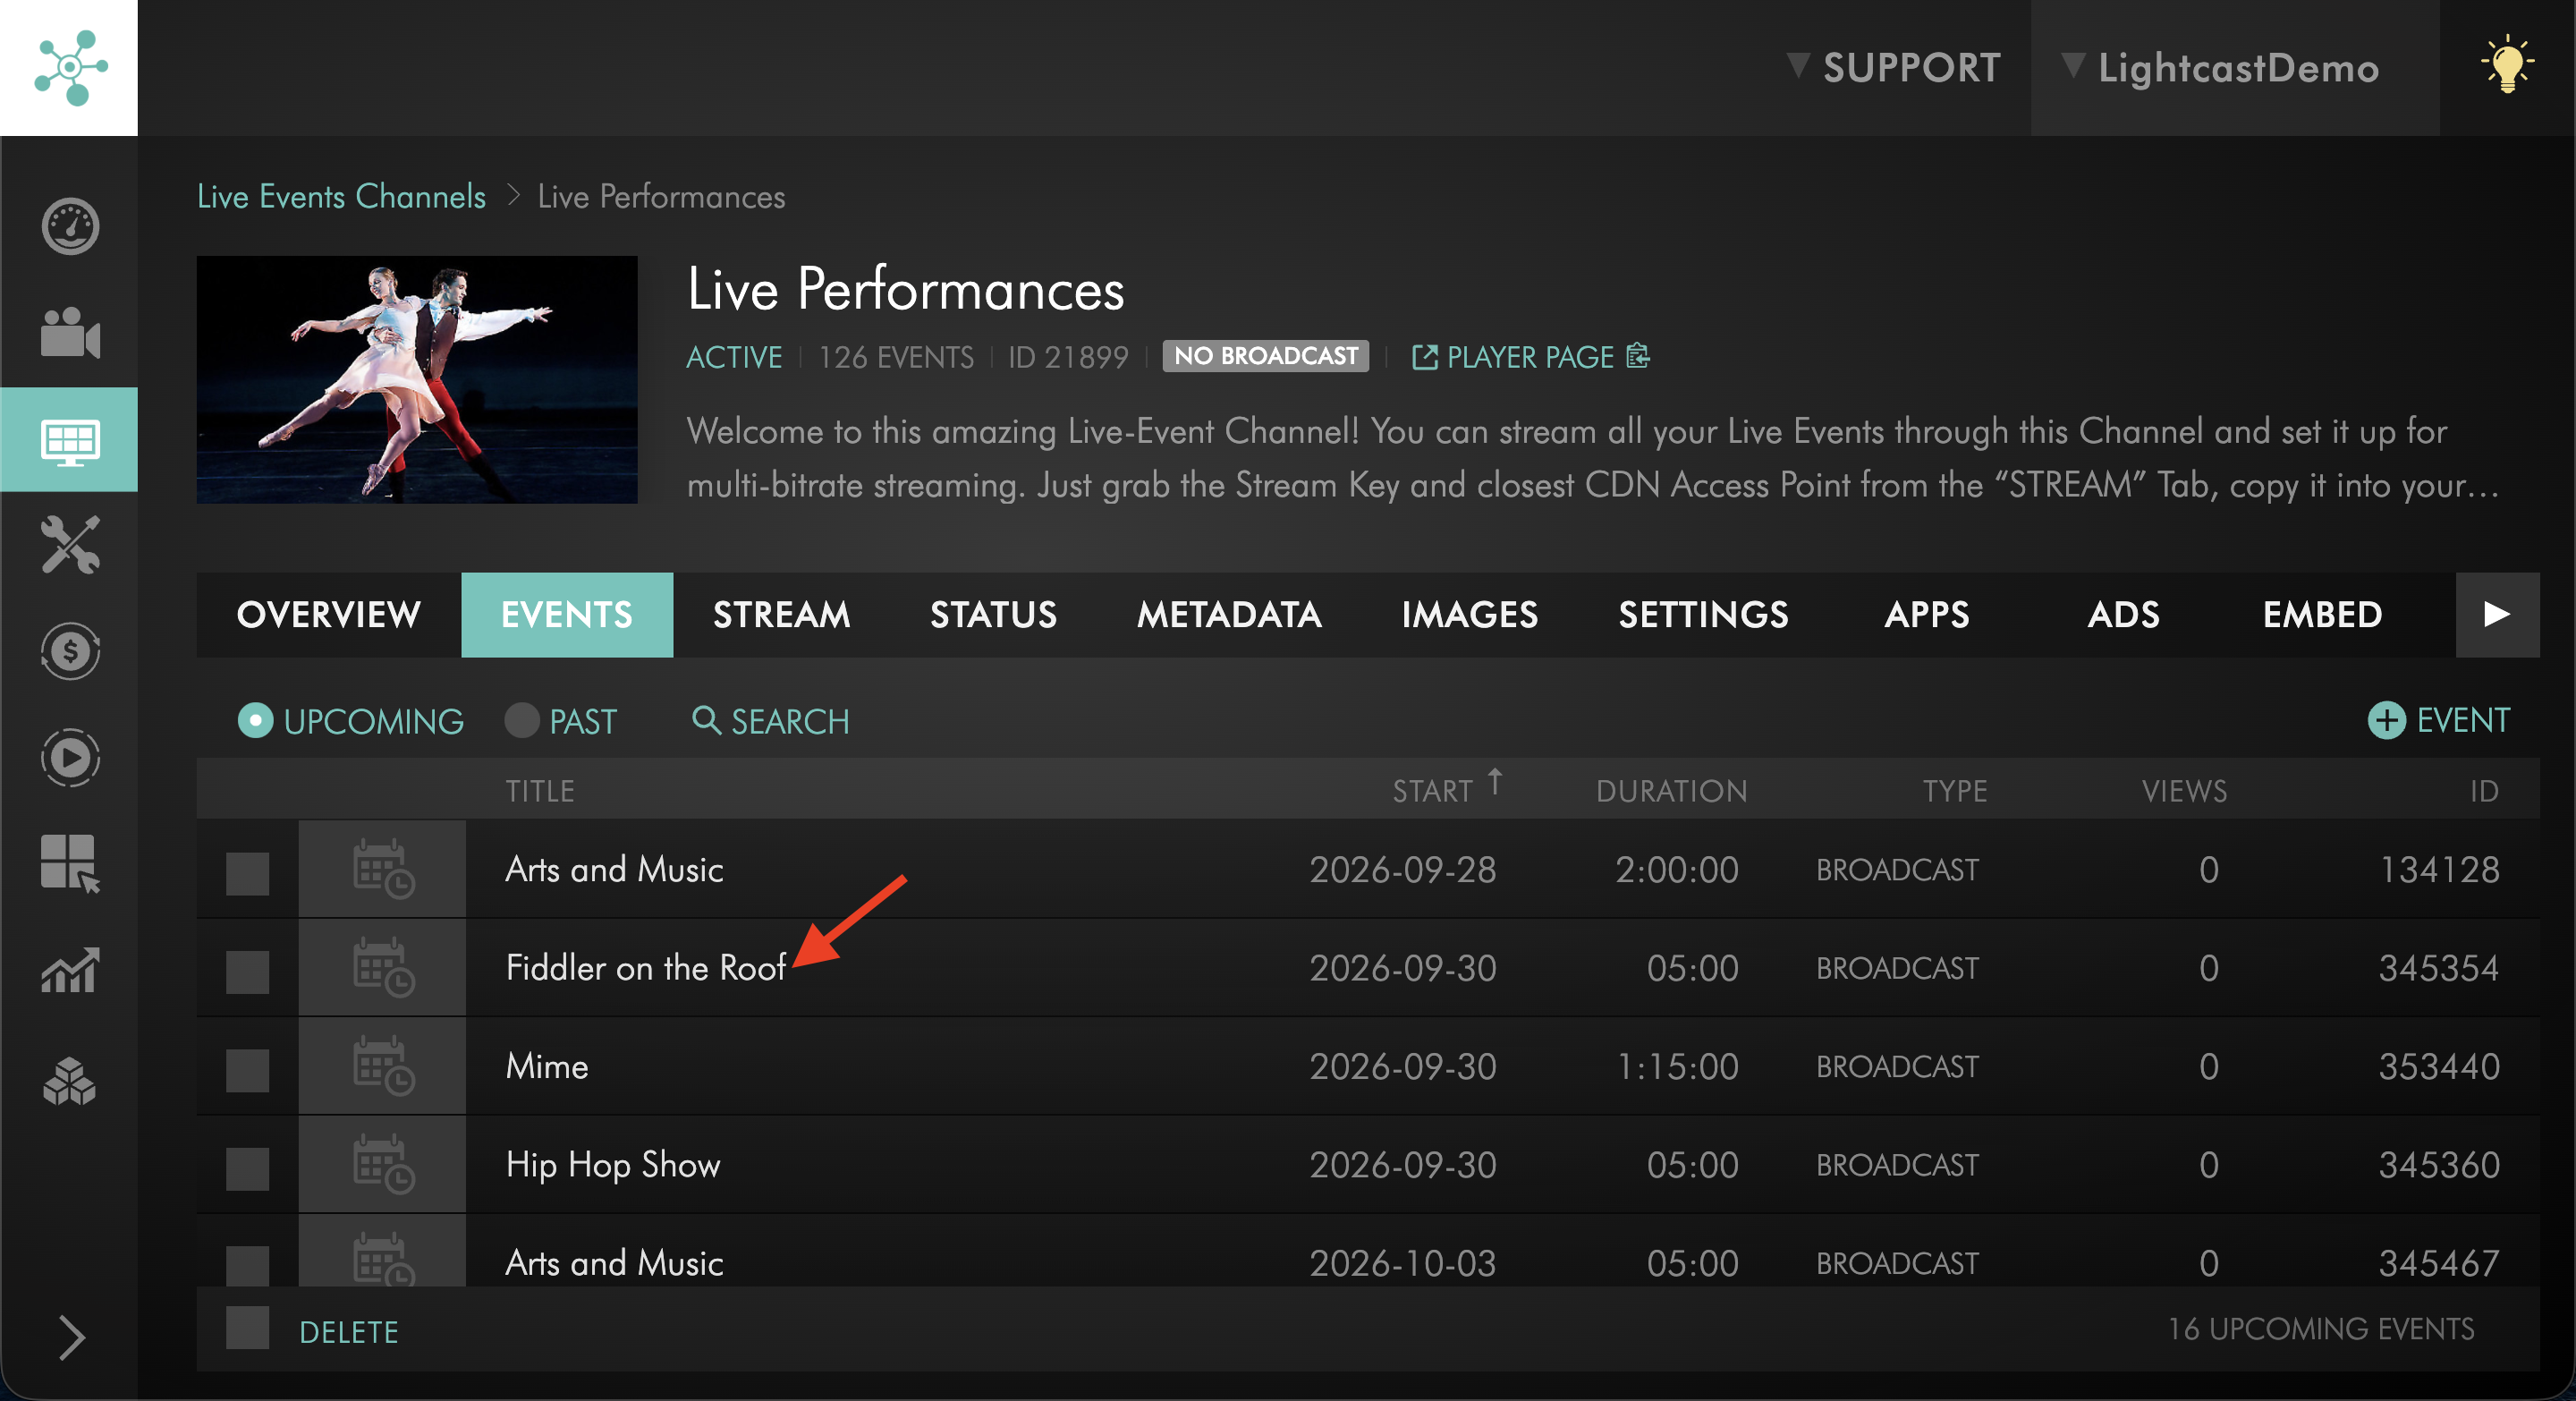
Step 6
Locate the Event Image option.
If you are updating a Simulated Live Event, the Media Cloud may already display the selected video’s thumbnail as the default Event Image.
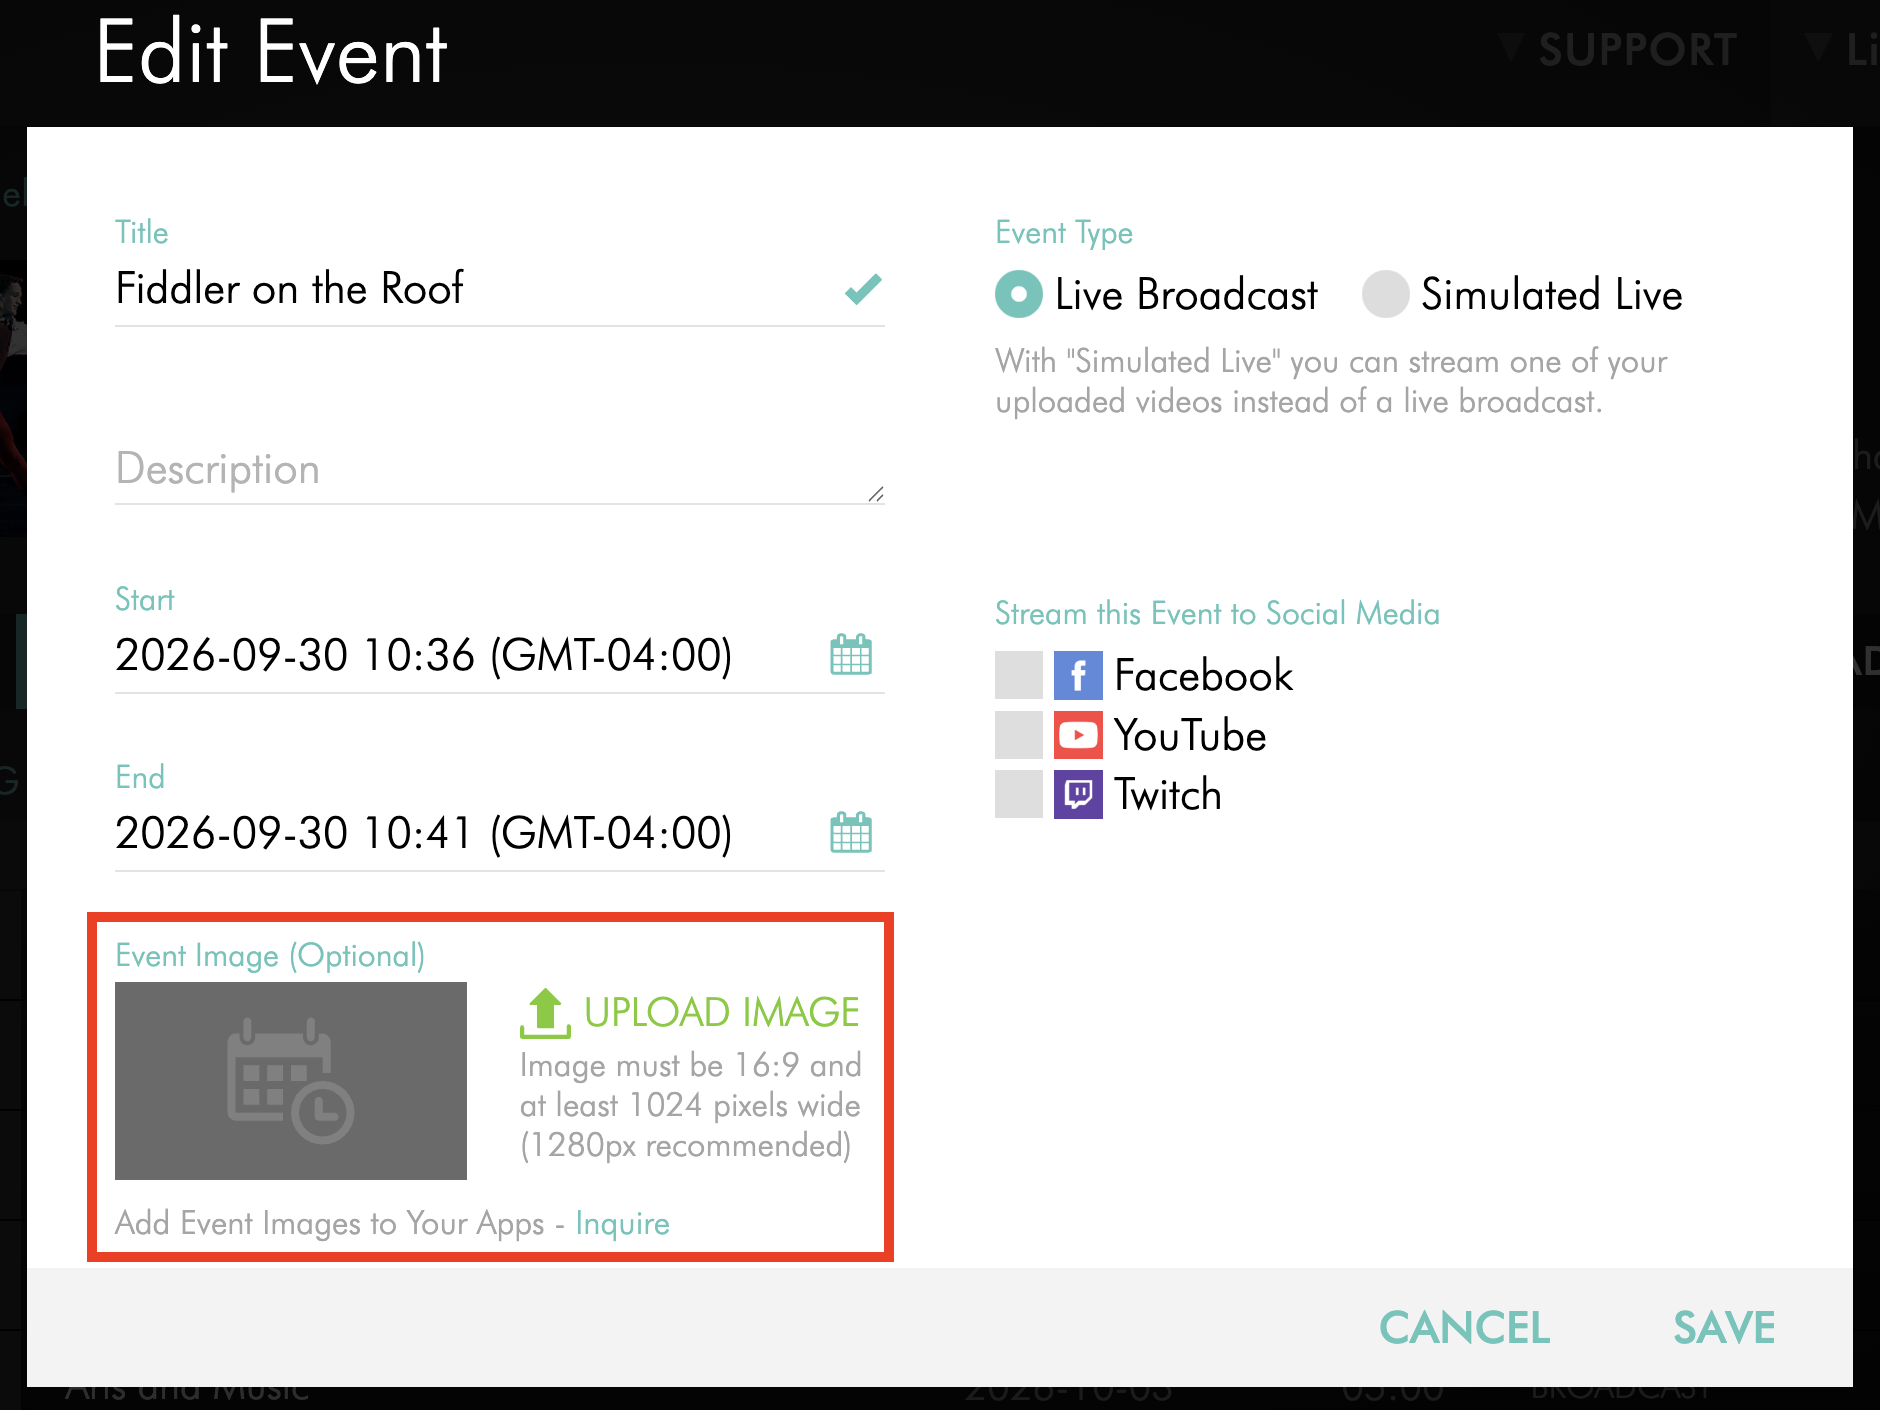
Step 7
Click UPLOAD IMAGE.
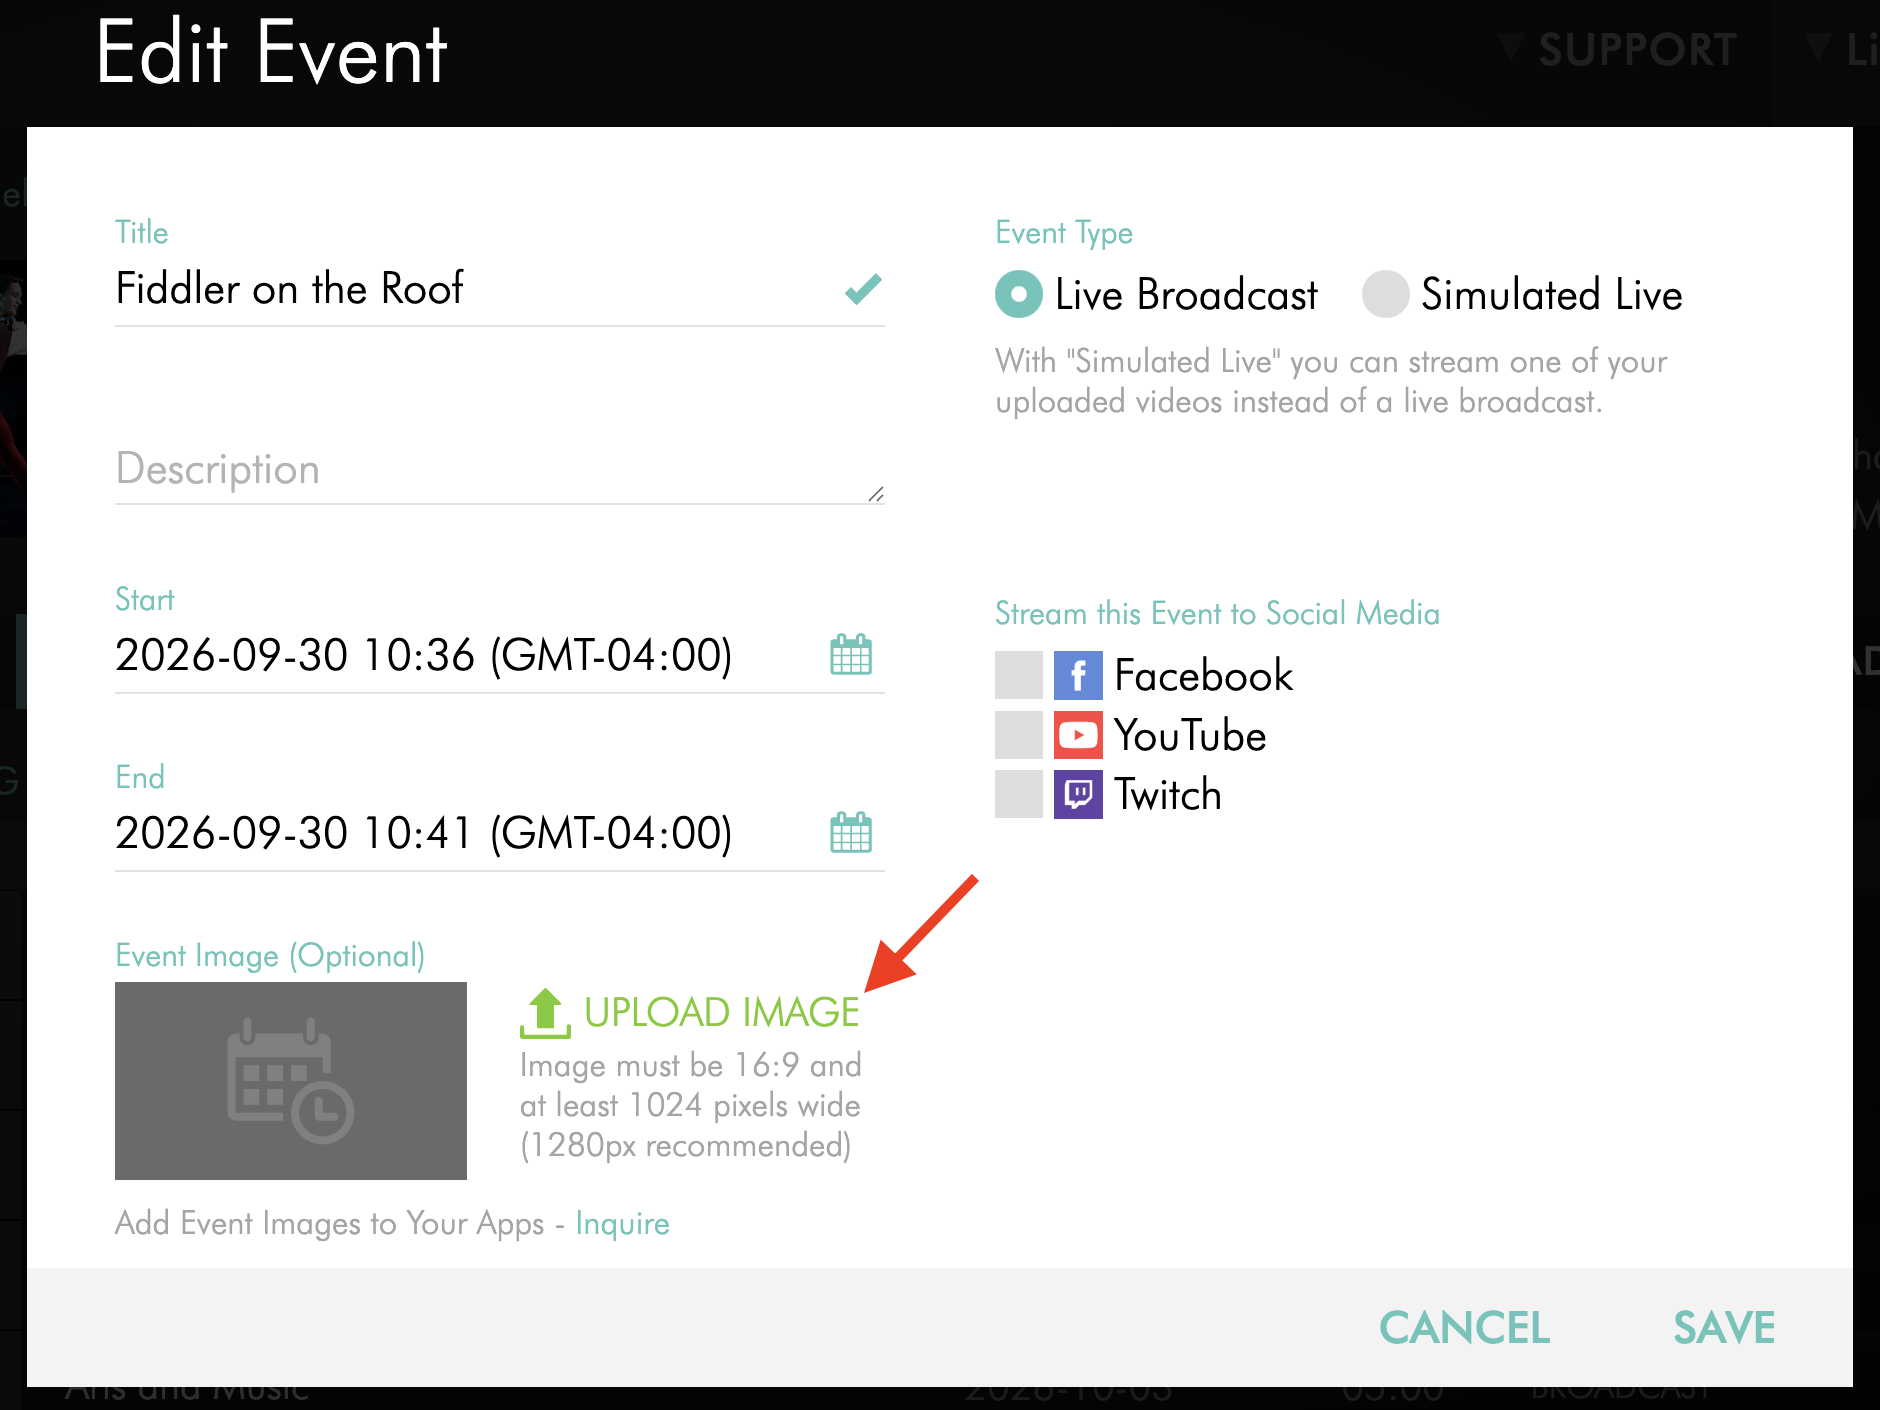
Step 8
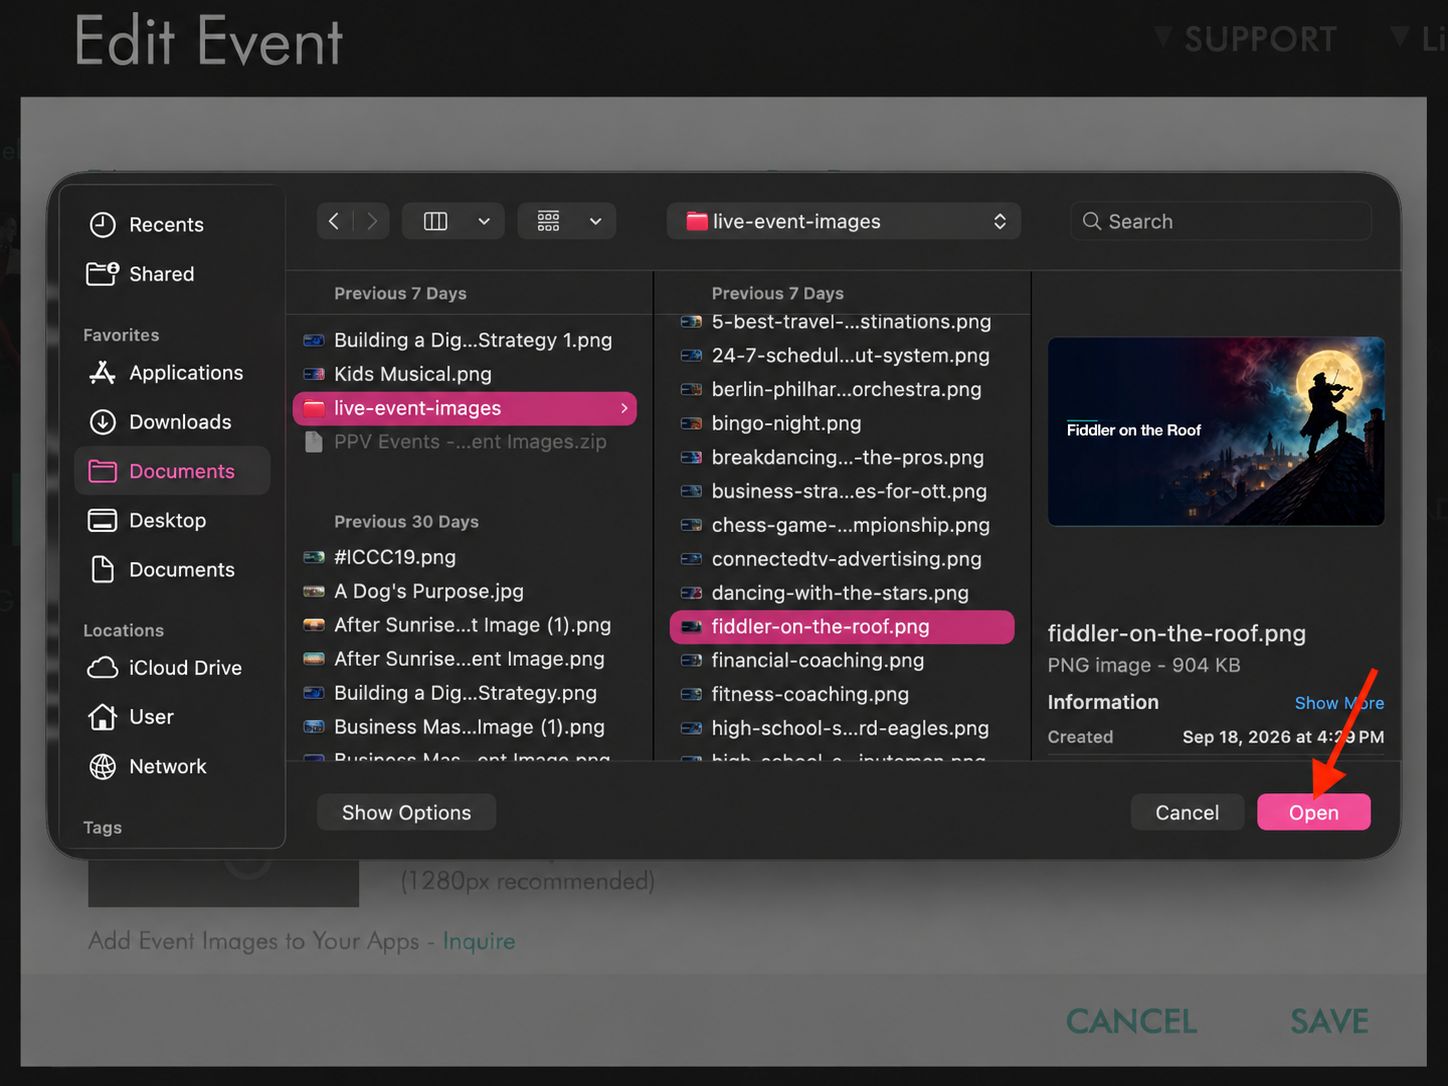
Select the image file from your computer, then click Open.
The image must be 16:9 and at least 1024 pixels wide. A width of 1280 pixels is recommended.
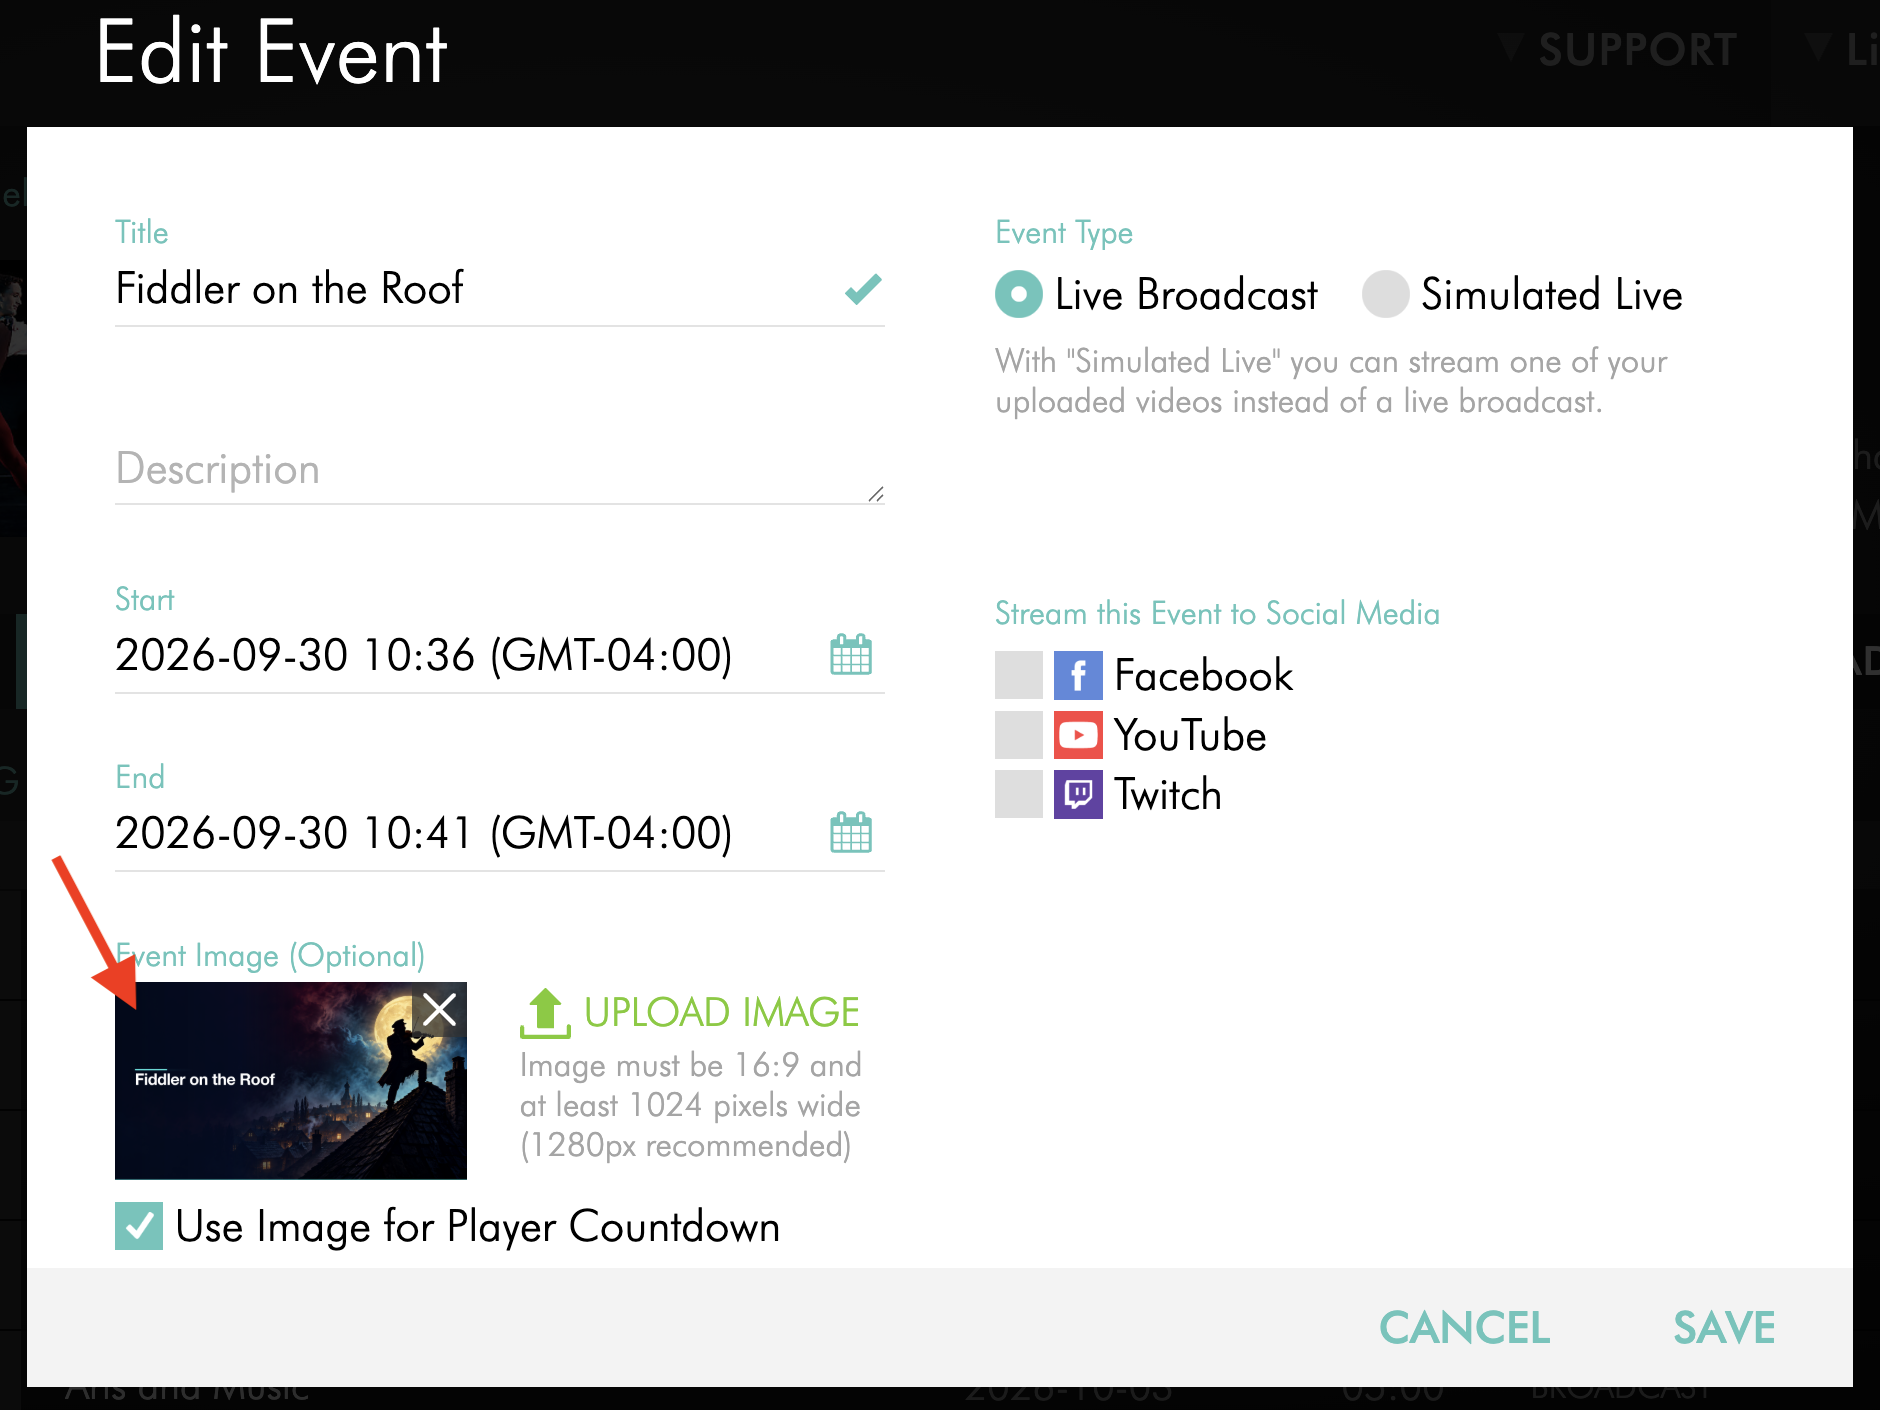
Step 9
Confirm that the image preview appears in the Event Image area.
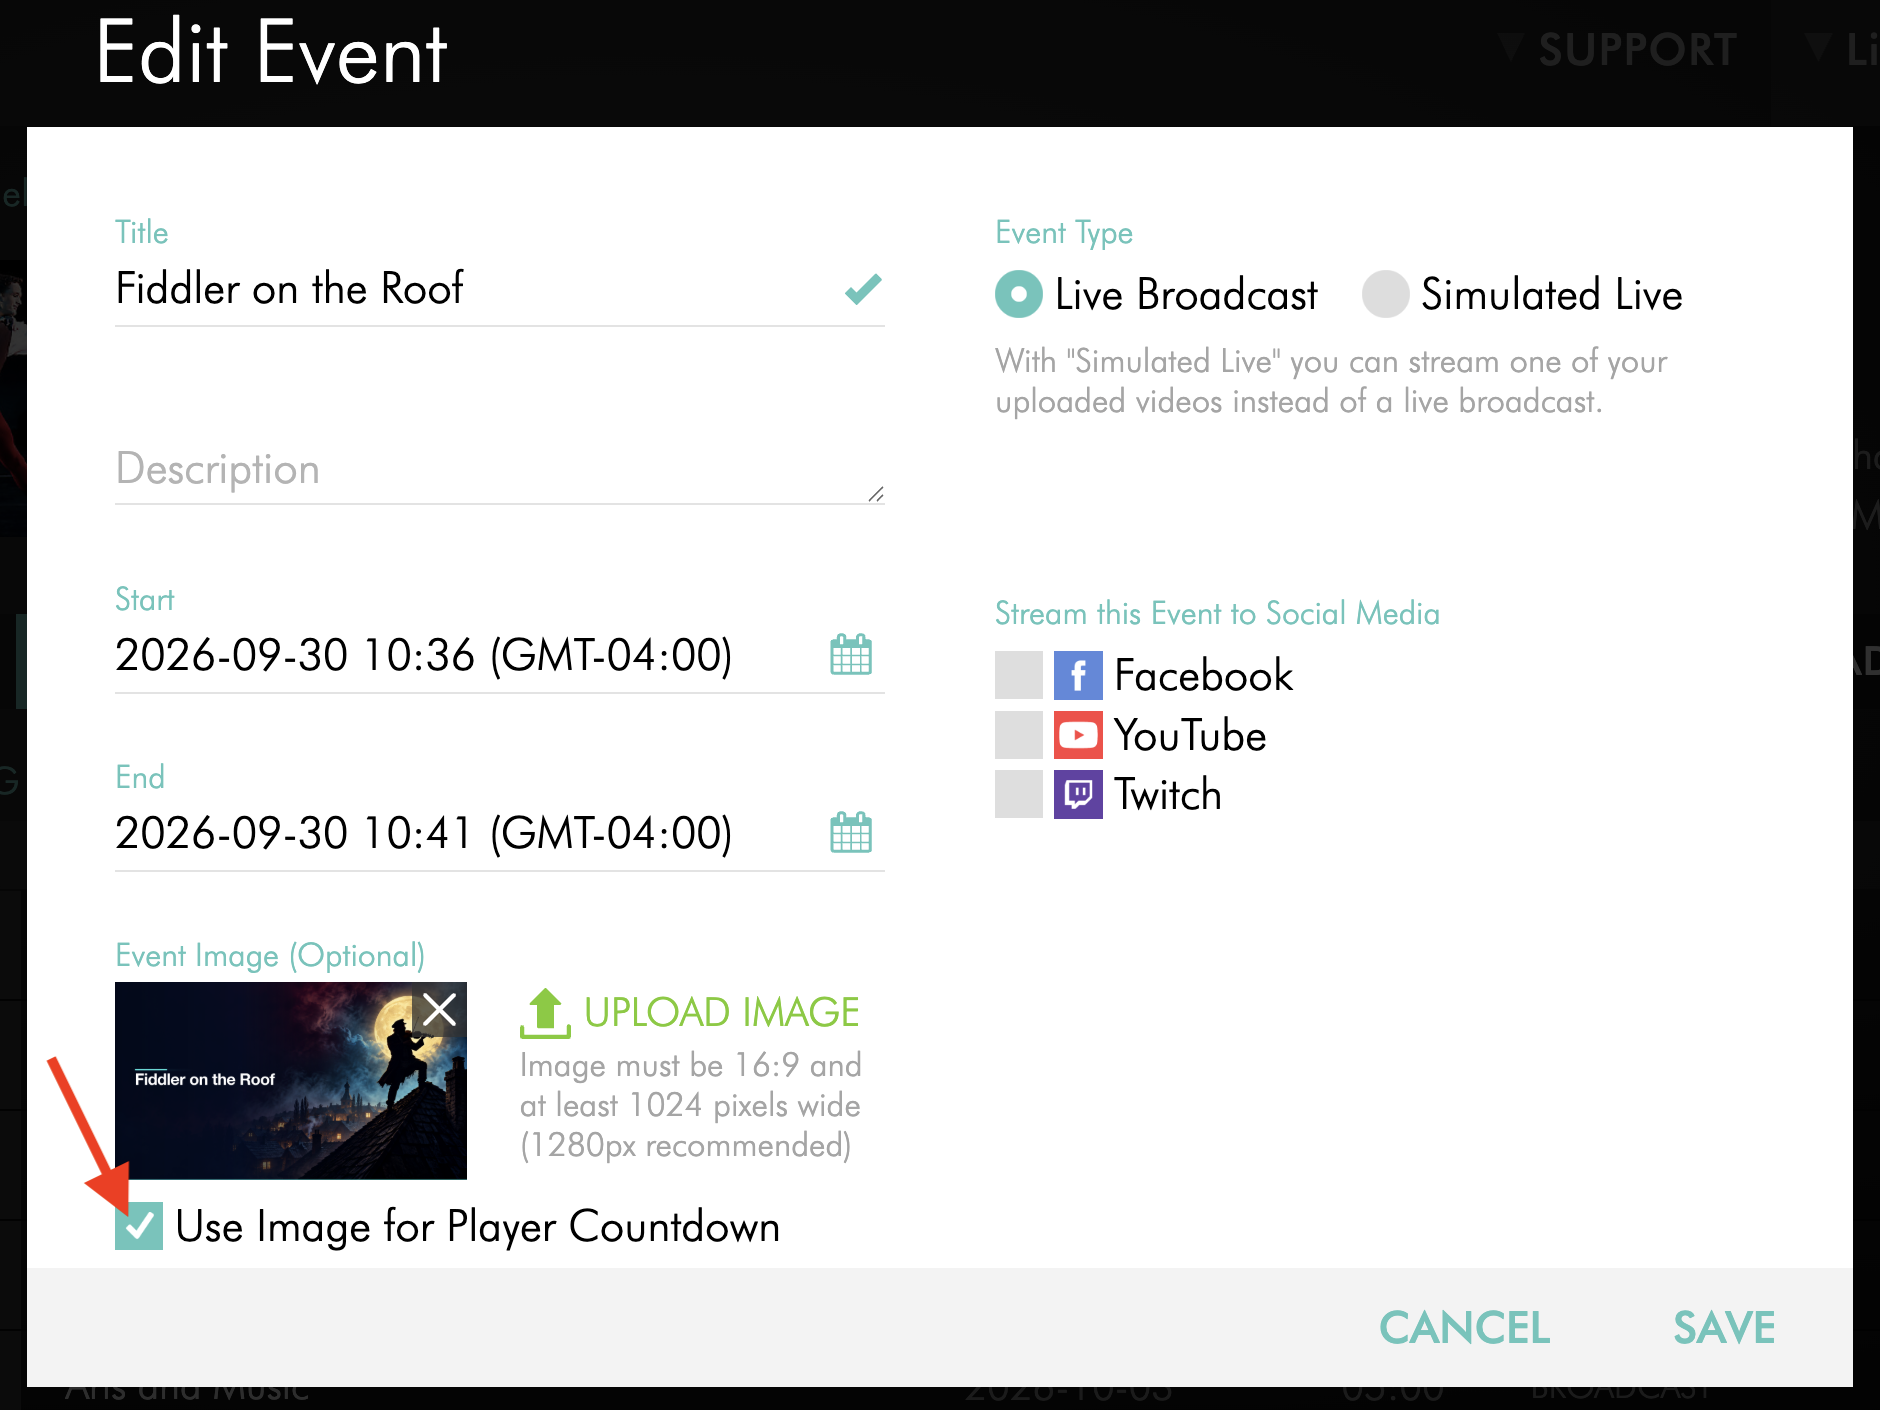
Step 10
Optional: Leave Use Image for Player Countdown selected if you want the image to appear during the event countdown.
Step 11
Click SAVE to update the Live Event.
Updates to the Live Event Image can take effect across supported platforms after the Live Event is saved.
Remove a Live Event Image
Step 1
Log in to your Media Cloud account.
Step 2
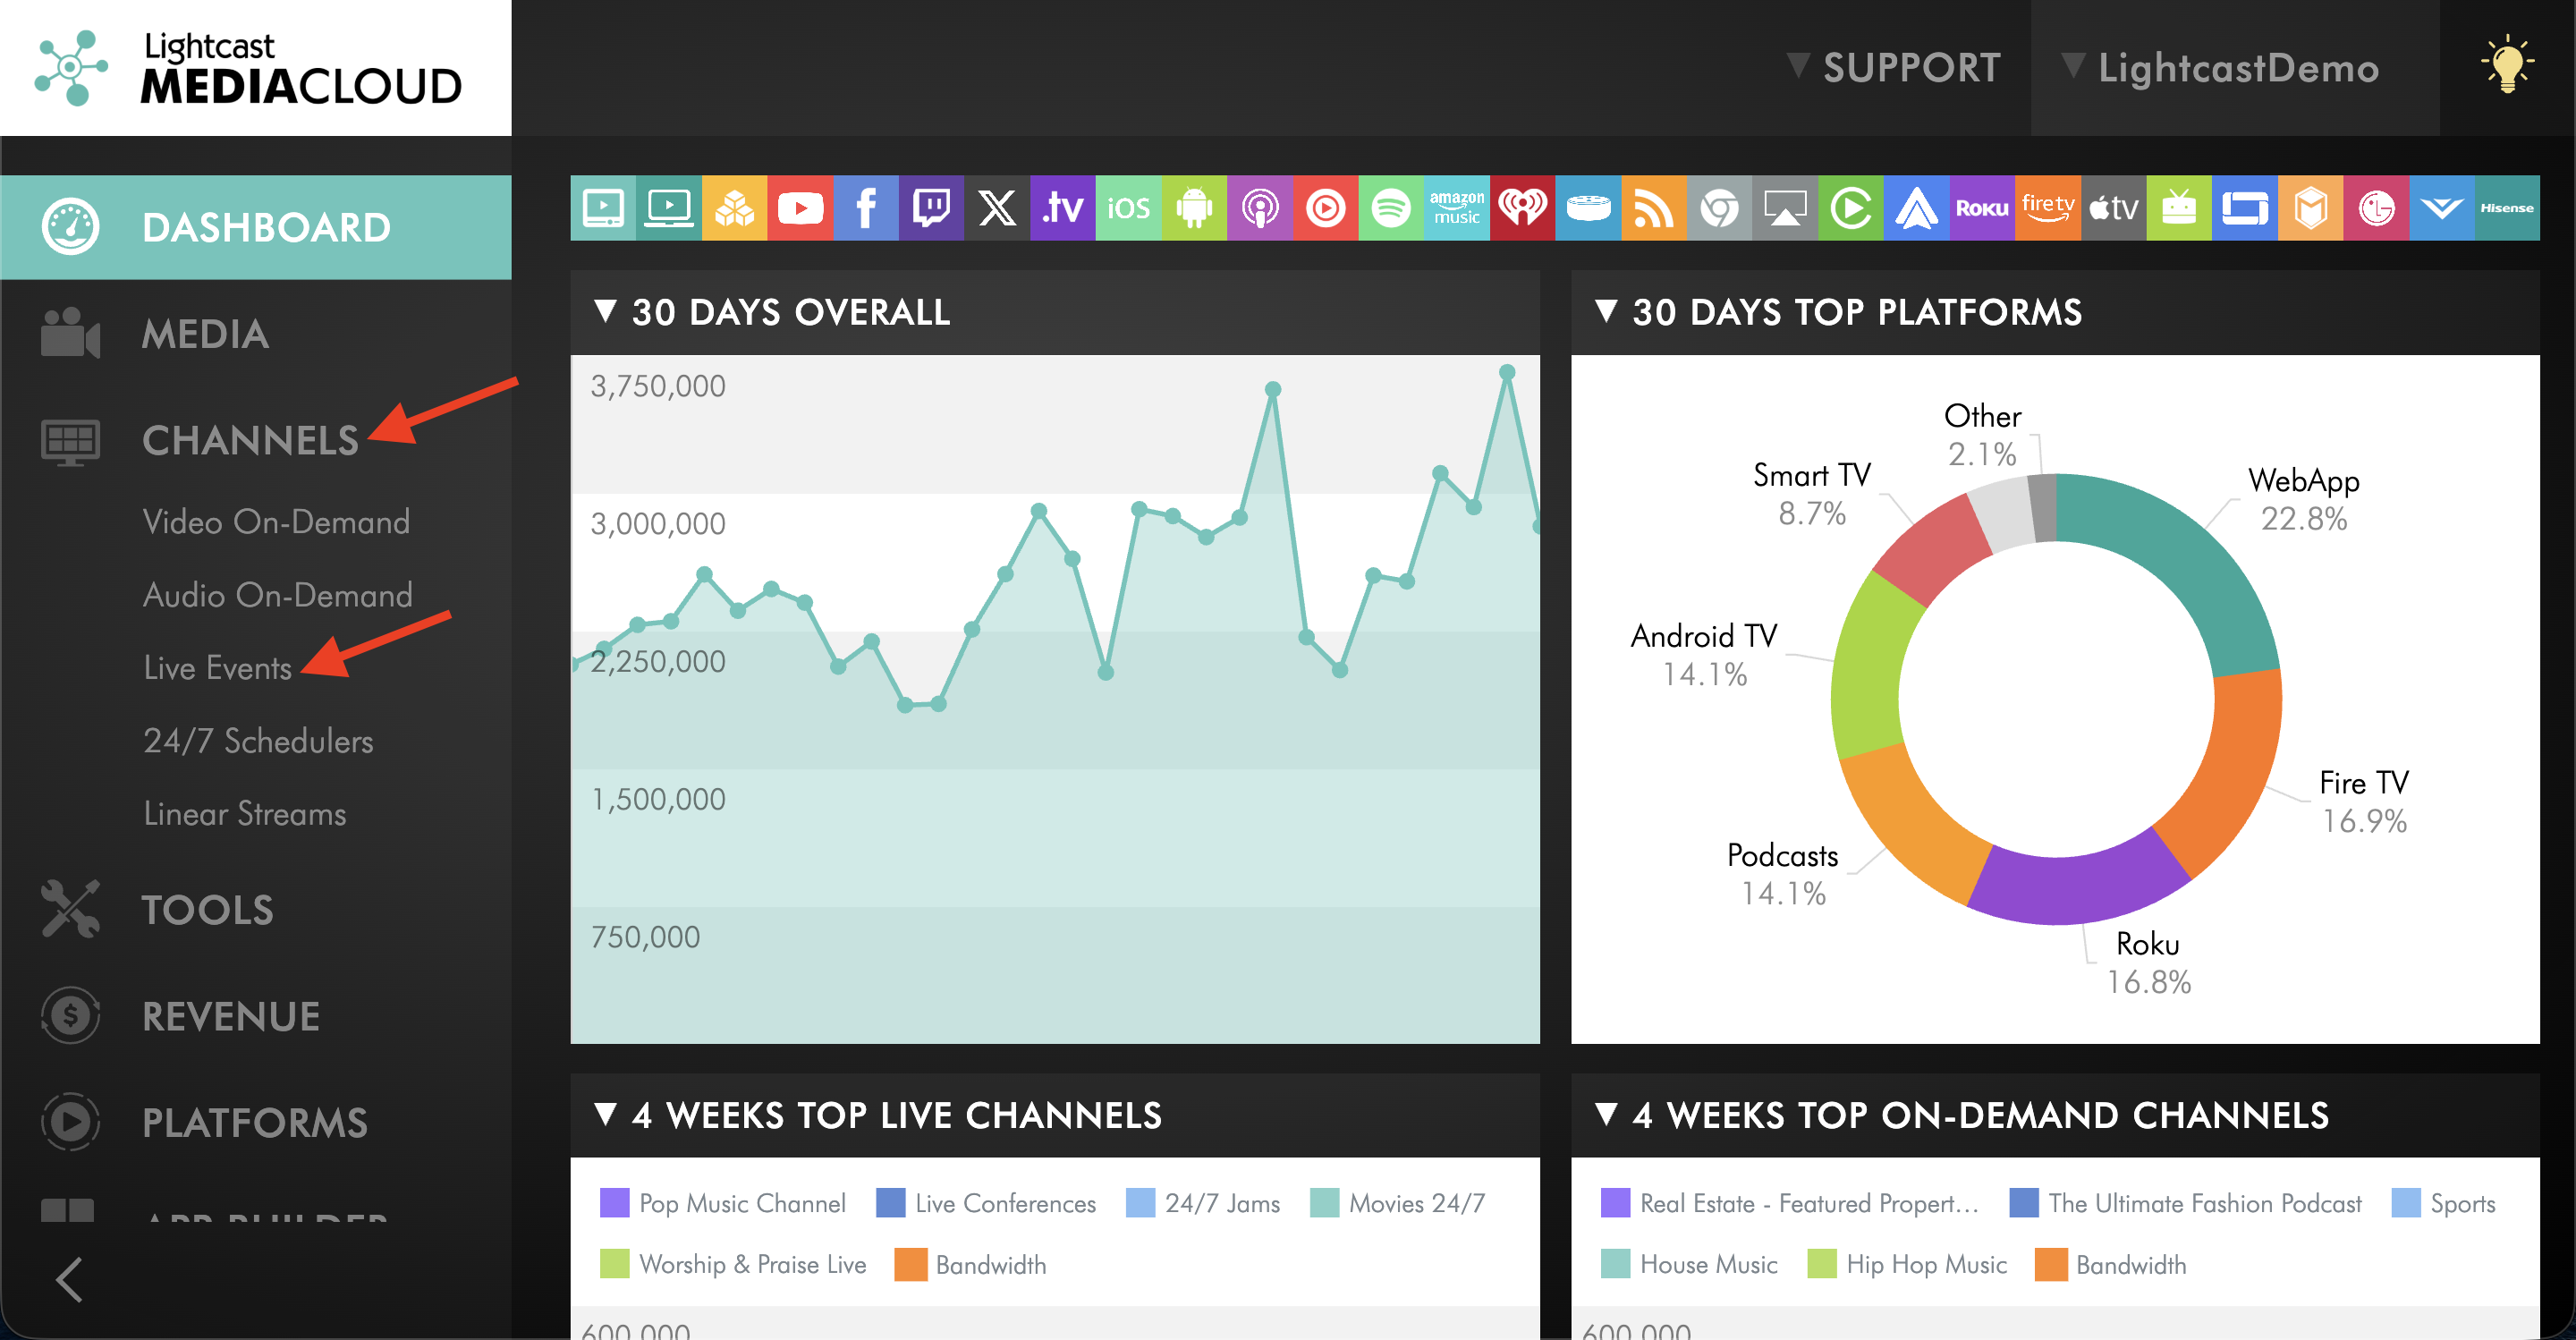
Go to CHANNELS, then select Live Events.
Step 3
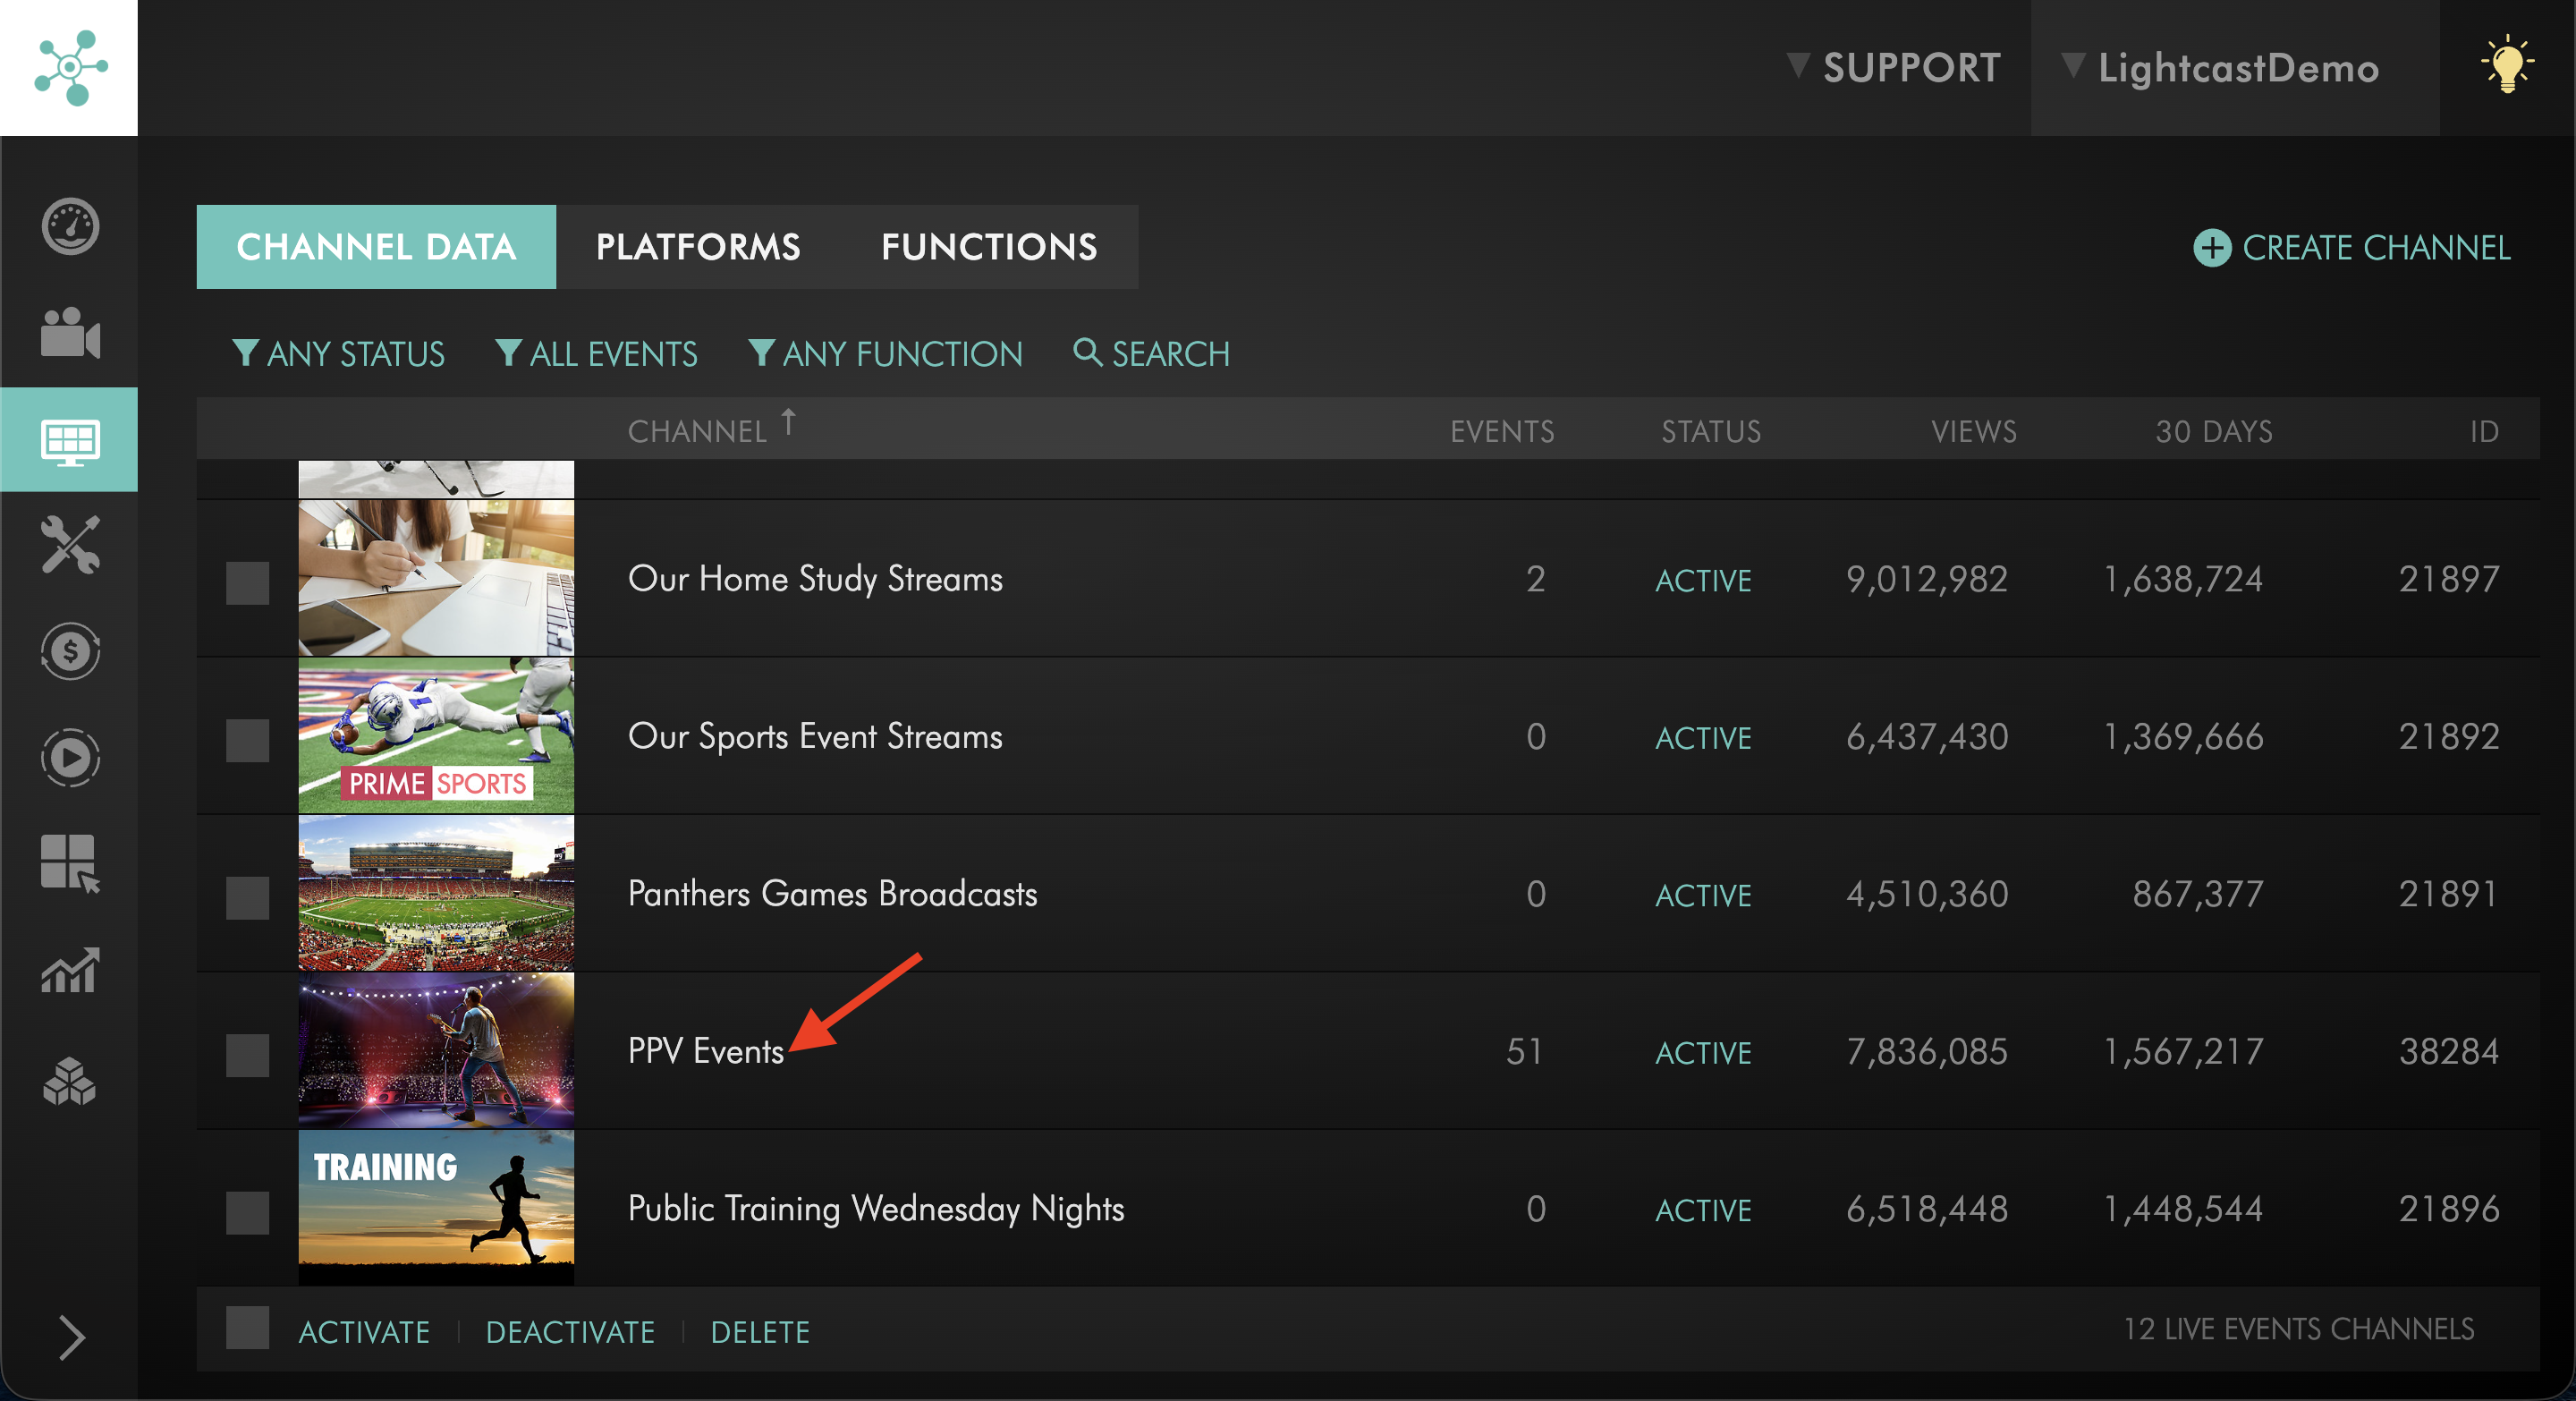
Select the Live Events Channel that contains the Live Event you want to update.
Step 4
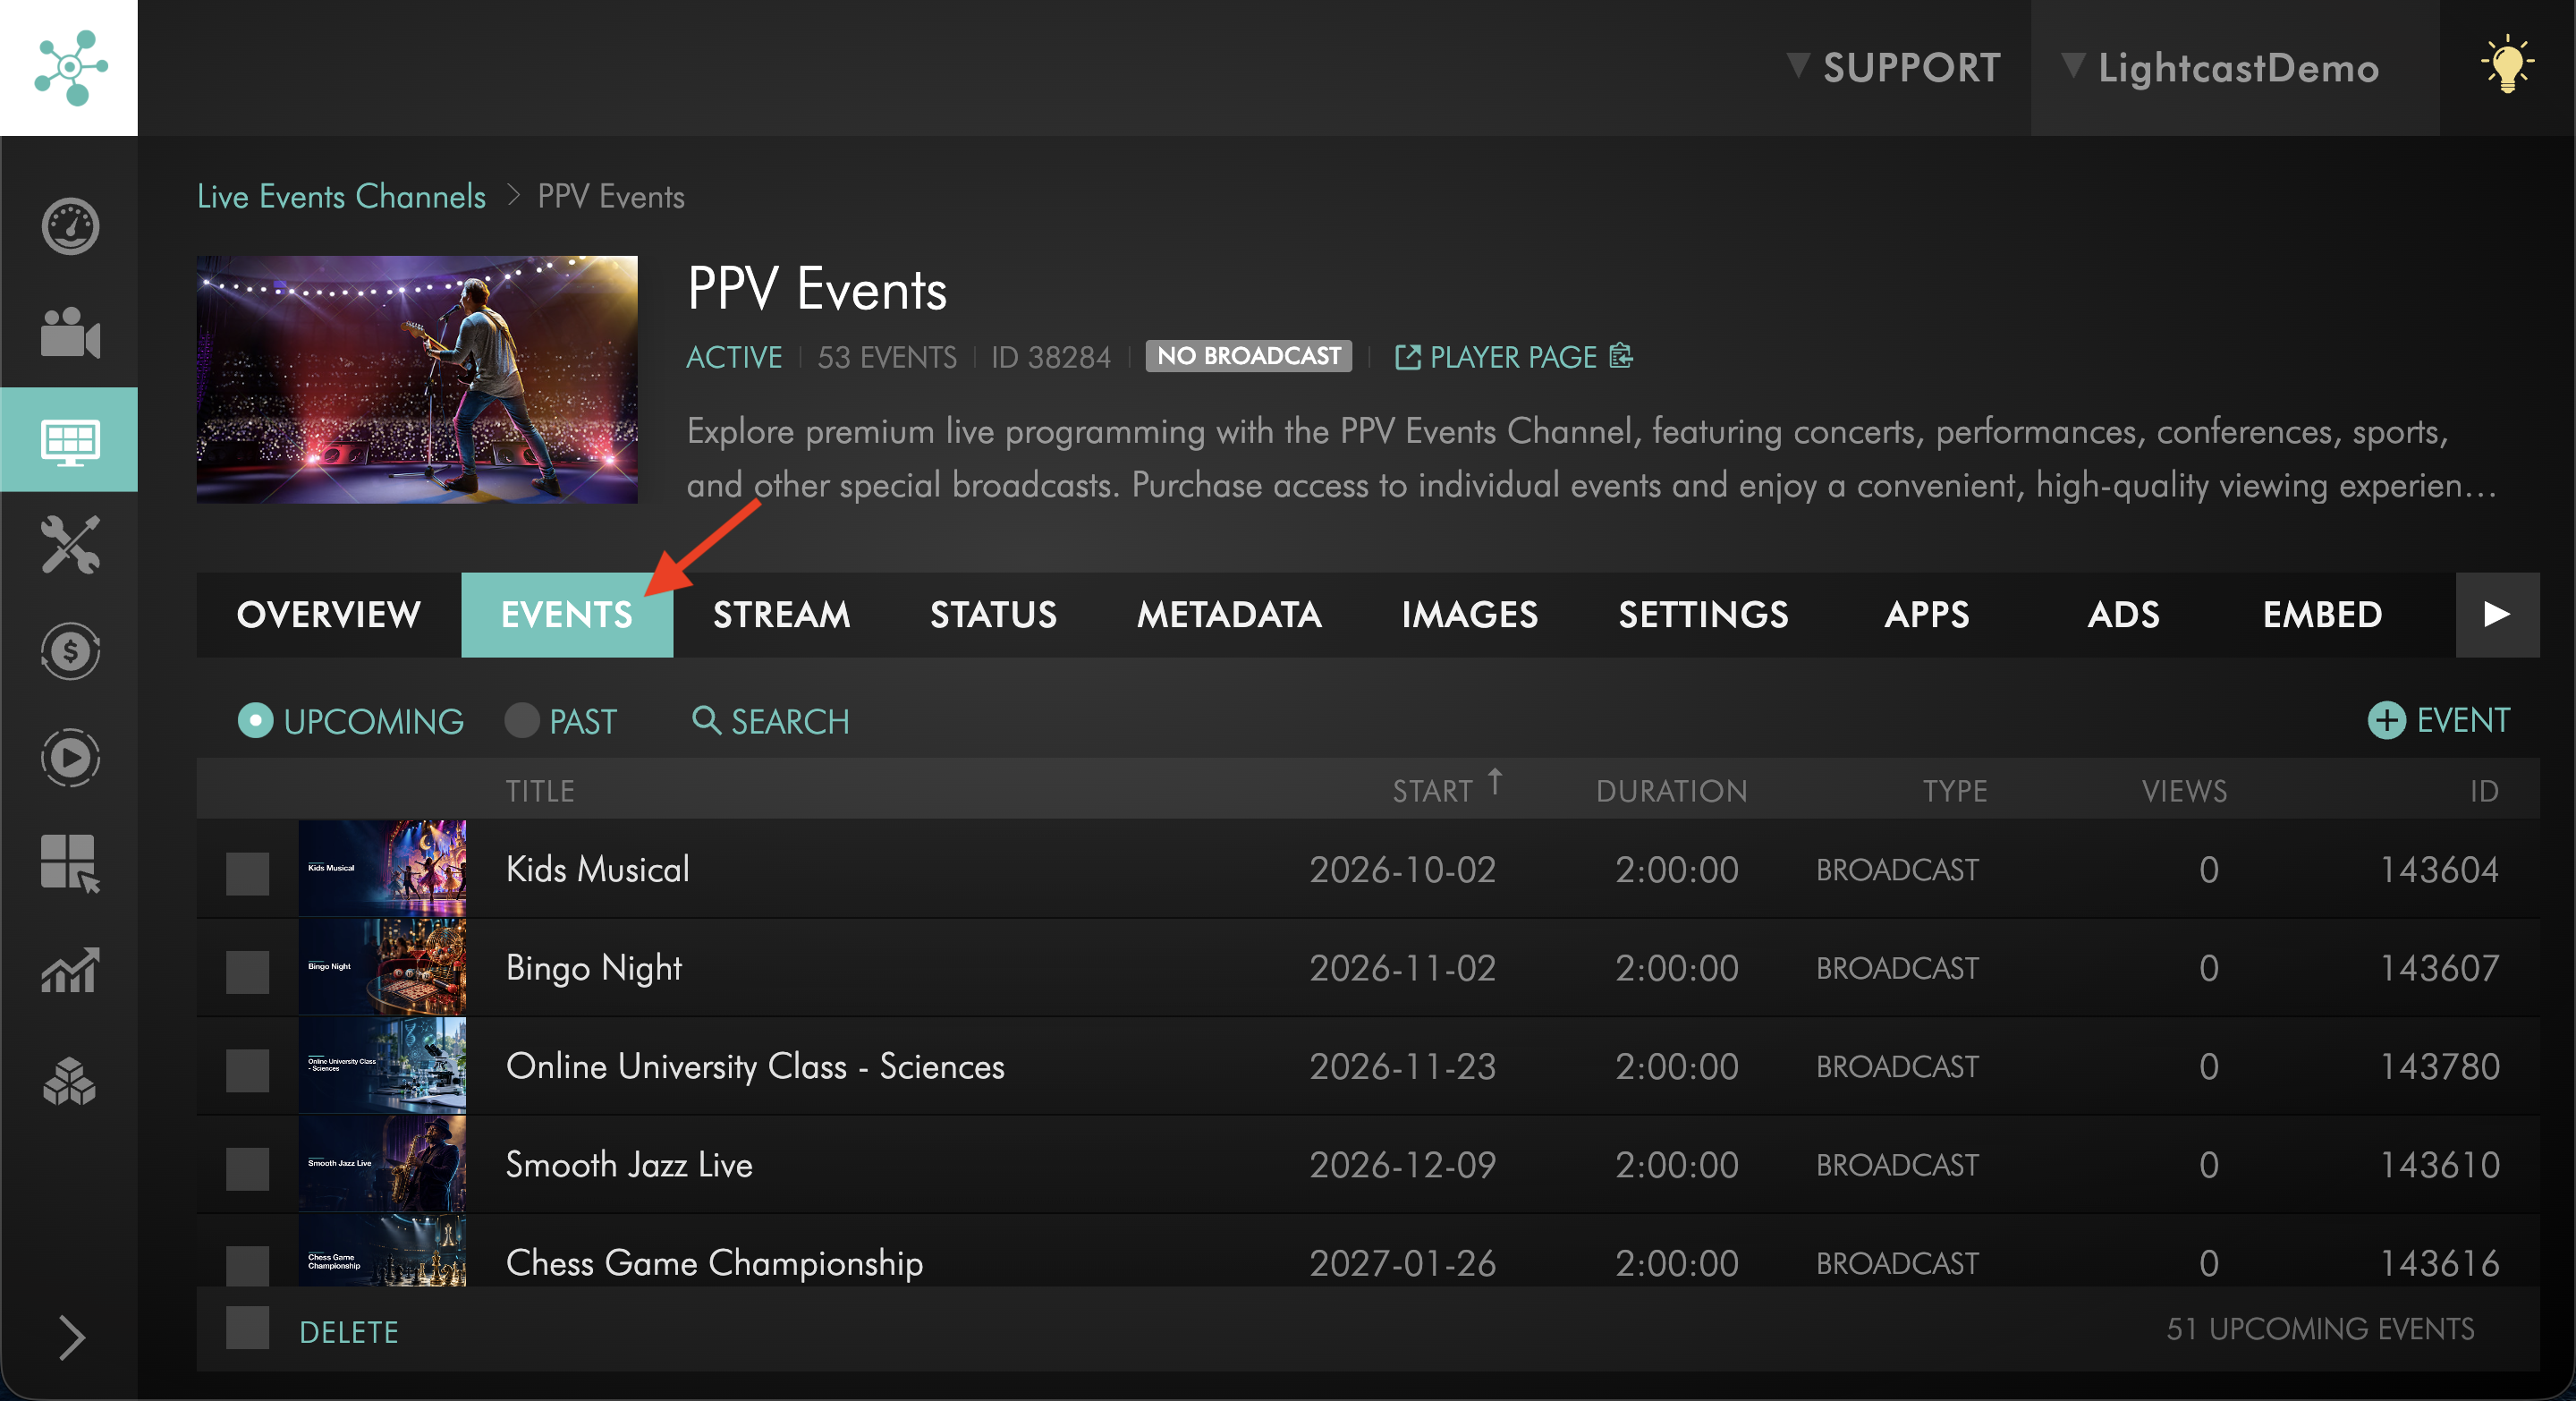
Click the EVENTS tab.
Step 5
Open the Live Event you want to update.
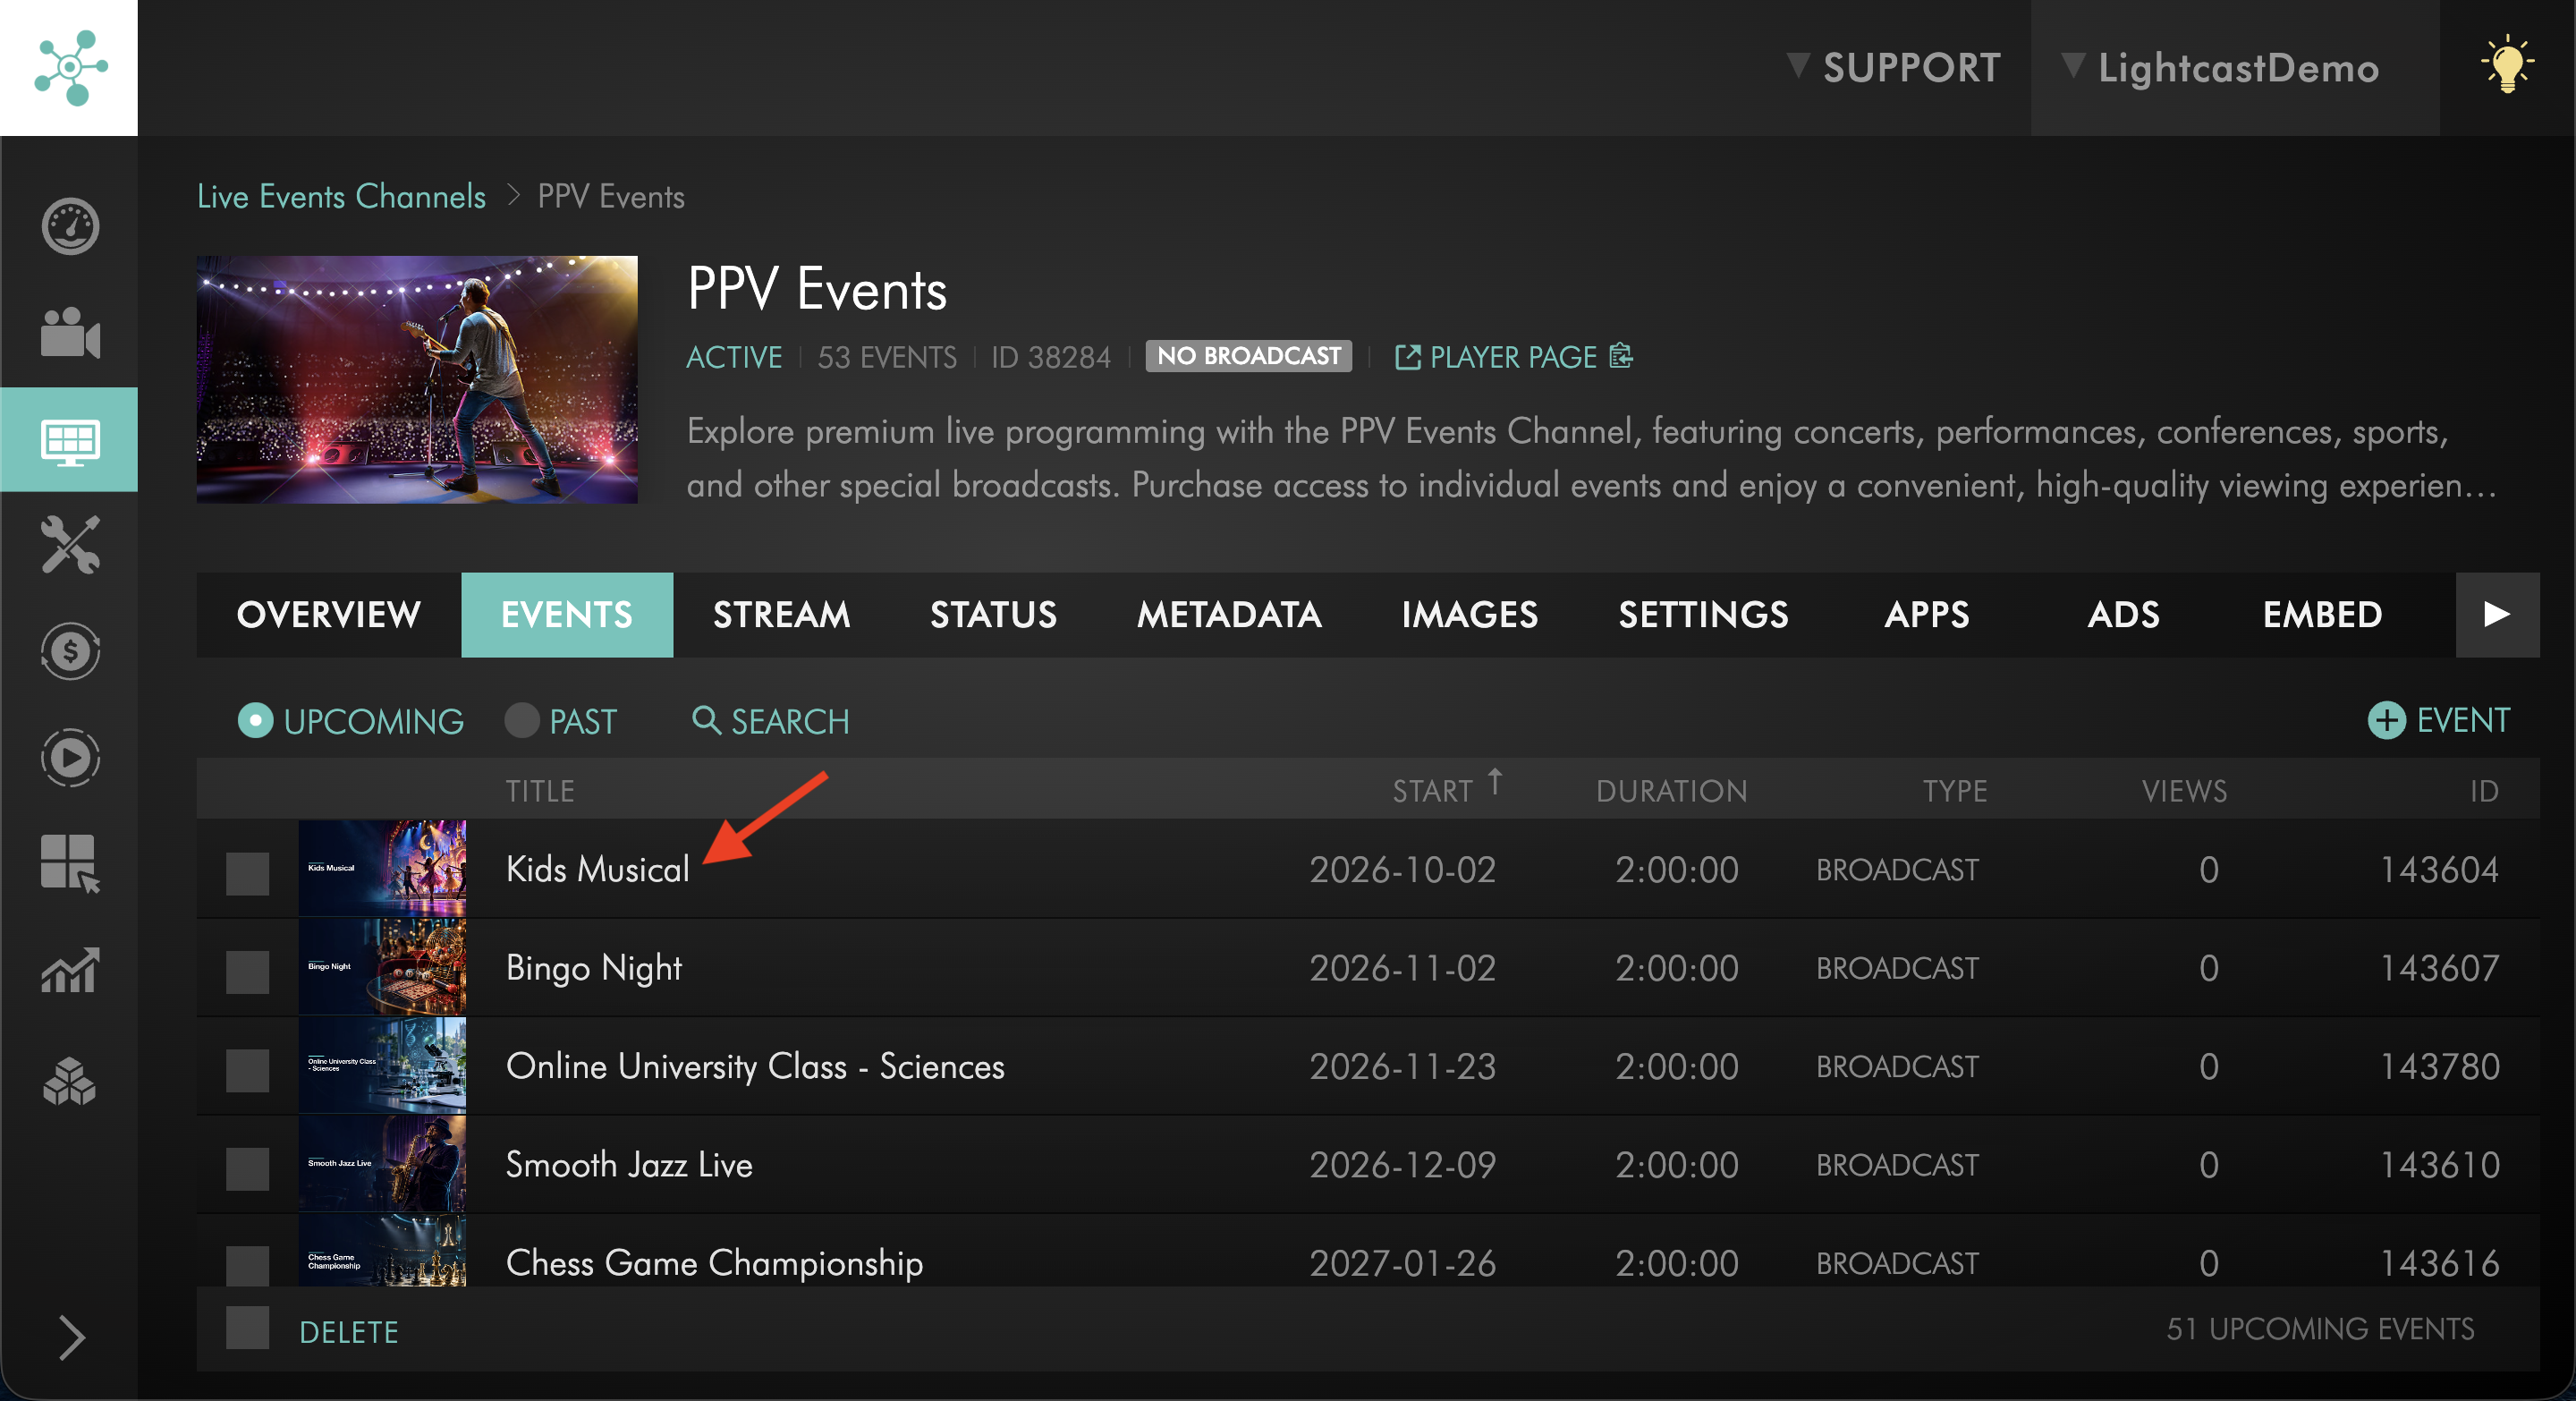
Step 6
Locate the current image in the Event Image area.
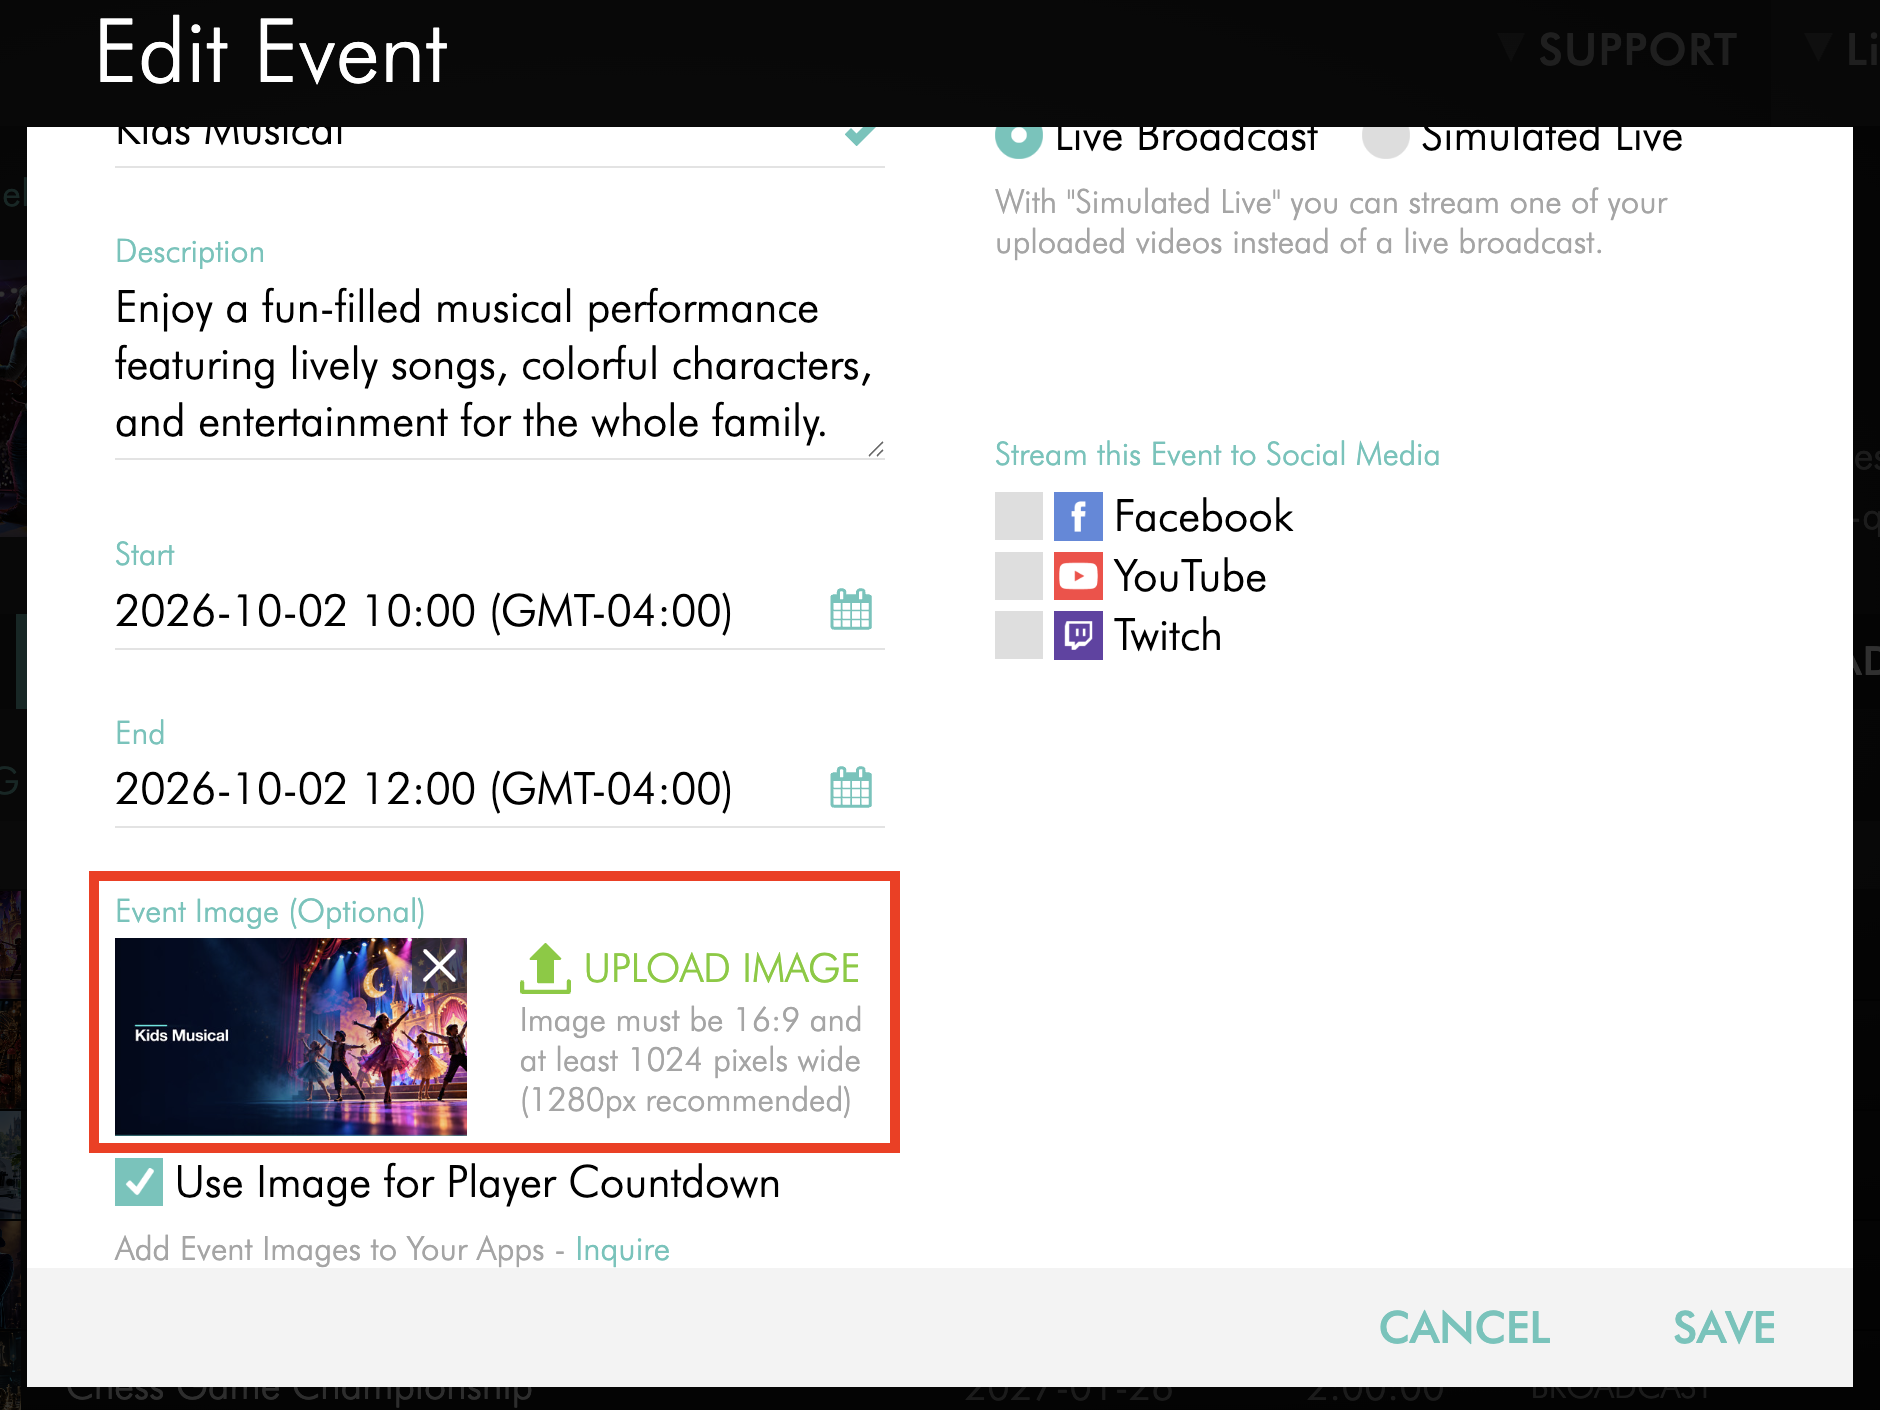
Step 7
Click the X on the image preview to remove it.
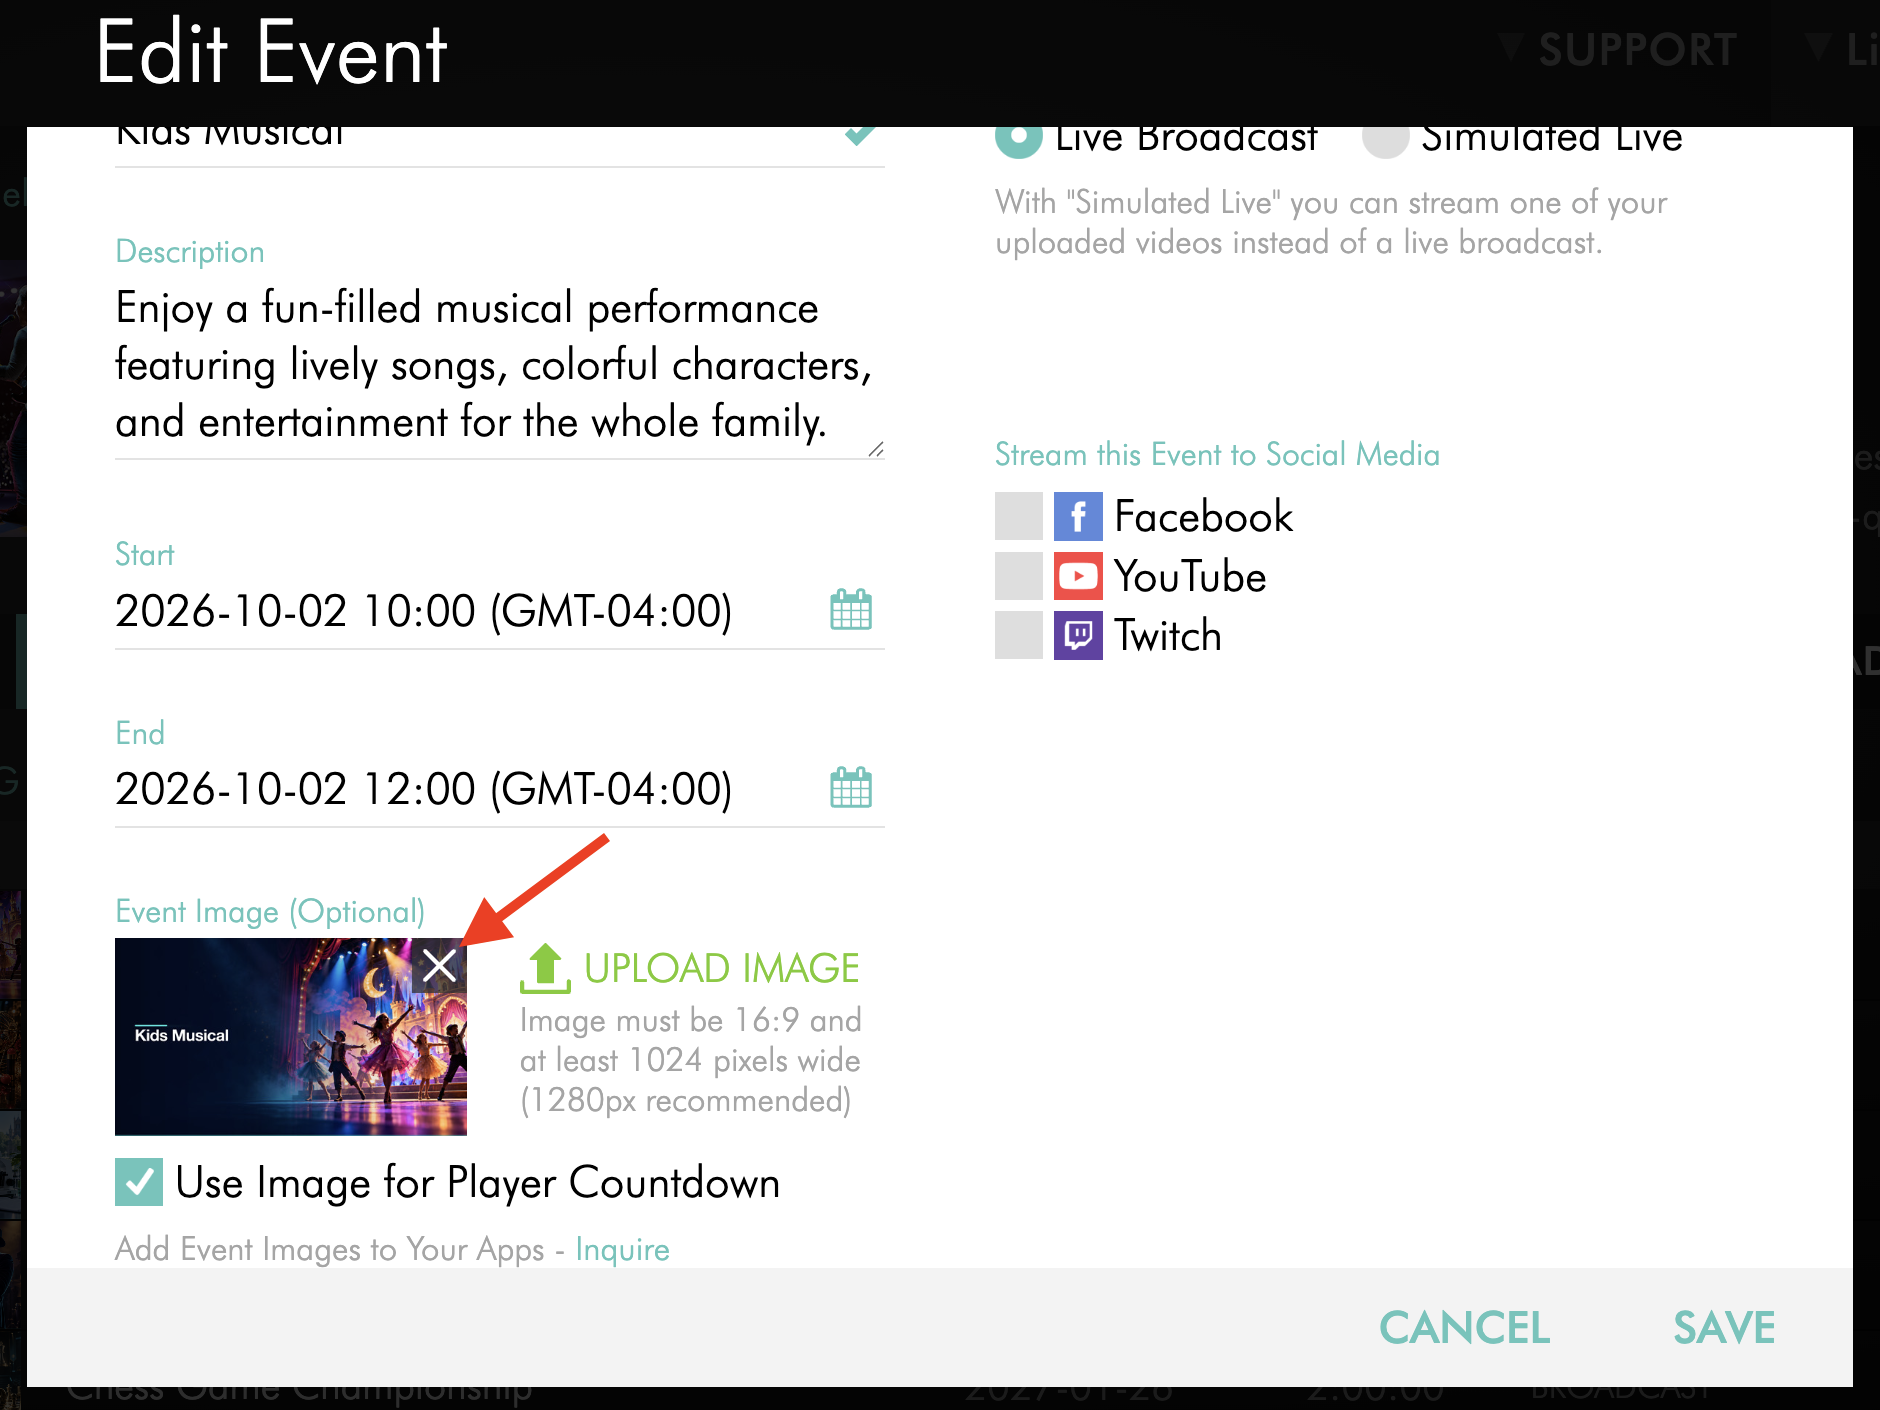
Step 8
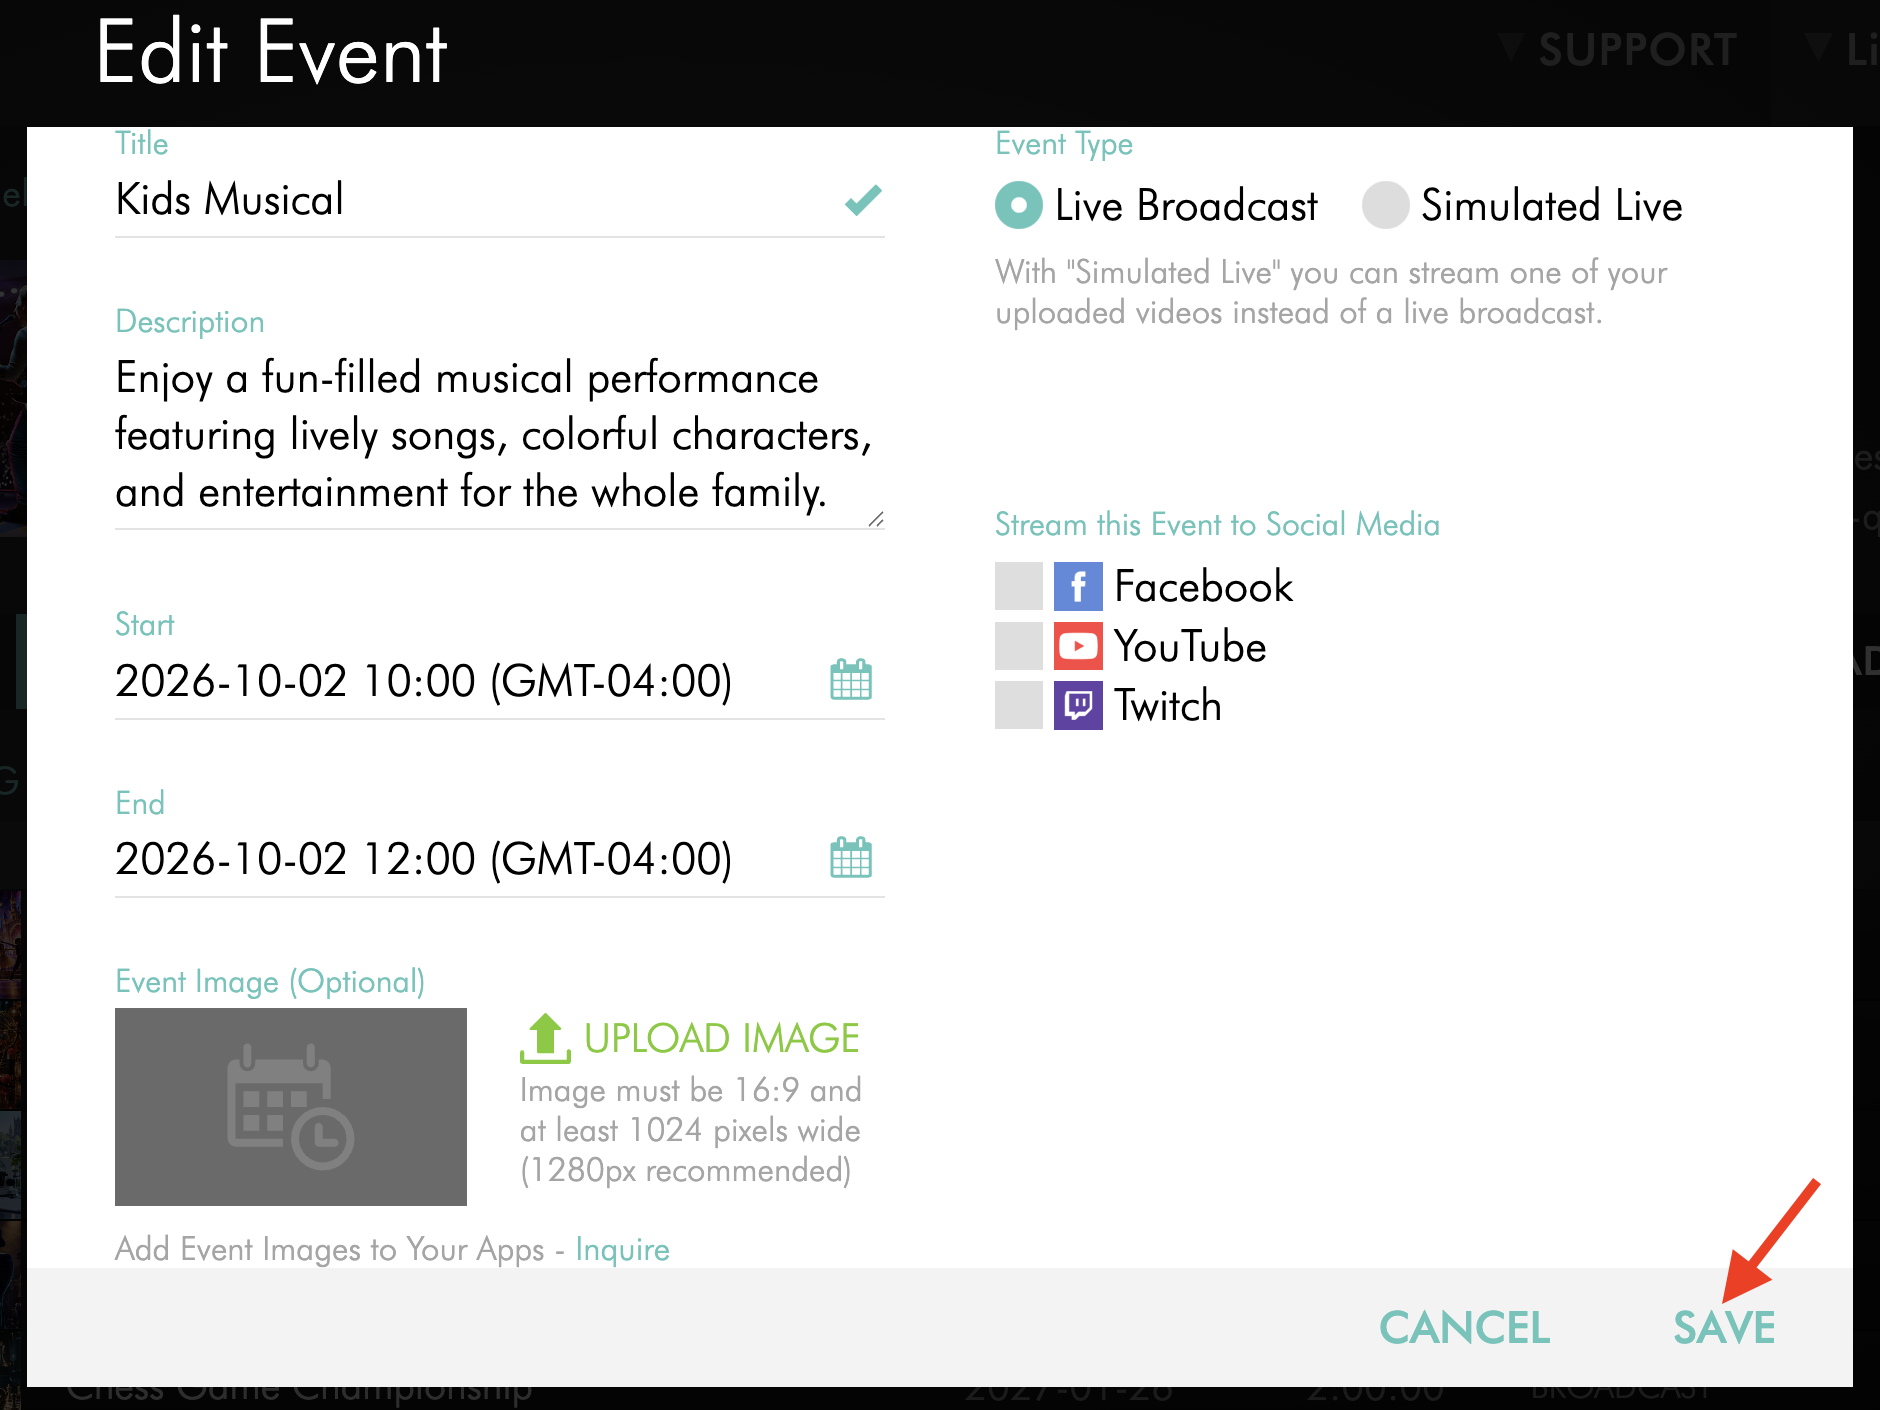
Click SAVE to update the Live Event.
The Live Event Image will be removed from that Live Event after the changes are saved.
FAQs
Do I need to add a Live Event Image when creating a Live Event?
No. Live Event Images are optional.
If you do not upload a custom image, the Live Event will use the default image behavior supported by your player, app, or publishing destination.
Can I add or change a Live Event Image after creating the Live Event?
Yes. You can add, replace, or remove a Live Event Image after creating the Live Event, as long as the event settings are still editable.
Editing becomes unavailable less than 5 minutes before the scheduled start time. Once a Live Event has started, its settings can no longer be changed.
Will my Live Event Image automatically appear on the countdown screen?
The Use Image for Player Countdown option is selected by default when you add a Live Event Image.
Leave this option enabled if you want the image to appear during the countdown in supported players and apps.
If you do not want to use the image for the countdown, deselect this option. The countdown will use the Channel's Player Background Image, or the default Lightcast countdown placeholder graphic if no Player Background Image has been uploaded.
Why does my Simulated Live Event already have an image?
When creating a Simulated Live Event, the Media Cloud may automatically use the selected video's thumbnail as the default Live Event Image.
You can replace this thumbnail with a custom Live Event Image while the event settings are still editable.
Why is my Live Event Image not appearing in my app?
Live Event Images are supported in specific players, app frameworks, and integrations.
If your image does not appear, verify that the image has been uploaded successfully and that your player or app supports the feature.
Some Web Apps and mobile apps may require an update to the latest framework to display Live Event Images.
If you are using the image for a countdown screen, make sure the Use Image for Player Countdown option is enabled.
For more information about supported display options, see Understanding Live Event Images.
What image specifications are recommended for Live Event Images?
Live Event Images must have a 16:9 aspect ratio and be at least 1024 pixels wide. A width of 1280 pixels is recommended.
JPG and PNG formats are supported. There is no maximum file size, but we recommend keeping images under 5 MB.
If your image contains text, logos, or other important information, avoid placing them near the bottom of the image, where they may be covered by the countdown display.
How to add a Player Background Image