
Brand Your Videos With Watermarks
Watermarks help protect and reinforce your brand across your video library. In the Media Cloud, Watermarks can be applied during upload and encoding, making it easy to brand individual uploads, batch uploads, or recurring upload workflows with Workflow Presets.
🖼️ Create a Watermark
Set up reusable watermarks in the Watermarks Manager before uploading your videos.
To create a Watermark:
Go to TOOLS > Watermarks
Click + WATERMARK
Upload your watermark image
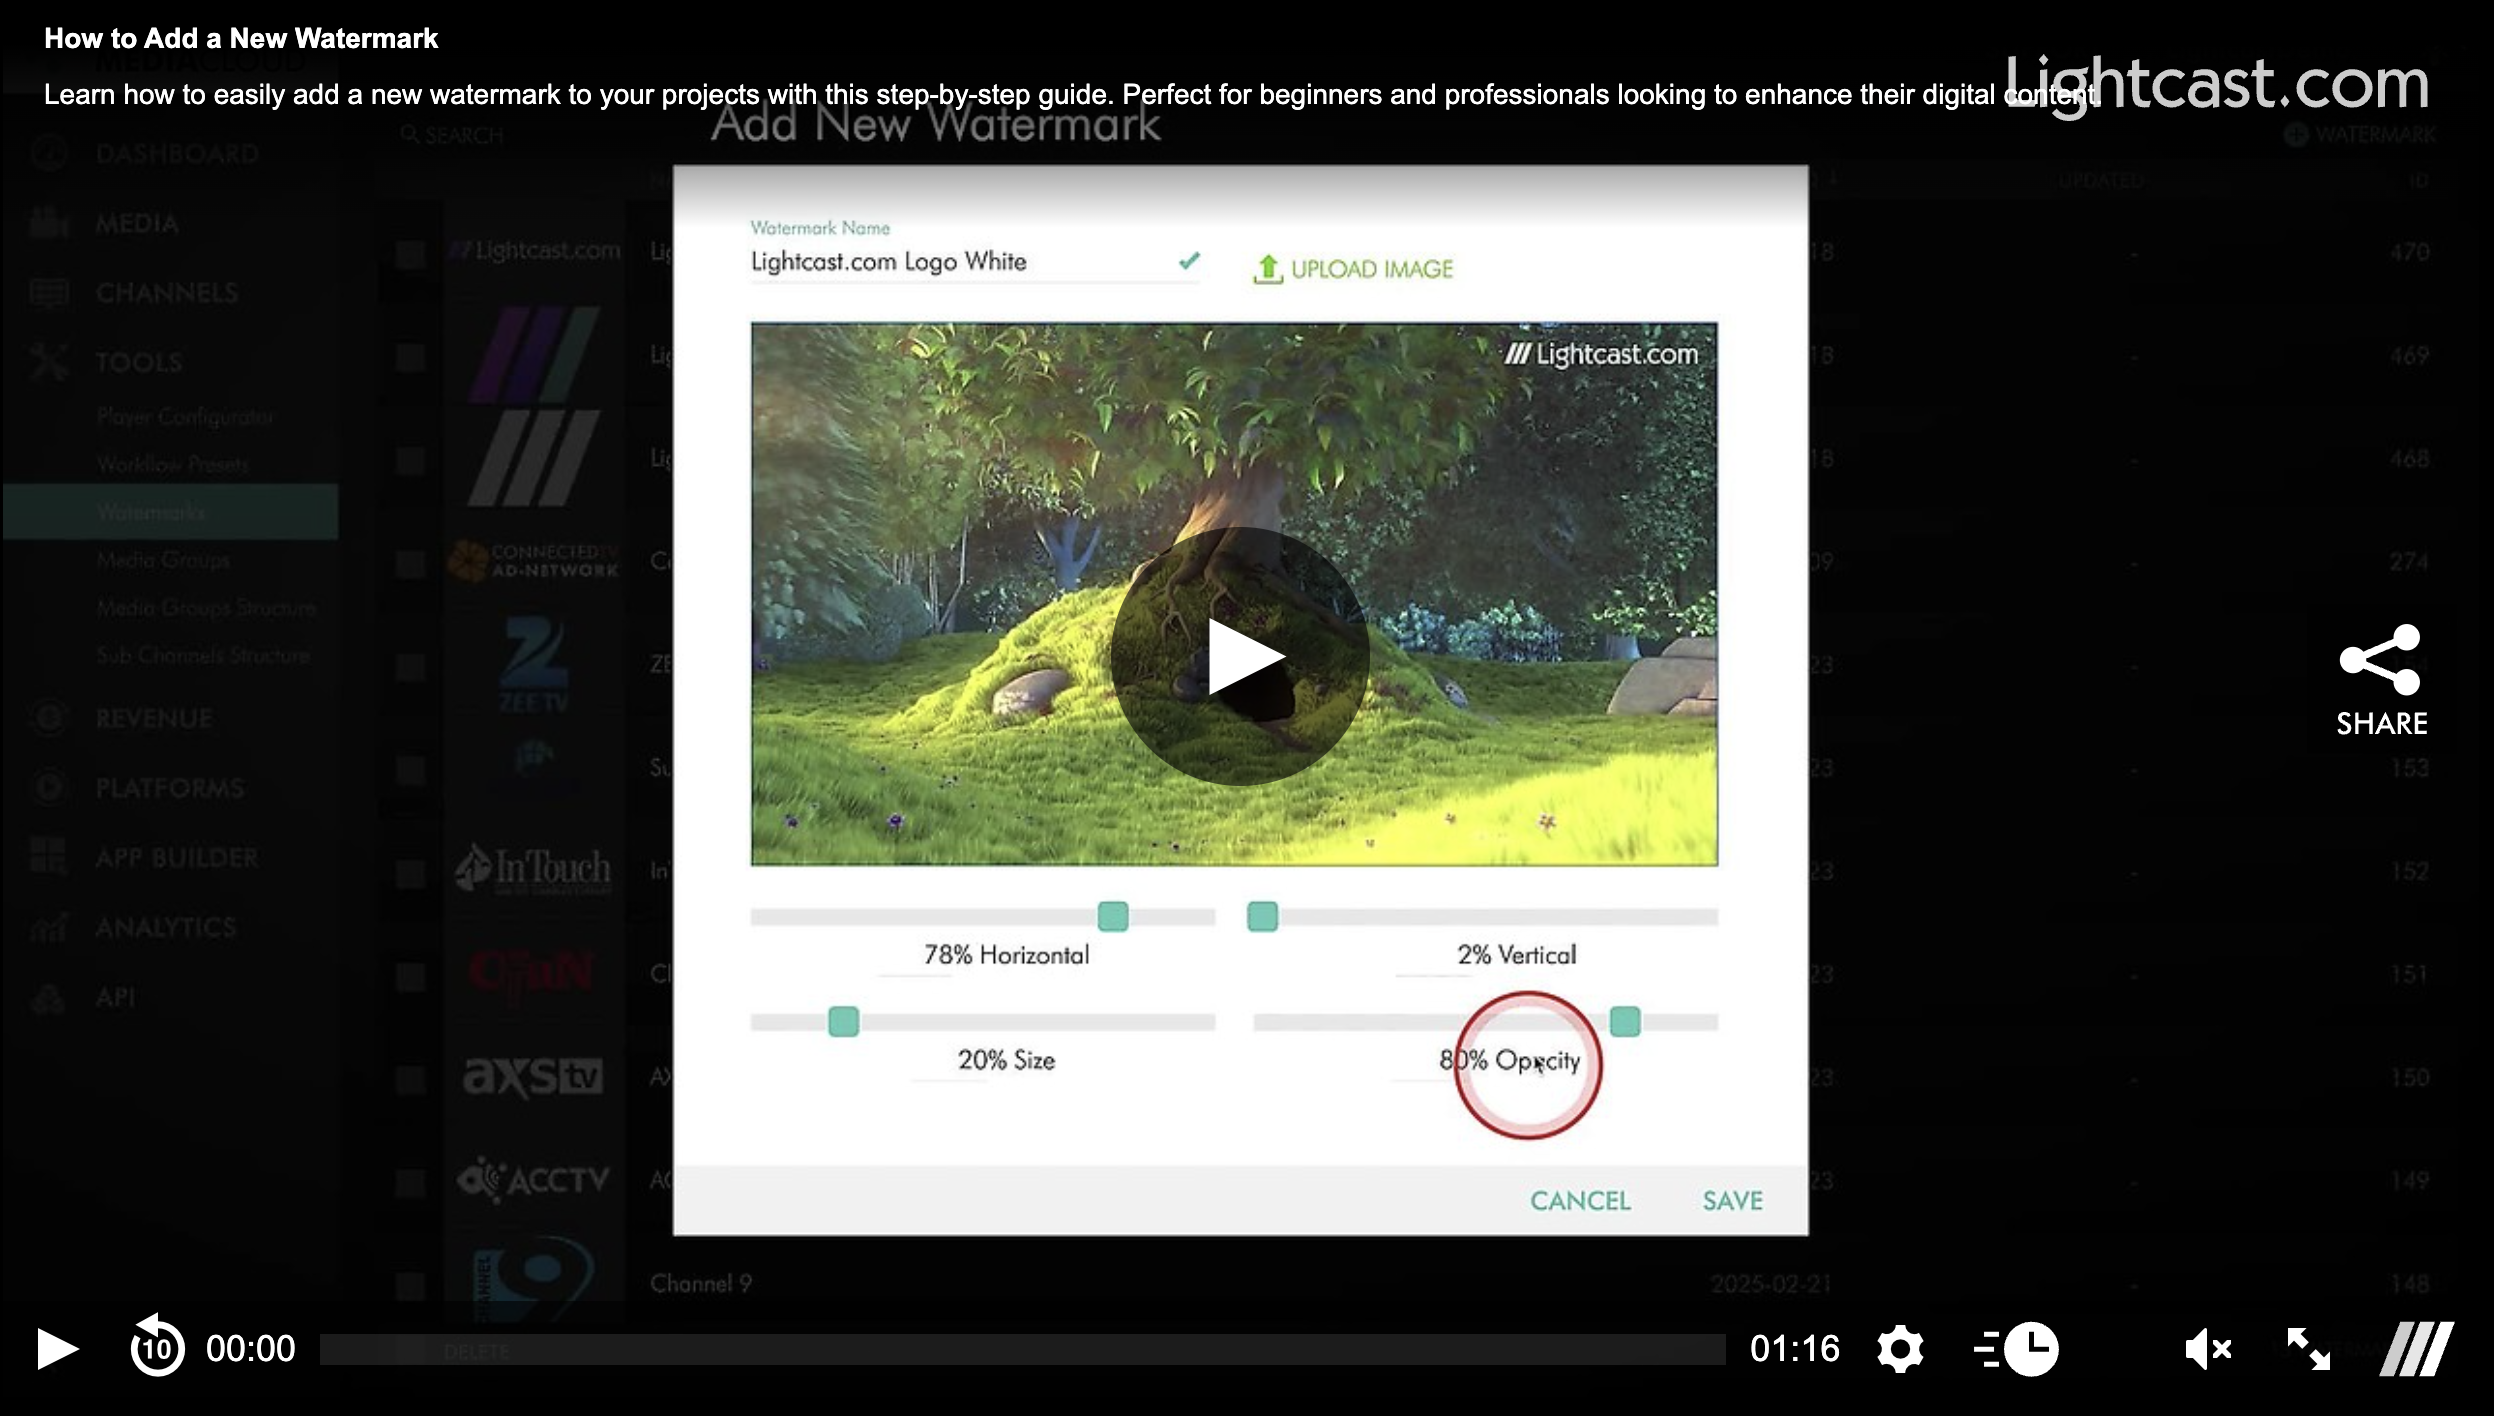
Configure the size, opacity, and position
Click SAVE
Once saved, your Watermark becomes available during uploads.
📤 Apply Watermarks During Upload
Watermarks can be applied in several ways:
Add a Watermark to a single video upload
Apply one Watermark to an entire batch upload
Use Workflow Presets to automate Watermark assignment
To apply a Watermark manually, go to MEDIA > Upload, select your upload method, and choose a Watermark before starting encoding.
🤖 Automate with Workflow Presets
Workflow Presets can automatically apply Watermarks during upload while also handling other repeated upload settings, such as:
Channel and Sub-Channel assignments
Media Groups
DRM settings
Publishing status
Language selection
This helps streamline large, recurring, or repeatable upload workflows.
⚙️ Plan Ahead Before Encoding
Because Watermarks become part of the encoded video file, they should be selected before encoding begins.
After a video has already been encoded, applying a new Watermark requires the video to be uploaded and encoded again. Additional transcoding and storage fees may apply for reprocessing.
Watch this Video to See How to Add a New Watermark:
Note: Watermarks are available on POWER X packages and up.

For previous tips, visit our tips page!
Would you like a specific topic to be covered by an upcoming “Tip of the Week”? Click here to submit your request!
Happy Streaming!
Your Lightcast Success Team