
How to find and complete your app specs forms
Overview
This article explains how to find and complete your app specs forms during initial app setup in the Media Cloud.
When to complete your app specs forms
Complete your app specs forms during your initial app onboarding process after the forms have been added to the APP BUILDER section of your Media Cloud account.
Customer Support may ask you to complete these forms during onboarding, in your Kick-Off meeting, or in a next steps email.
Lightcast requires completed app specs forms before your apps can move forward into development.
How it works
App specs forms allow Lightcast to collect the information needed to develop, configure, and submit your custom-branded apps to the applicable App Stores.
Depending on the platform, this information may include app names, Channel IDs, app descriptions, app category preferences, privacy policy URLs, layout selections, content rating information, and other app-specific settings.
Each app platform may have a different app specs form. Review each form carefully and complete the fields shown for that app.
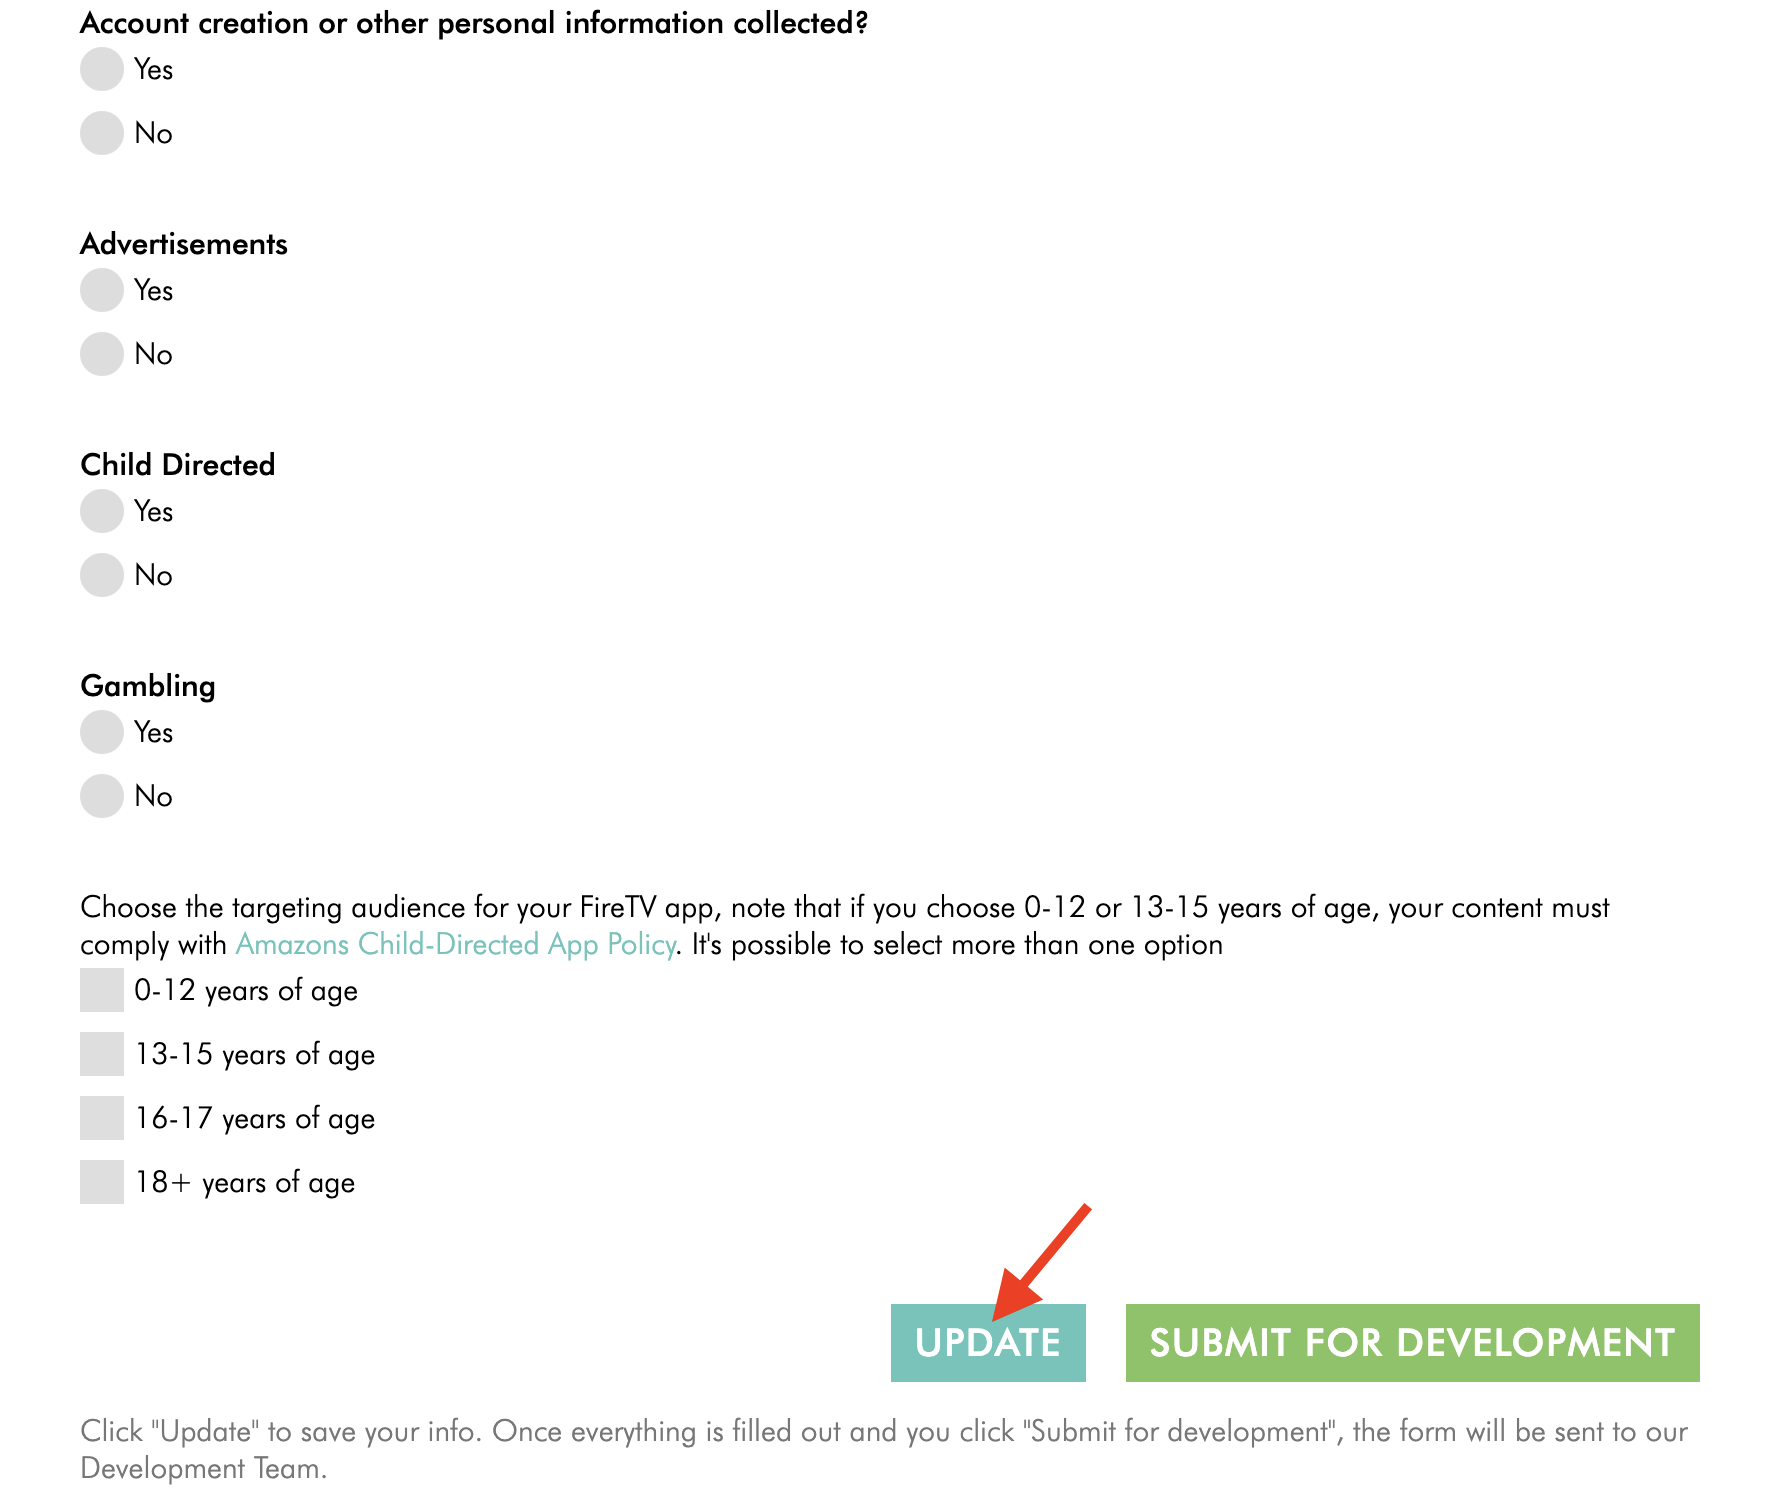
You do not need to complete the form in a single session. Click UPDATE to save your progress before leaving the page or moving to another step.
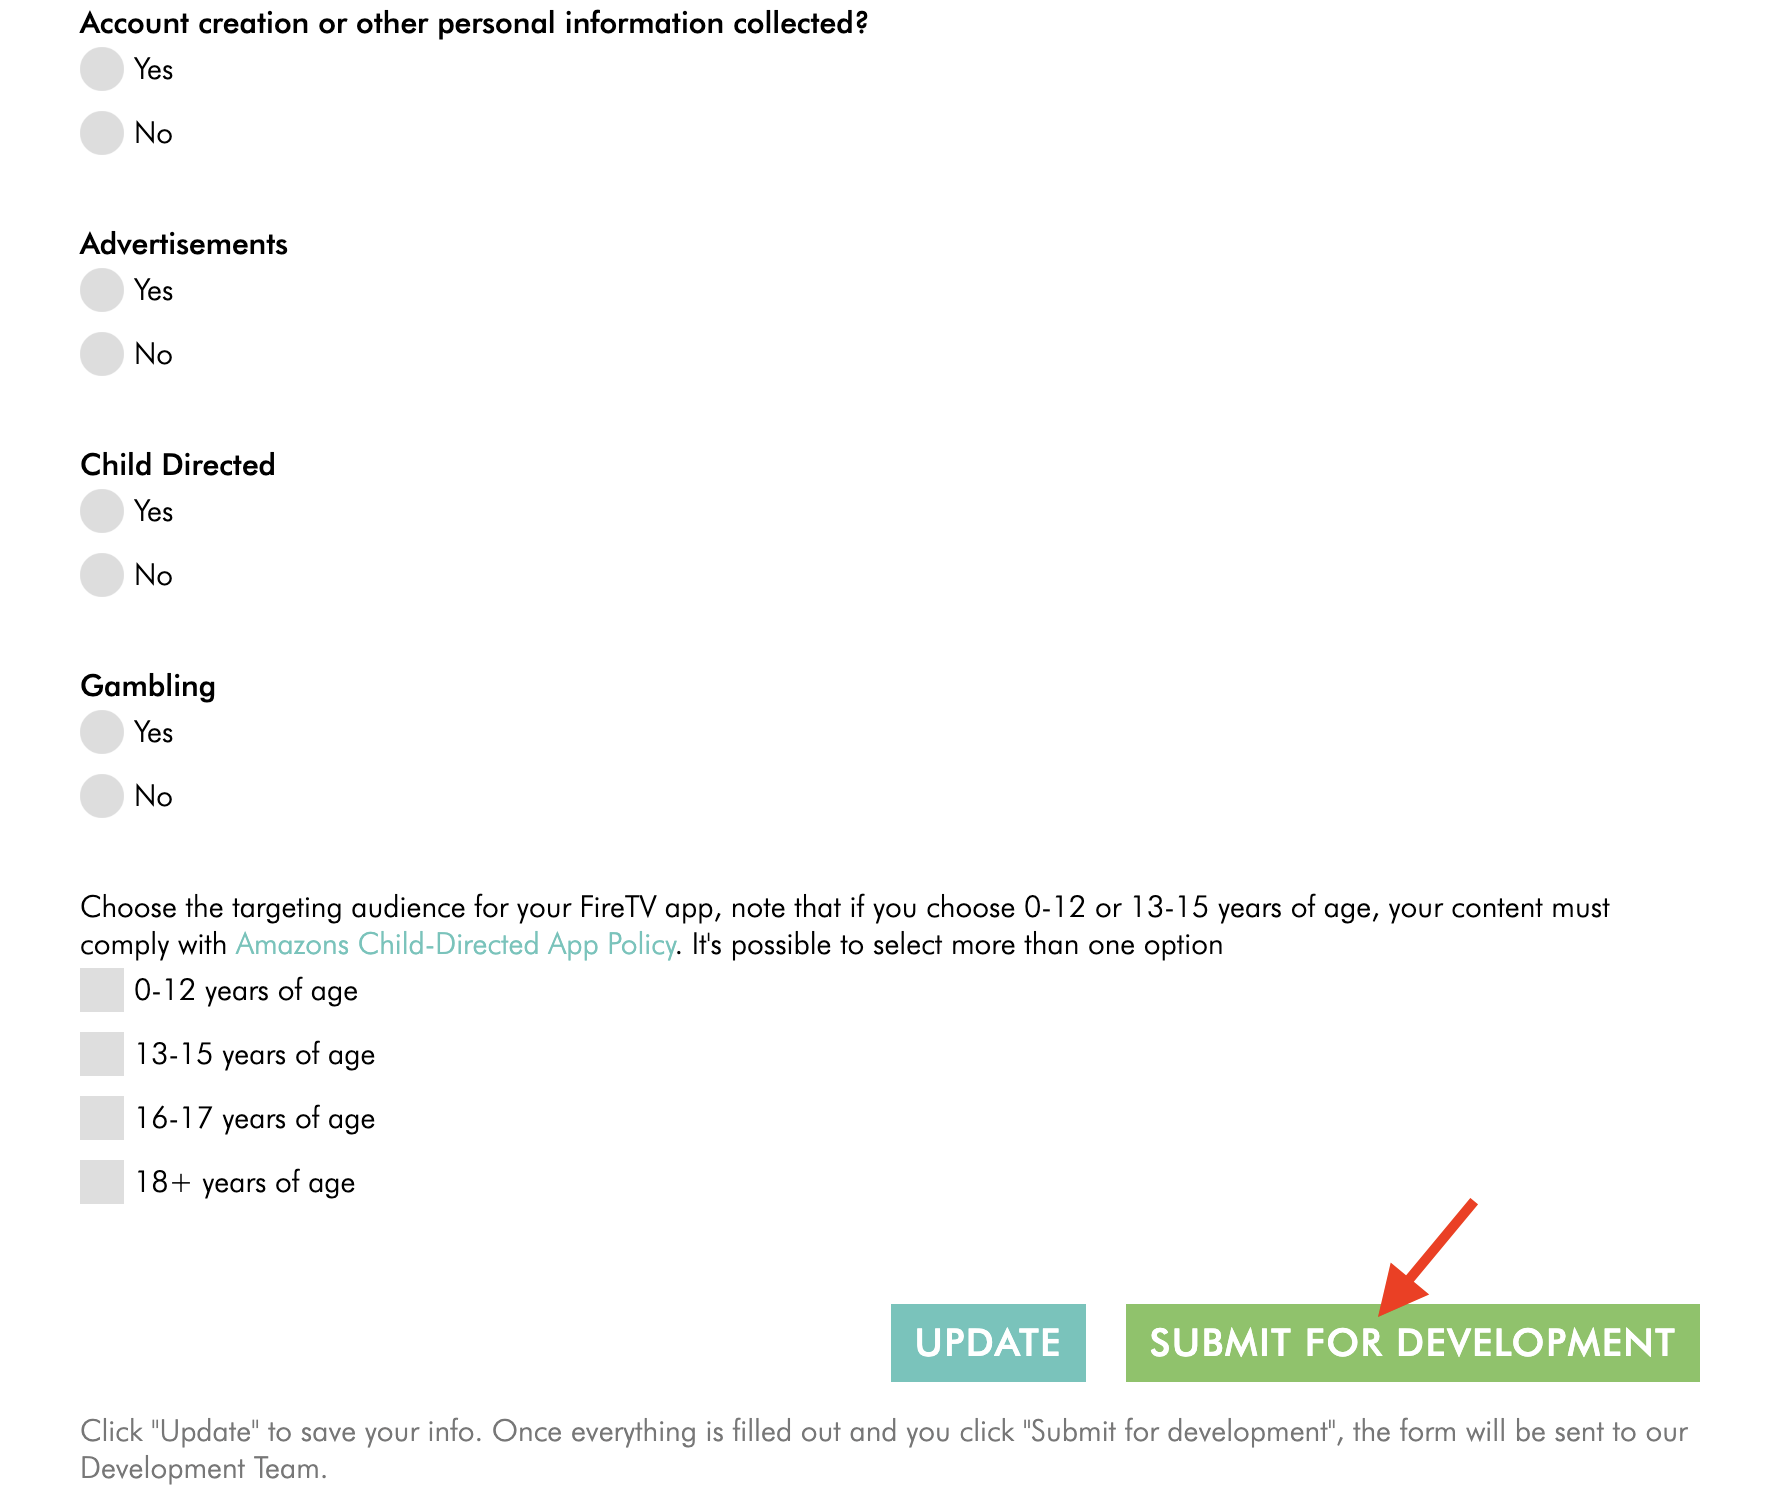
After you click SUBMIT FOR DEVELOPMENT, the form is submitted to the Lightcast Development Team and can no longer be edited through the questionnaire. Review your information carefully before submitting.
If you are completing app specs forms for multiple apps, you may copy and paste consistent information from one form to another when appropriate. This can help keep your app names, descriptions, organization information, Channel order, and other app details consistent across your TV app, mobile apps, and Web App.
Instructions
Step 1
Log in to your Media Cloud account.
Step 2
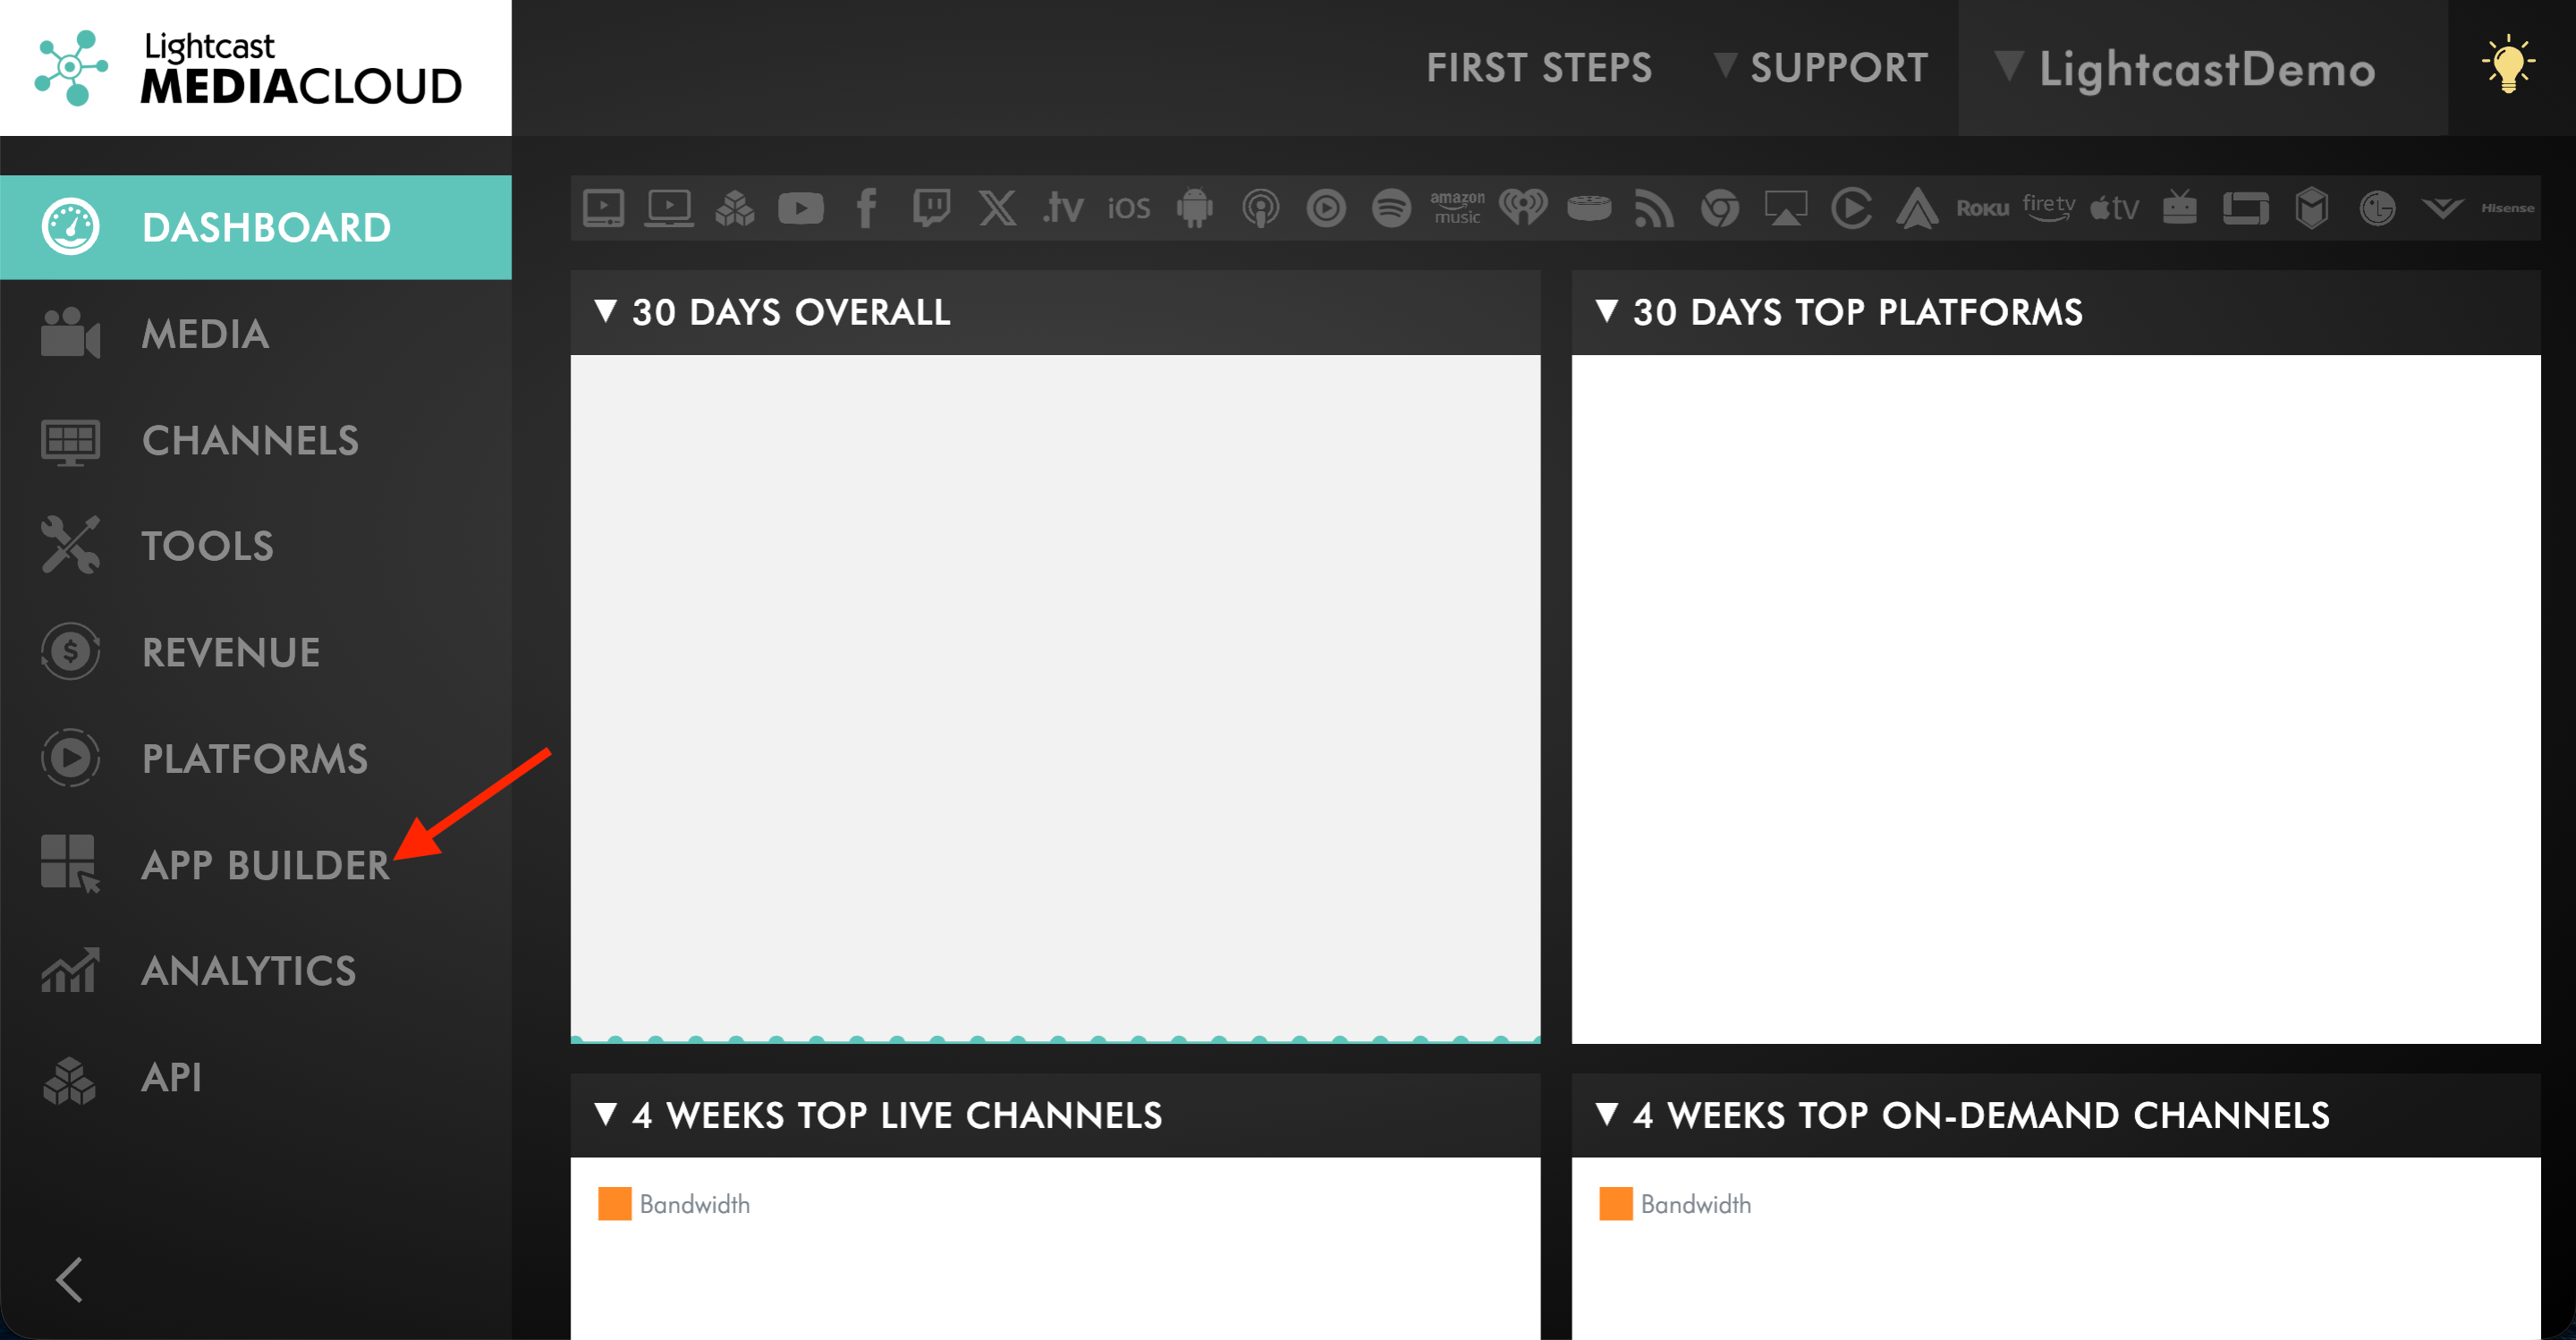
Go to APP BUILDER.
Step 3
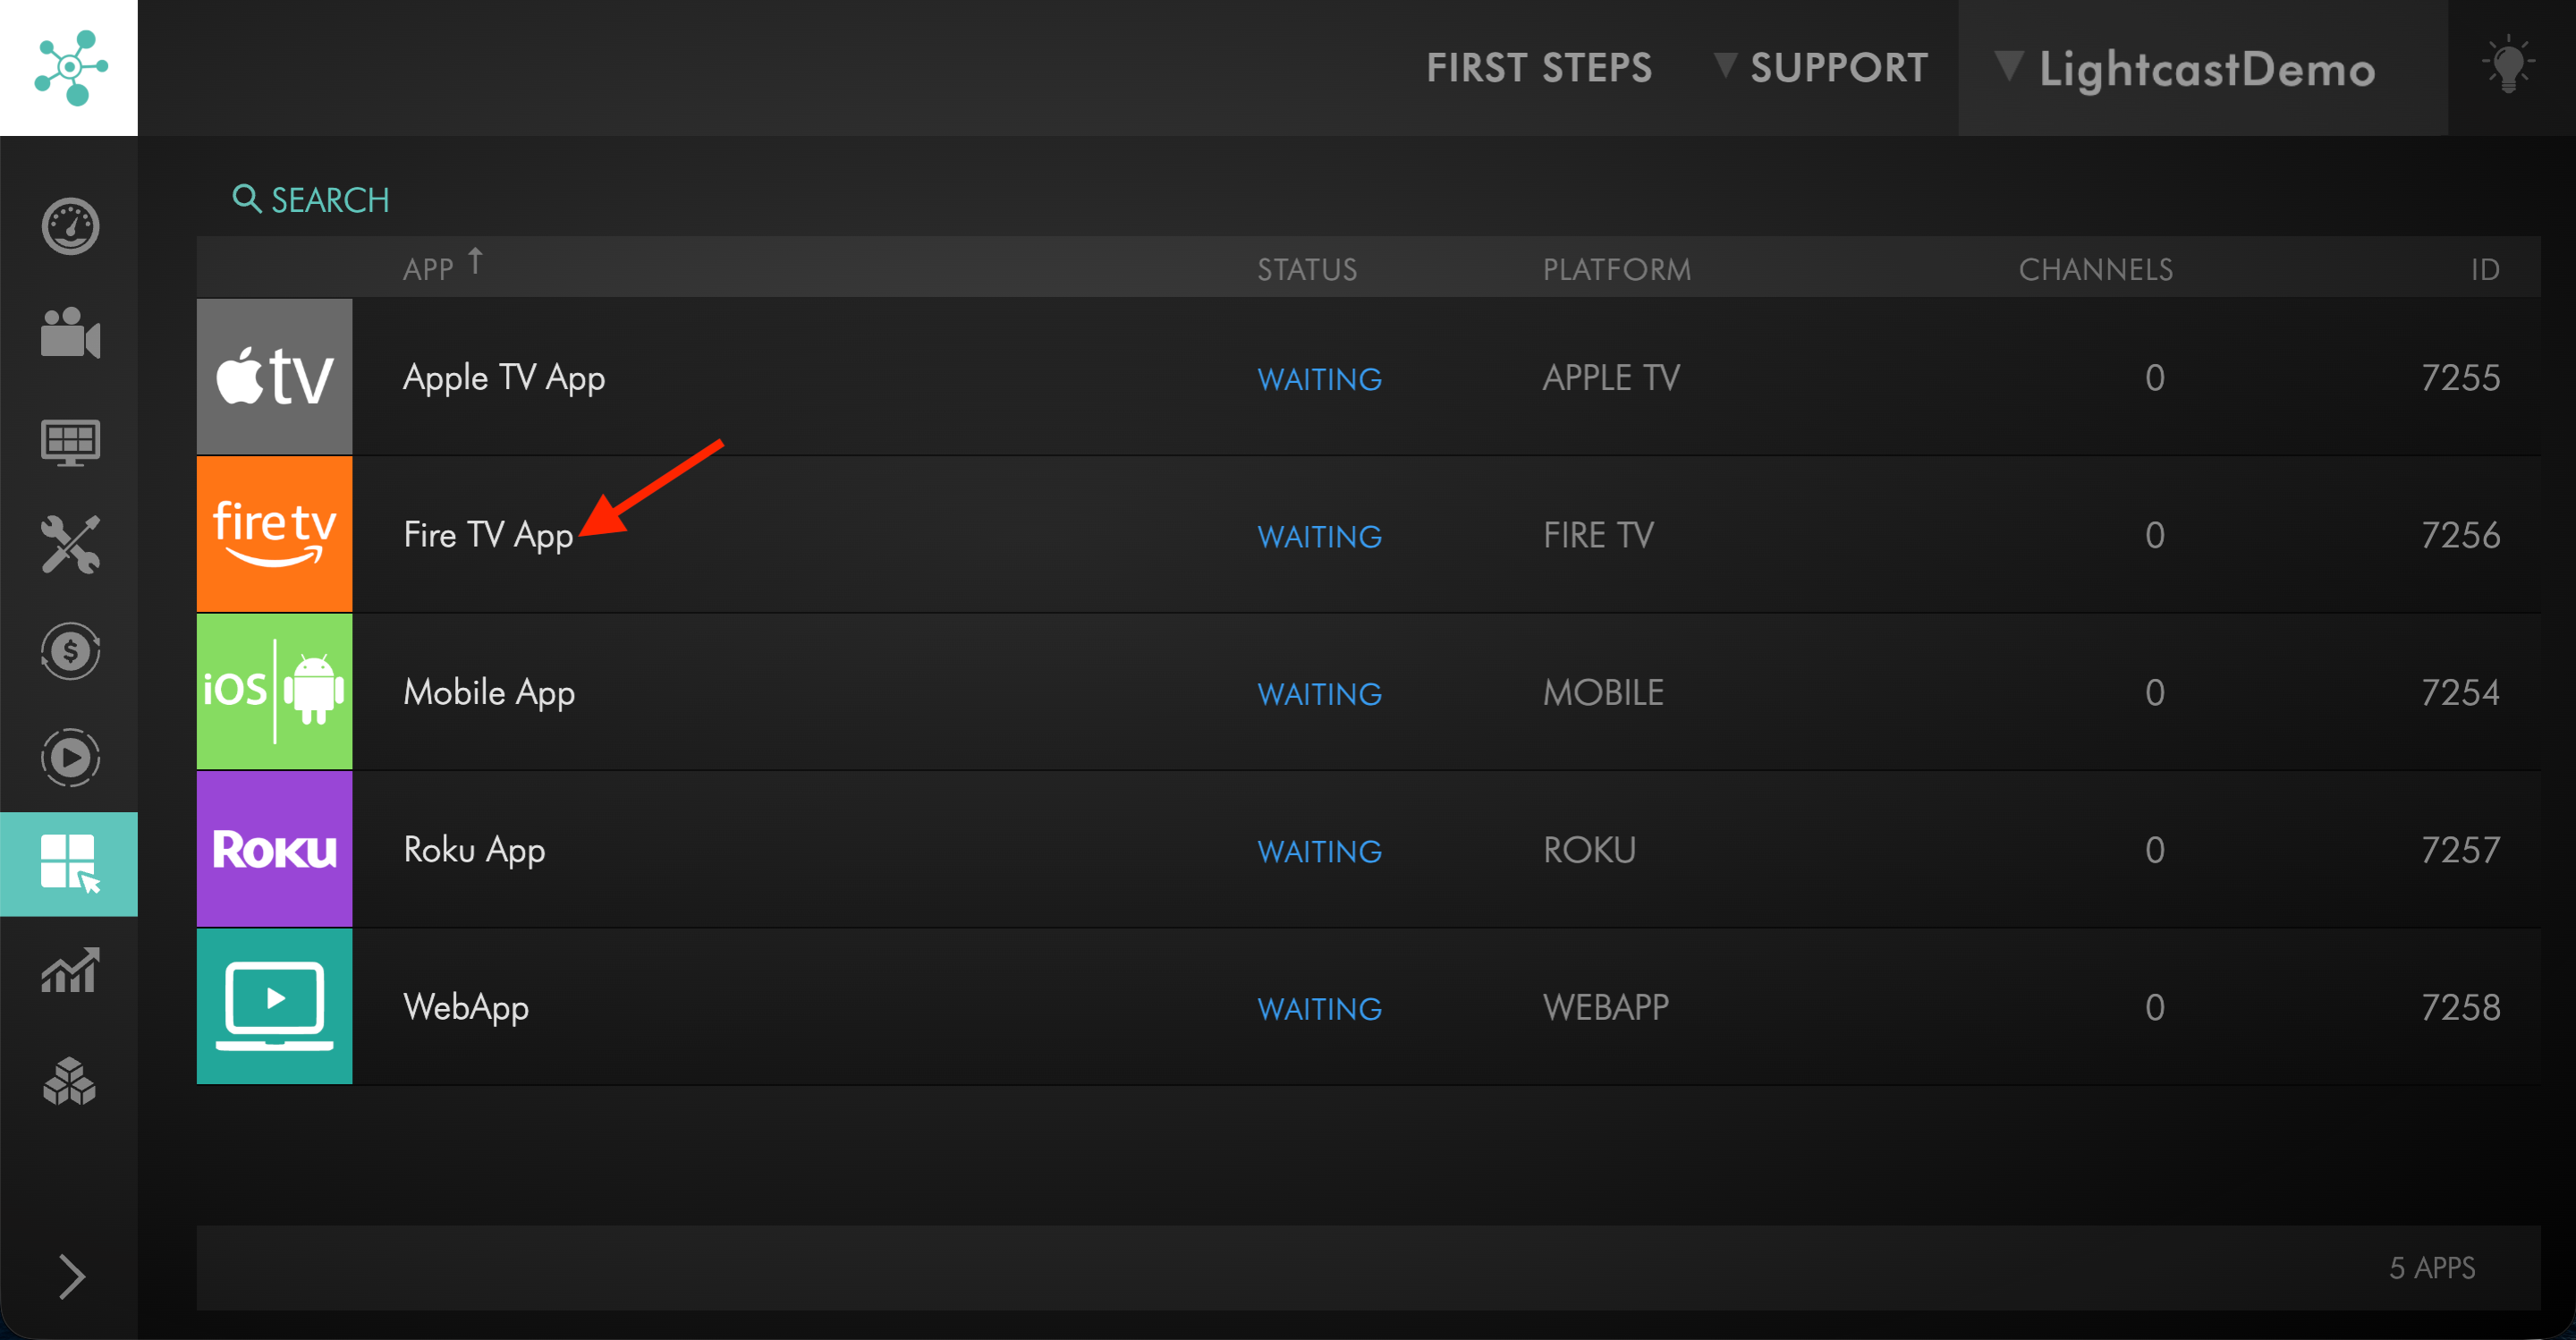
Click the app you want to set up.
Step 4
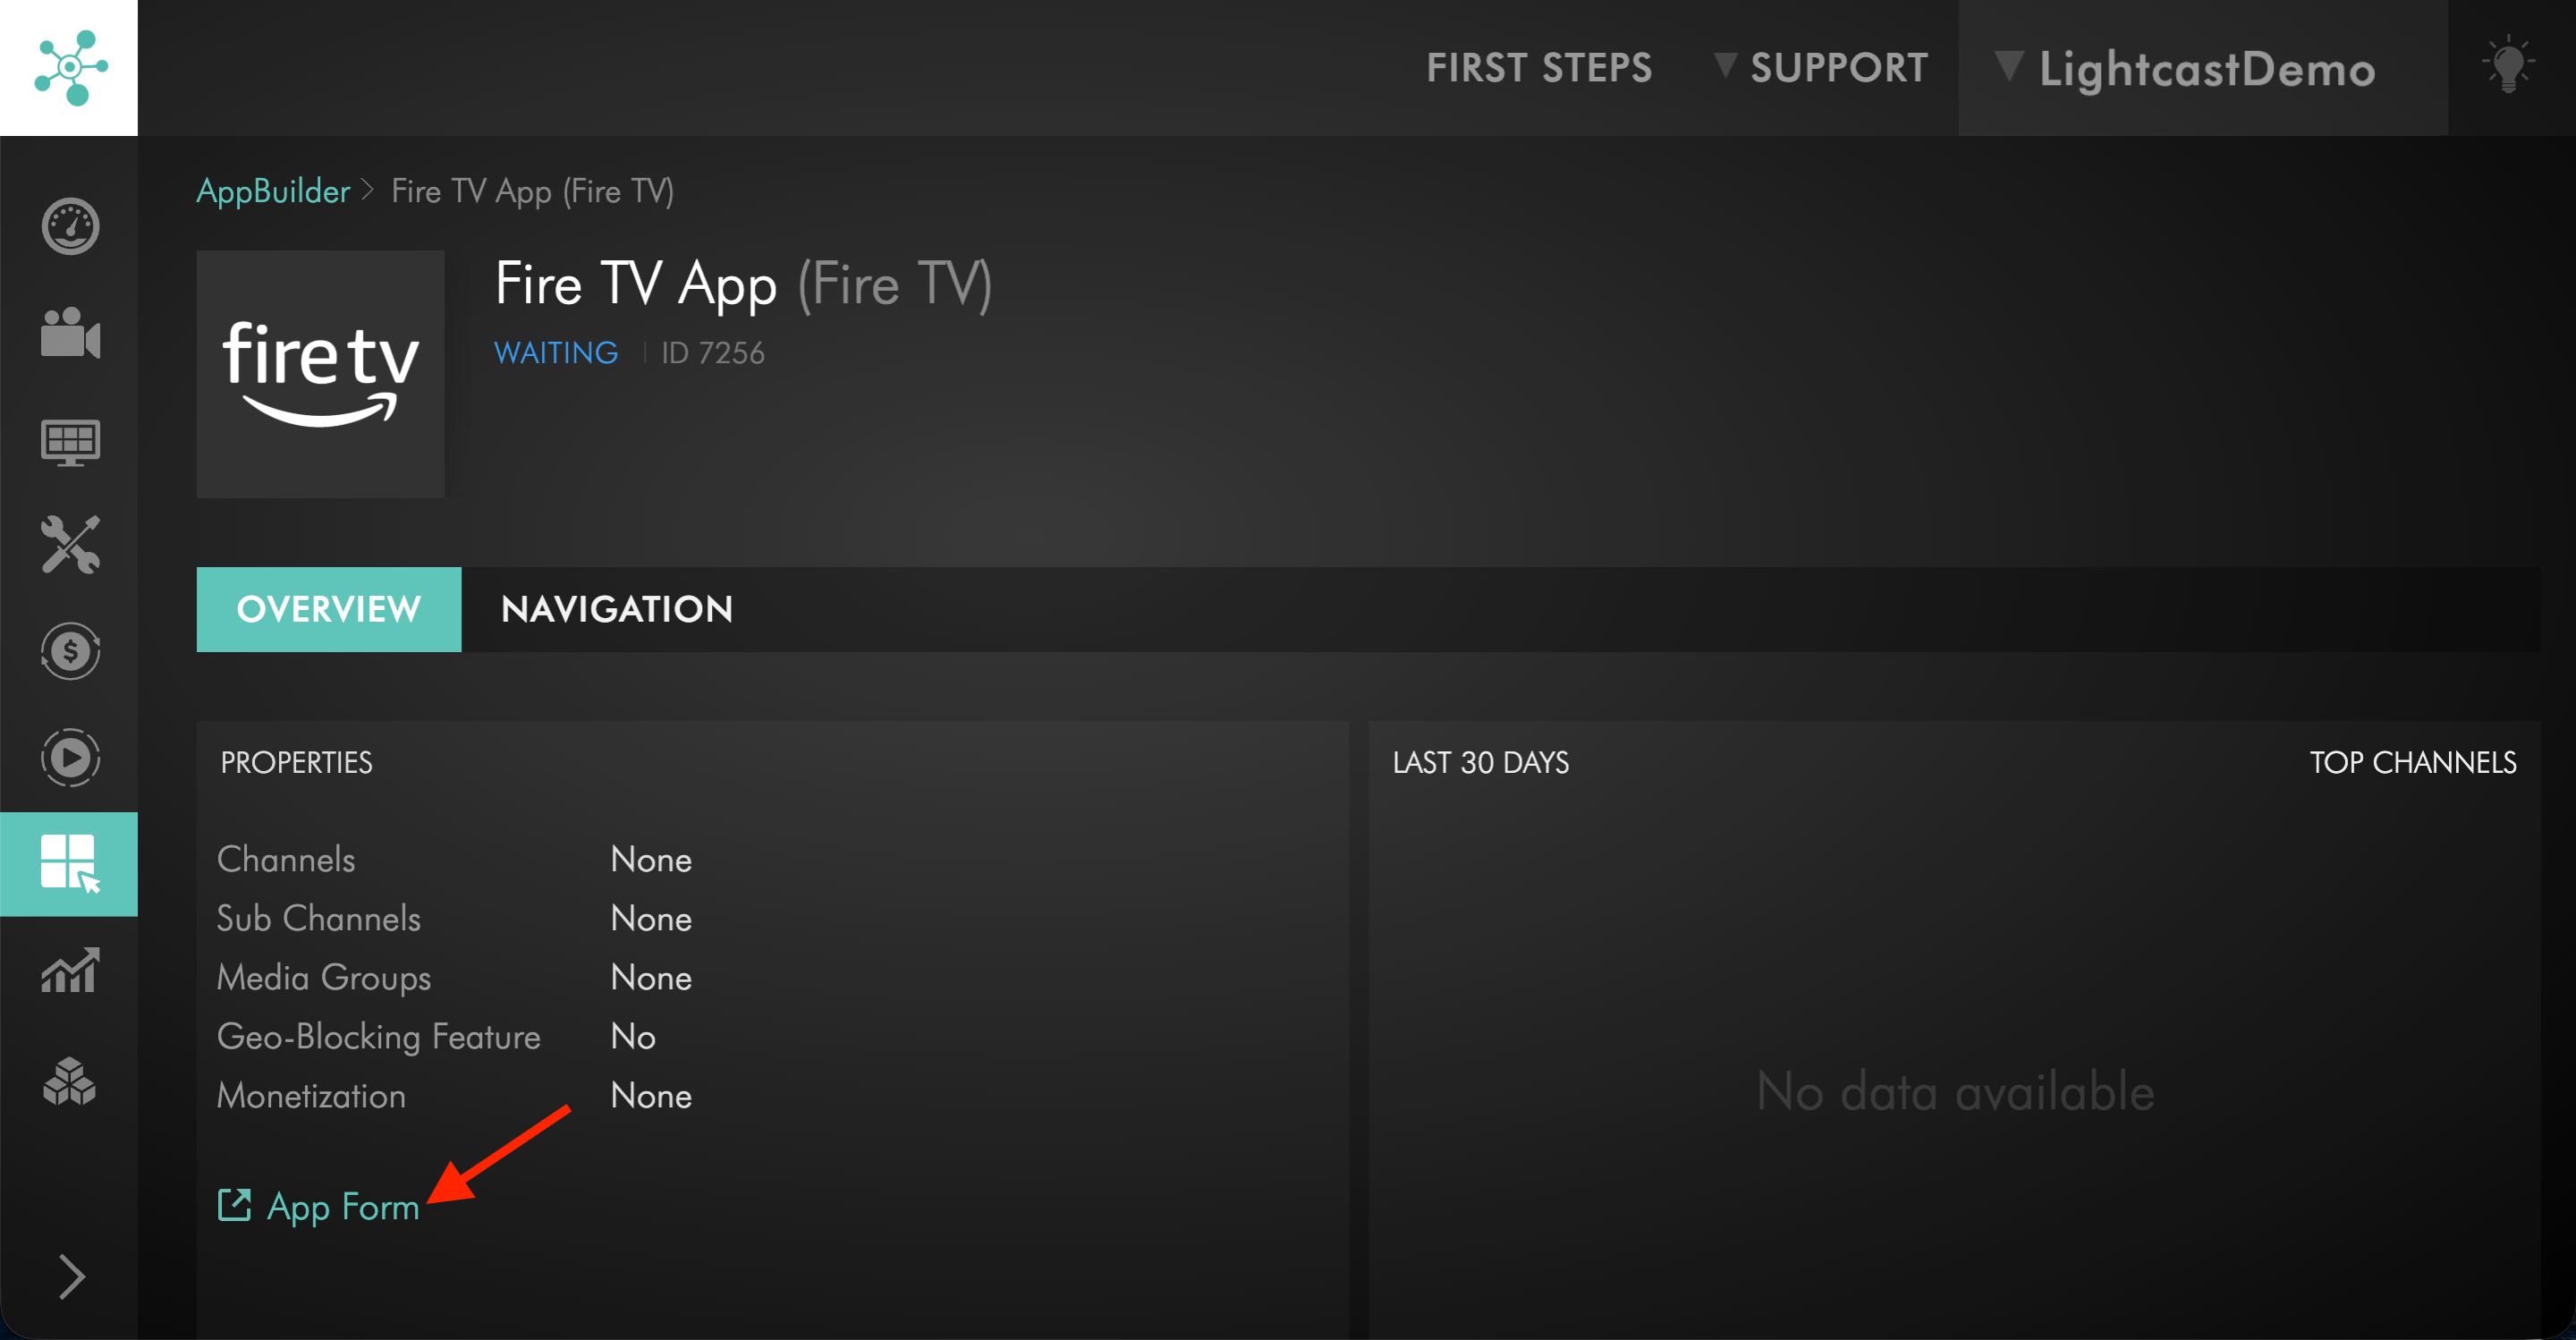
Click App Form to open the app specs form.
Step 5
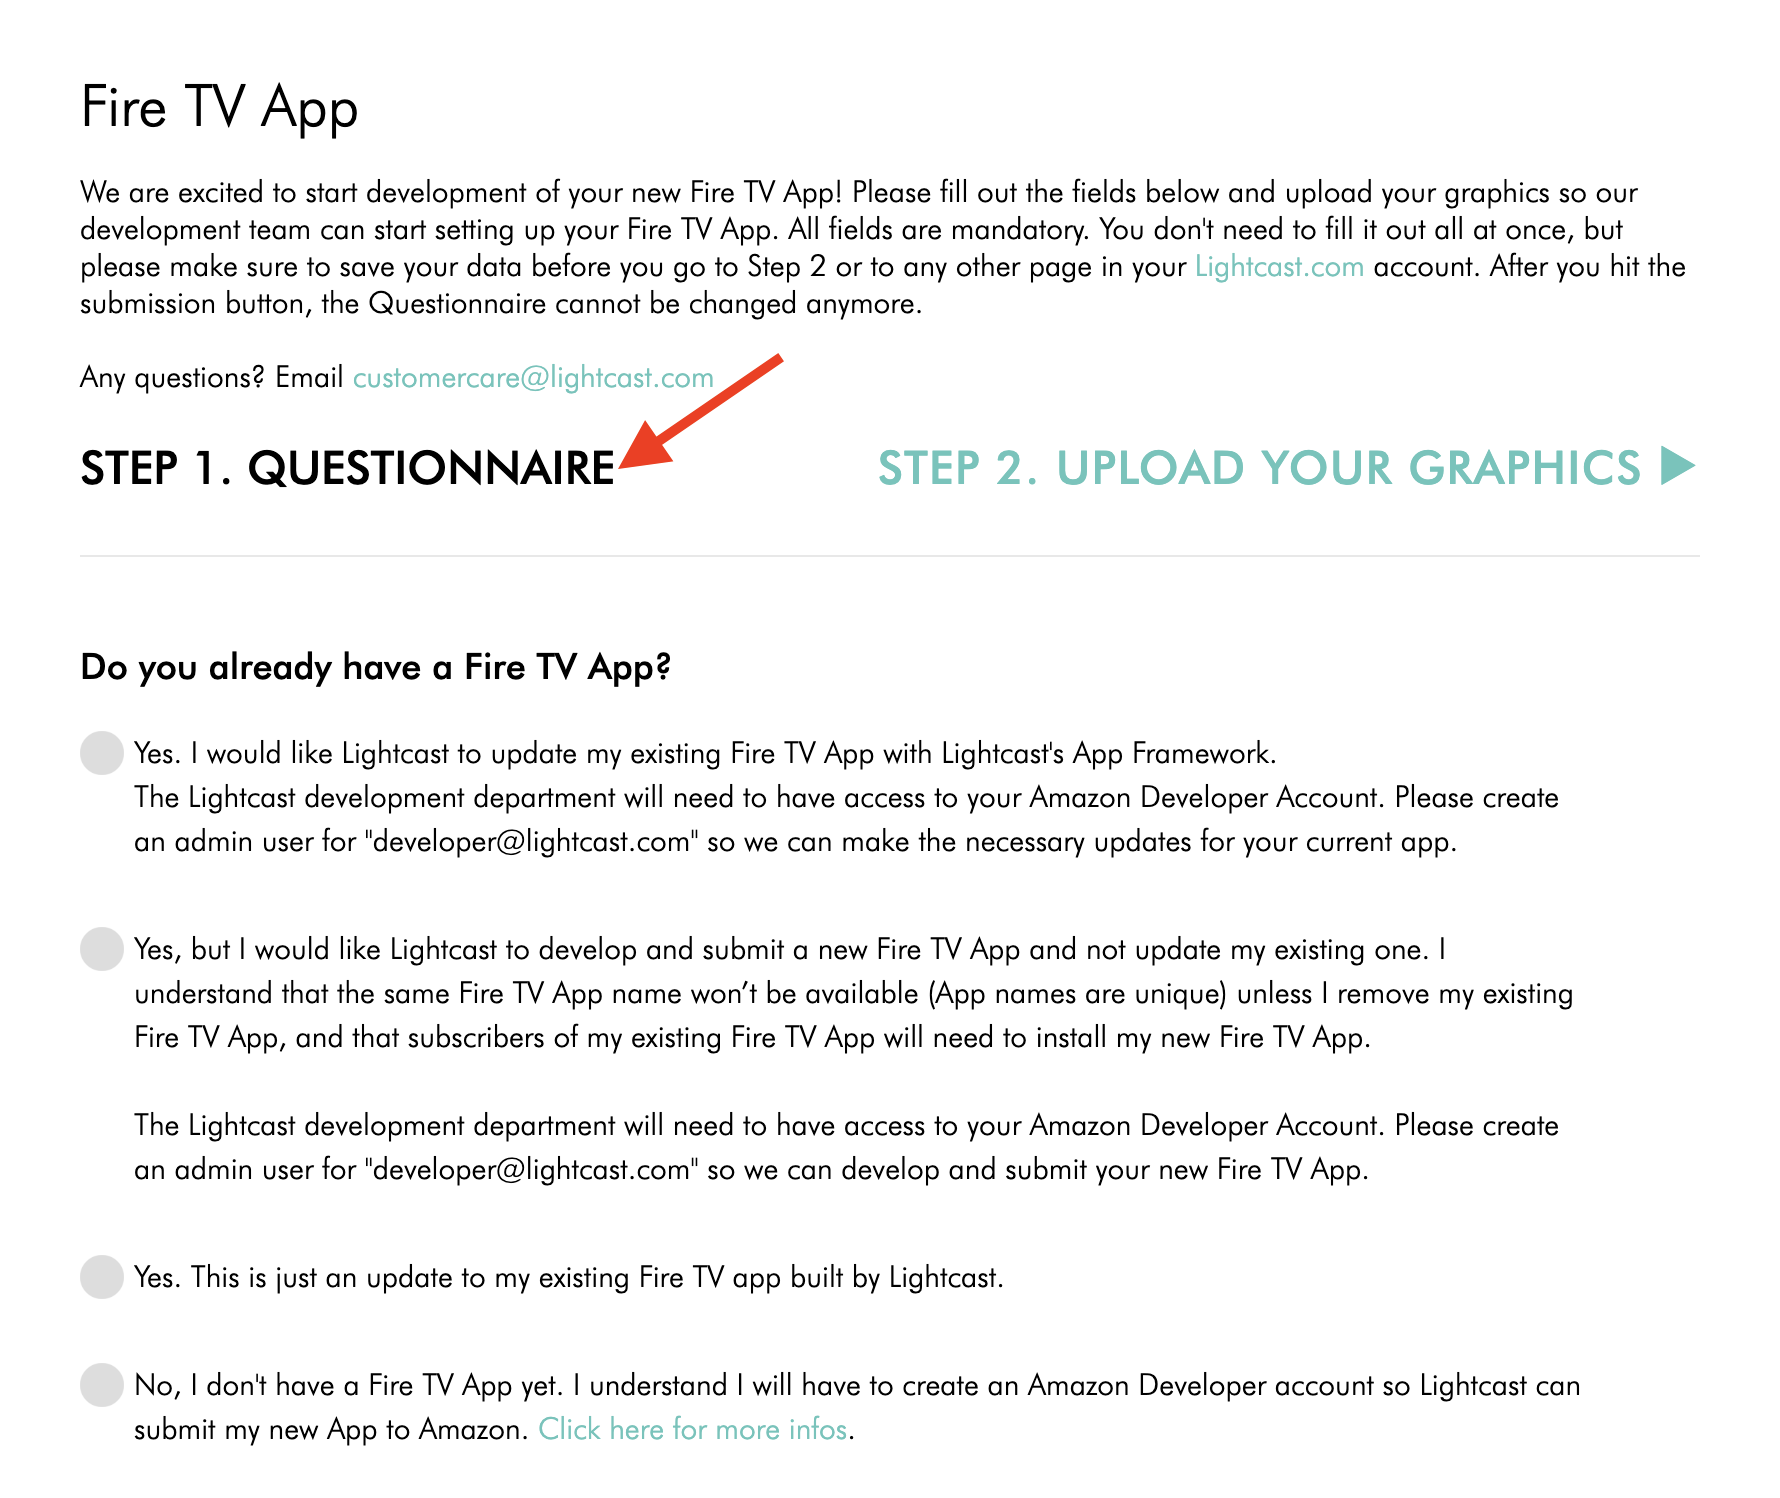
On the QUESTIONNAIRE tab, complete the required fields shown in the form.
Review each field carefully. If the form gives specific instructions for a field, follow the instructions shown there.
Step 6
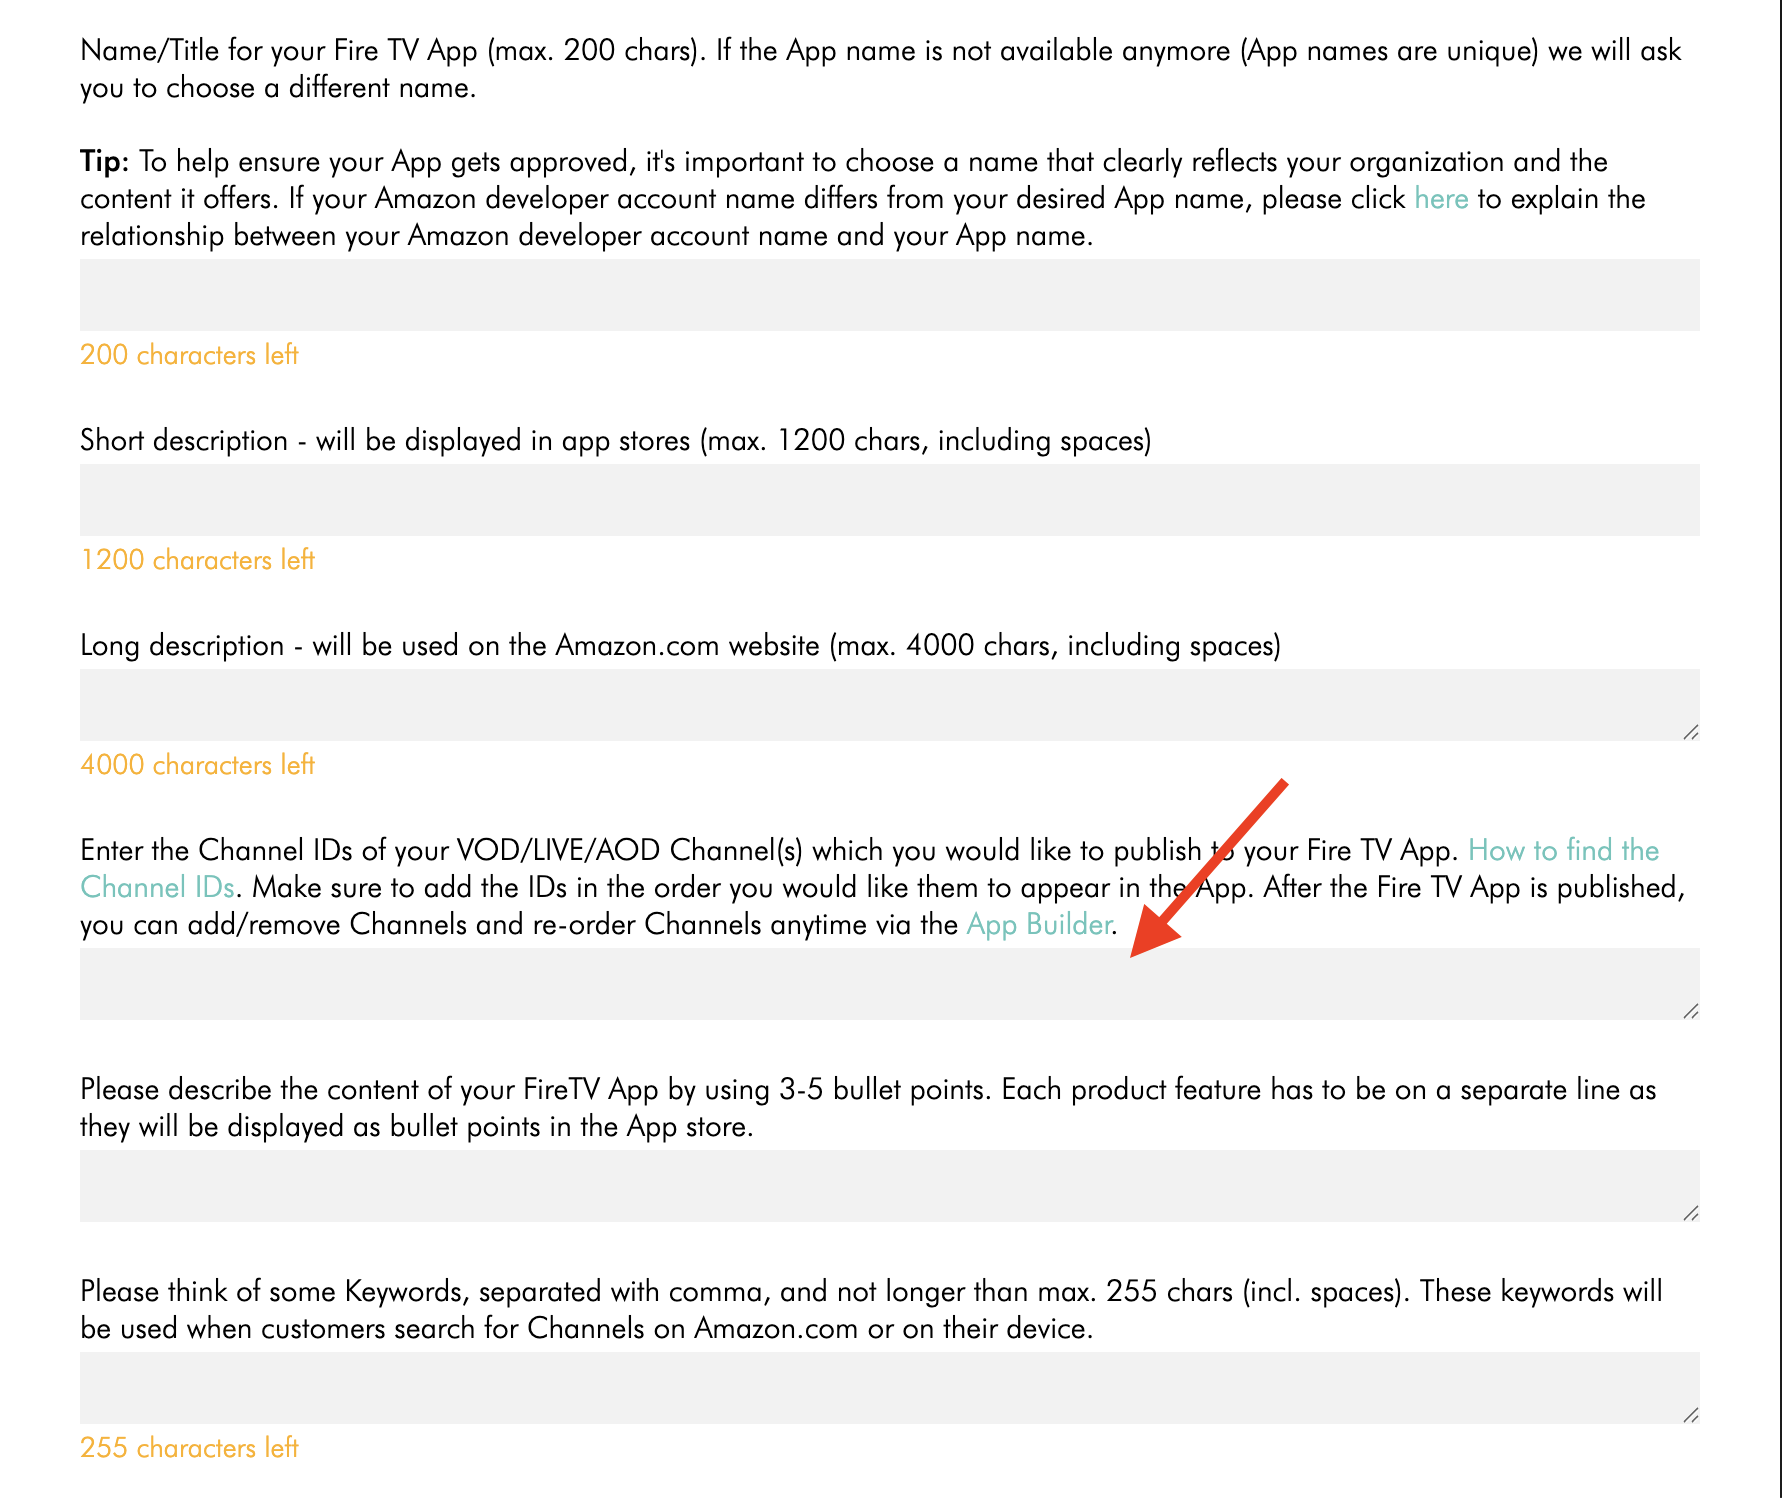
Add the Channel IDs for the VOD, LIVE, or AOD Channels you want included in the app. For more information on Channel IDs, see How to find your Channel IDs in the Media Cloud.
Enter the Channel IDs in the order you want them to appear in the app. After the app is published, you can add, remove, and reorder Channels through the APP BUILDER when supported.
Step 7
If the form includes app category fields, choose the category or categories that best match your app and content.
Category selection can help with app setup and App Store submission, but the final category placement is controlled by the applicable App Store.
Step 8
If you are completing more than one app specs form, copy and paste consistent information from one form to another when appropriate.
This can help keep your app information consistent across app platforms.
Step 9
Click UPDATE to save your progress before switching to another step or leaving the page.
Step 10
Review the completed questionnaire before submitting it.
Make sure the information is accurate and ready for development.
Step 11
Click SUBMIT FOR DEVELOPMENT when the questionnaire is complete and ready to send to the Lightcast Development Team.
Step 12
Continue to STEP 2. UPLOAD YOUR GRAPHICS to upload the required app graphics and logos for the app. For more information, see How to upload your app graphics and logos.
FAQs
Where are app specs forms found?
App specs forms are found in the APP BUILDER section of the Media Cloud.
Open the app you want to set up, then click App Form.
Do all app platforms use the same app specs form?
No. Each app platform may have a different app specs form.
Review each form carefully and complete the fields shown for that app.
Can app specs forms be completed later?
Yes. You do not need to complete the form all at once.
Click UPDATE to save your progress before switching to another step or leaving the page.
What happens after clicking SUBMIT FOR DEVELOPMENT?
After you click SUBMIT FOR DEVELOPMENT, the form is submitted to the Lightcast Development Team.
The questionnaire can no longer be edited through the form after it has been submitted, so review the information carefully before submitting.
Can information be copied from one app specs form to another?
Yes. You may copy and paste information from one app specs form to another when the same information applies.
This can help keep your app details, descriptions, branding, and Channel order consistent across multiple app platforms.
Can app categories be selected in the app specs form?
Some app specs forms include app category or preferred category fields.
Choose the category that best matches your app and content. The selected category may help with app setup and App Store submission, but each App Store controls final category placement.
Does Lightcast control my App Store category?
No. App Store categories are controlled by each App Store.
Lightcast may be able to submit or request a selected category where supported, but the App Store decides where the app is ultimately placed. The App Store may approve, adjust, or assign the app category based on its own review process.
What should be entered if a field does not apply?
Follow the instructions shown in the app specs form.
If the form tells you to enter N/A when a field does not apply, enter N/A in that field.
What should be done after completing the questionnaire?
After completing the questionnaire, continue to STEP 2. UPLOAD YOUR GRAPHICS and upload the required app graphics and logos.
What should be done if help is needed while completing the form?
Contact Customer Support if you are not sure how to answer a field, need help finding your Channel IDs, or need clarification before submitting the form.