
FTP Upload
Two weeks ago we explained how to upload videos via the Web Uploader in your Lightcast Media Cloud account. Today we want to show you how to upload large files and bulks of entire archives via your dedicated FTP account.
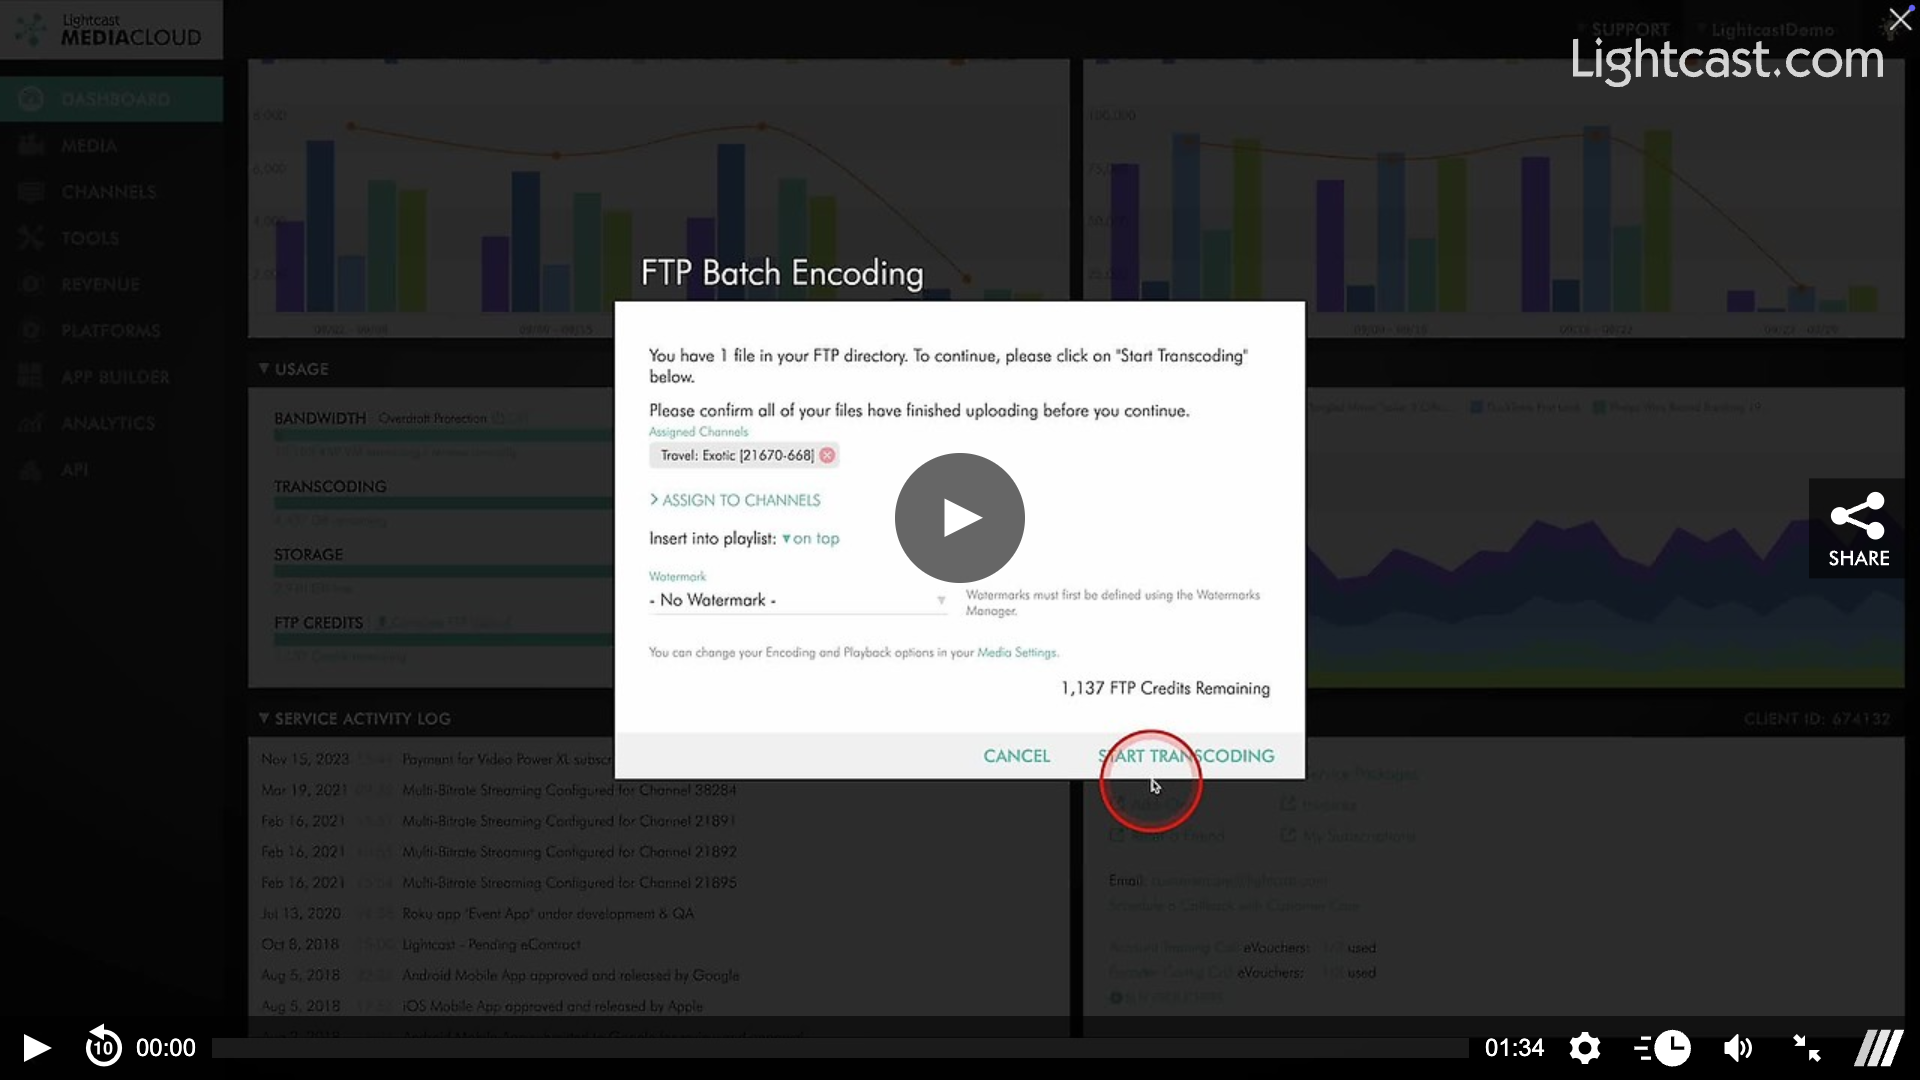
You can activate your FTP account by clicking on “Activate FTP Upload” in your Lightcast Media Cloud below the Storage balance bar. We will create your FTP account on a dedicated FTP Server and email you the account credentials. Once you moved your files from your computer to the root directory in your FTP account, make sure you have enough FTP credits in your account and click on “Complete FTP Upload” when you are ready to send all files from your FTP account into transcoding. Please note that your videos have to be in the root directory instead of in folders when uploading through FTP. Once the transcoding process is completed, and all bitrate- and format-renditions stored on the CDN, your new VOD assets will show up under “Media Archives” where you will be able to add and modify metadata, graphics, channel assignments and publishing preferences.
To use an FTP server, you would need an FTP client such as FileZilla, WinSCP, Core FTP, etc.
Watch this video to See How to Upload a video file through FTP
For previous tips, visit our tips page!
Would you like a specific topic to be covered by an upcoming “Tip of the Week”? Click here to submit your request!
Happy Streaming!
Your Lightcast Success Team